
Loading ...
Loading ...
Loading ...
Chapter 36 Link Layer Discovery Protocol (LLDP)
XGS2220 Series User’s Guide
267
36.9.1 Add/Edit LLDP-MED Network Policy
To access this screen, click the Add/Edit button or select an entry from the list and click the Add/Edit
button.
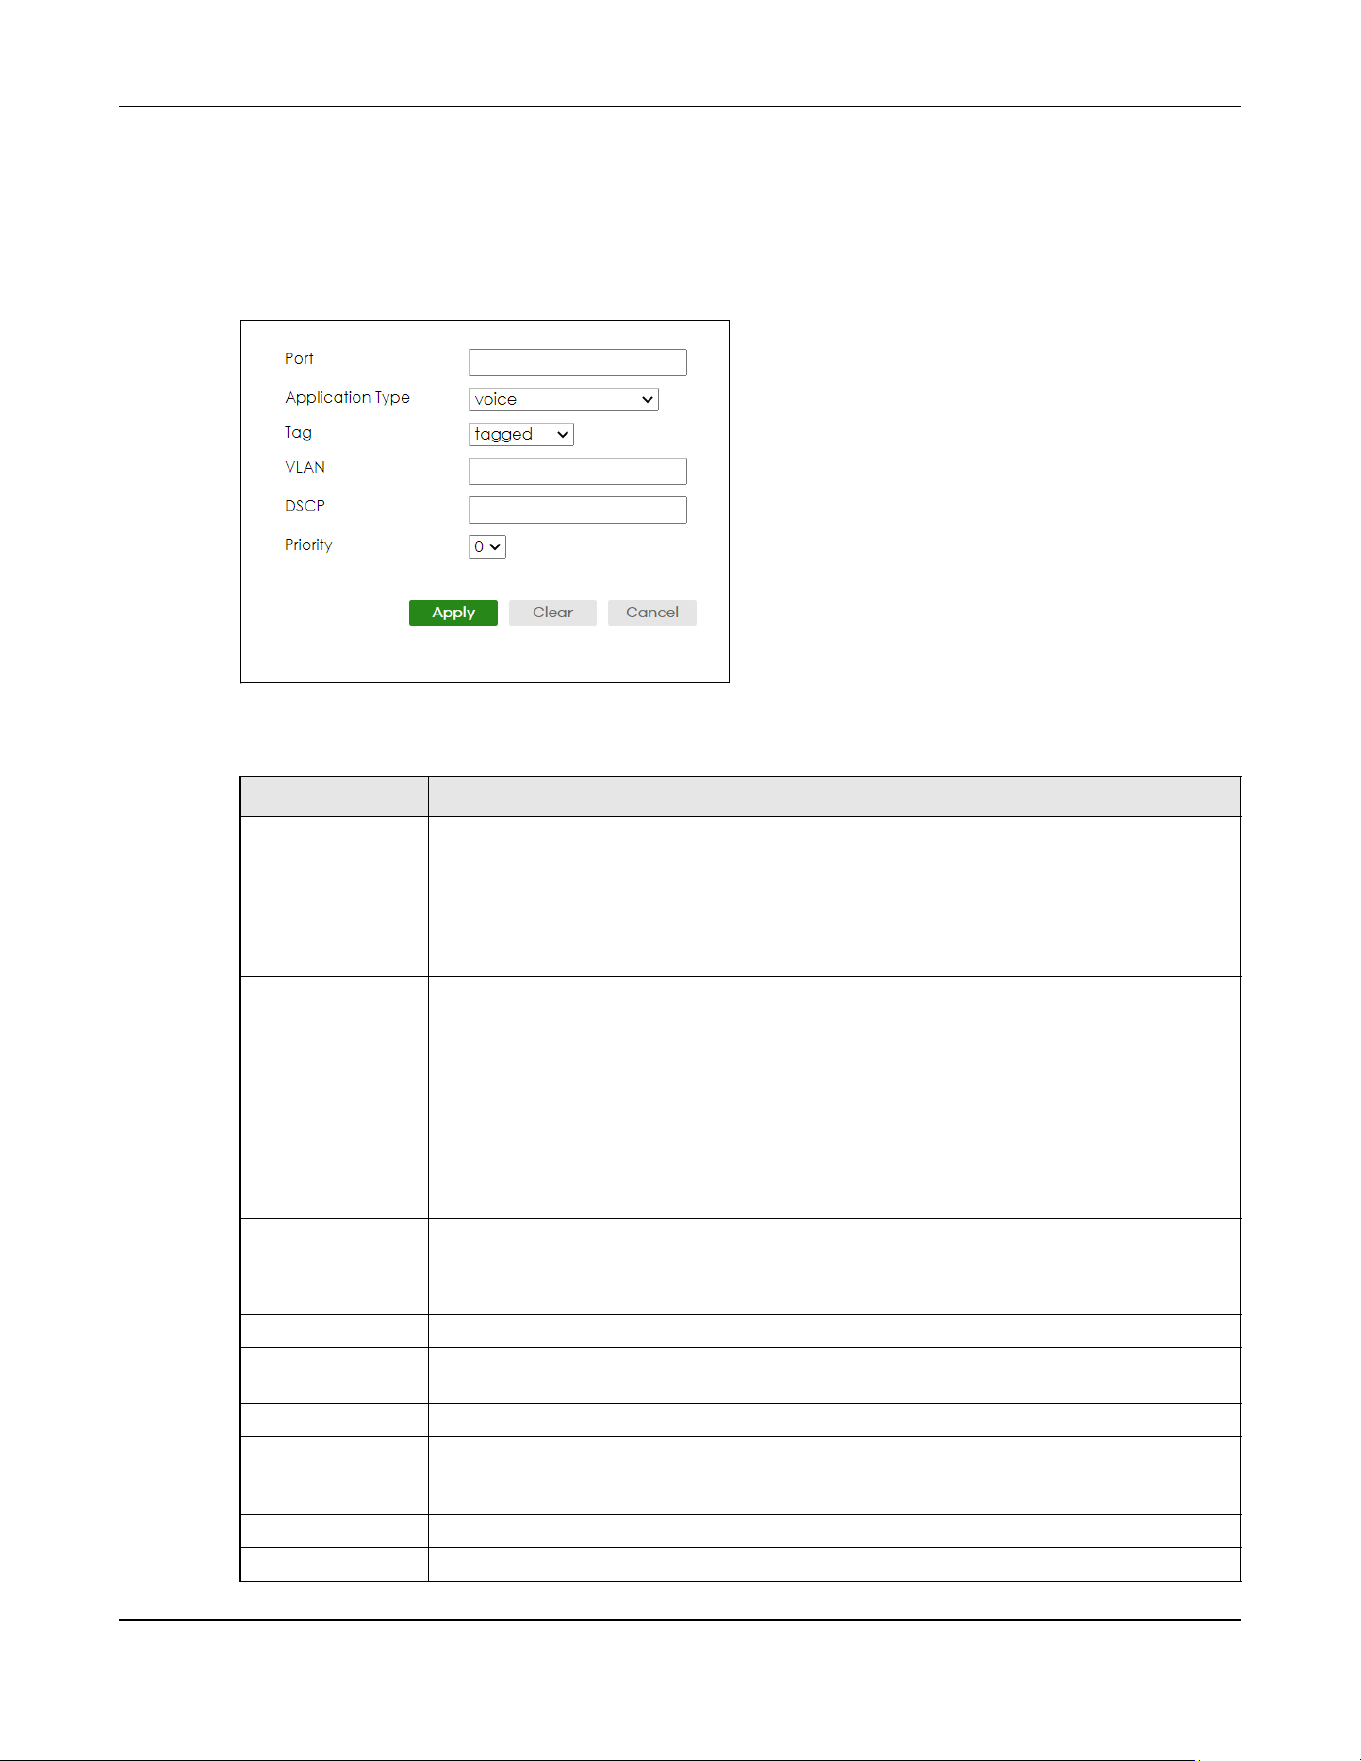
Figure 197 PORT > LLDP > LLDP MED > LLDP-MED Network Policy > Add/Edit
The following table describes the labels in this screen.
Table 125 PORT > LLDP > LLDP MED > LLDP-MED Network Policy > Add/Edit
LABEL DESCRIPTION
Port Enter the port number to set up the LLDP-MED network policy. You can enter multiple ports
separated by (no space) comma (“,”) or hyphen (“-”) for a range. For example, enter “3-5”
for ports 3, 4, and 5. Enter “3,5,7” for ports 3, 5, and 7.
In Stacking mode, the first number represents the slot and the second the port number. Enter
“1/1-1/24,2/23” for ports 1 to 24 for the Switch in slot 1 and port 23 for the Switch in slot 2, for
example.
Application Type Select the type of application used in the network policy.
• voice
• voice-signaling
•guest-voice
• guest-voice-signaling
• softphone-voice
• video-conferencing
• streaming-video
• video-signaling
Tag Select to tag or untag in the network policy.
•tagged
• untagged
VLAN Enter the VLAN ID number. It should be from 1 to 4094. For priority tagged frames, enter “0”.
DSCP Enter the DSCP value of the network policy. The value is defined from 0 through 63 with the 0
representing use of the default DSCP value.
Priority Enter the priority value for the network policy.
Apply Click Apply to save your changes to the Switch’s run-time memory. The Switch loses these
changes if it is turned off or loses power, so use the Save link on the top navigation panel to
save your changes to the non-volatile memory when you are done configuring.
Clear Click Clear to clear the fields to the factory defaults.
Cancel Click Cancel to not save the configuration you make and return to the last screen.
Loading ...
Loading ...
Loading ...