Loading ...
Loading ...
Loading ...

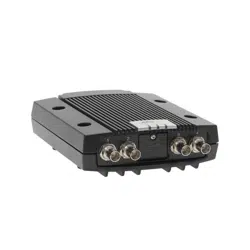
AXIS Q7424–R0N,,
System Options
The log levels for the System Log and the Access Log are set under System Options > Support > Logs & Reports > Configuration.
The Access Log can be configured to list all connections to the product (select Critical, Warnings & Info). If required, a different log
level can be used whe n se nding e m ail s.
Advanced
Scripting
Scripting allow s experienced users to customize and use their own scripts.
NOTICE
Improper use may cause unexp ected behavio r and loss of contact with the Axis product.
Axis strongly recomm ends that you do not use this function unless y ou understand the consequences. Axis Support does not provid e
assistance for problem s wit h customized scripts.
To open the Script Editor, go to System Options > Advanced > Scripting. It is recommended to create a backup file before
customizing the scripts. If a script causes probl em s , reset the product to its factory default settings, see
page 47
.
For more information, see www.axis.com/developer
File Upload
Files, for example web pages and images, can be uploaded to the Axis product and used as custom settings. To upload a file, go
to System Options > Advanced > File Upload.
Uploaded files are accessed through http://<ip address>/local/<user>/<file name> where <user> is the
selected user group (viewer, operator or a dministrator) for the up loaded file.
Plain Config
Plain Config is for advanced users with experience of A xis product configuration. Most parameters can be set and modified from this
page. Help is a vailable from the standard help pages.
To open Plain Config, go to System Options > Advan ced > Plain Config.
Reset to Factory Default Settings
This will re se t all param ete rs , including the I P address, to the factory default settings:
1. Disconnect power from the product.
2. Press and hold the Control button and reconnect power (see
Hardware Overview, on page 5
).
3. Keep the C ontrol b utton pressed for about 15 seconds until the Status indicator flashes amber.
4. Release the Control button. The process is complete after a bout 1 minute (when the Sta tus indicator turns green). The
product has been reset to the factory default settings. The default IP address is 192.168.0.90
5. Re-assign the IP address.
It is also possible to reset parameters to factory default via the web interface. Go to Setup > System Options > Maintenance.
47
Loading ...
Loading ...
Loading ...