Loading ...
Loading ...
Loading ...

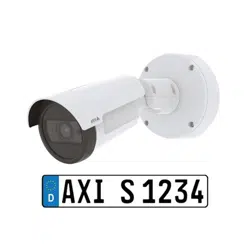
AXIS P1465-LE-3 License Plate Verifier Kit
Basic setup
10. In the Server URL eld, type the server address and port in the following format: 127.0.0.1:8080
11. In the Device ID eld, type the name of the device or leave as is.
12. Under Event types, select one or more of the following options:
- New means the rst detection of a license plate.
- Update is either a correction of a character on a previously detected license plate, or when a a direction is
detected as the plate moves and is tracked across the image.
- Lost is the last tracked event of the license plate before it exits the image. It also contains the direction of
the license plate.
13. To turn on the feature, select Send event data to server.
14. To reduce bandwidth when using HTTP POST, you can select Do not to send images through HTTP POST.
15. Click Next.
16. If you already have a list of registered plates, choose to import as either a blocklist or allowlist.
17. Click Finish.
Access control
Use the setup wizard for quick and easy conguration. You can choose to Skip to leave the guide at any time.
1. Select Access control and click Next.
2. Select the type of access control to use:
- Internal I/O if you want keep list management in the camera. See Open a barrier for known vehicles using the
camera's I/O on page 24.
- Controller if you want to connect a Door controller. See .
- Relay if you want to connect to a relay module. See .
3. In the Barrier mode drop-down list, under Open from lists, select Allowlist.
4. In the Vehicle direction drop-down list, select out.
5. In the ROI drop-down-list, select the area of interest you would like to use, or if you would like to use all.
6. Click Next.
On the Image settings page:
1. Select the number of areas of interest.
2. Select the region where the camera is located.
3. Select capture type. See Adjust the image capture settings on page 9 .
4. Drag the anchor points to adjust the area of interest. See Adjust the area of interest on page 8 .
5. Adjust the direction of the area of interest. The direction determines how the application registers vehicles entering
or exiting the area.
6. Click Next
On the Event data page:
7
Loading ...
Loading ...
Loading ...