Loading ...
Loading ...
Loading ...
EN-77
Creating an Auto Accompaniment (User Rhythm)
4.
Depending on the accompaniment pattern you
selected, perform one of the operations below.
Y If you selected Variation 1 to 4 or Fill-in 1 to 4
Advance directly to step 5.
Y If you selected Intro or Ending
Clear all the parts of the accompaniment pattern.
(1) Perform steps 2 through 4 under “To batch clear the
recorded data in all parts included in a single
accompaniment pattern” (page EN-82).
(2) Press cs REGISTRATION [8] (EDIT MENU).
(3) Use the [1] (V) and [3] (W) bm number keys to
display “Element”, and then press [6] (ENTER).
(4) Use the [1] (V) and [3] (W) bm number keys to
display “Measure”, and then use bn [–] and [+], or
the bl dial to change the setting value.
(5) Use the [1] (V) and [3] (W) keys to display “Beat”
(time signature), and then use bn [–] and [+], or the
bl dial to change the setting value (Setting Ranges:
2/4 to 8/4, 2/8 to 16/8).
(6) Press the [4] (EXIT) bm number key.
5.
Select the part to be edited
(1) Press 9 PART and confirm that the lamp to the left
of the button is lit.
(2) Use the bm number keys [1] through [8] to select the
part to be edited.
• This displays the mixer part indicator that
corresponds to the selected part to flash.
(3) Press 9 PART and confirm that the lamp to the left
of the button is unlit.
• At this point, you could copy a part in an existing
rhythm to a user area (except when the
accompaniment pattern is an intro or ending). See
“To copy an existing rhythm part for editing” (page
EN-81).
6.
Configure the tone and octave shift settings of
the part, if you want.
(1) Select the tone you want to use for part recording.
See “Selecting a Tone” (page EN-18).
• Only drum set tones can be selected for Drums
and Percussion parts. Drum set sounds cannot be
selected for the bass and the Chord 1 through
Chord 5 parts.
(2) Configure the part’s octave shift setting.
While holding down dr OCTAVE, press the
ds TRANSPOSE [q] or [w] button.
(3) Pressing ck START/STOP here starts looped
playback of all the parts of the accompaniment
pattern you are currently editing. This means you can
monitor the effects of your settings as you configure
them.
(4) If there are recorded parts, pressing the [6] (ENTER)
bm number key will play back only the notes of the
part being edited.
• This causes the mixer part indicator of the part
being edited and the level indicator above it to
flash.
• To exit the above state, press [6] (ENTER) again.
7.
Configure playback settings of the part being
edited as desired.
• See “To configure the playback settings of a user
rhythm part” (page EN-83).
8.
Record keyboard play for the part being edited.
• See “To record keyboard play to each part” (page
EN-78).
9.
Configure the mixer settings of the part being
edited as desired.
• See “To configure mixer settings of a part being
edited” (page EN-80).
10.
Perform steps 5 through 9 for all parts.
11.
Perform steps 3 through 10 for all
accompaniment patterns.
12.
Save the edited rhythm using the procedure
under “To save a user rhythm” (page EN-83).
Accompaniment Pattern Settings
Intro, Ending 01 to 16
Variation 01 to 16
Fill-in 01 to 02
To select this part: Press this number key:
Percussion [1]
Drums [2]
Bass [3]
Chord 1 to Chord 5 [4] to [8]
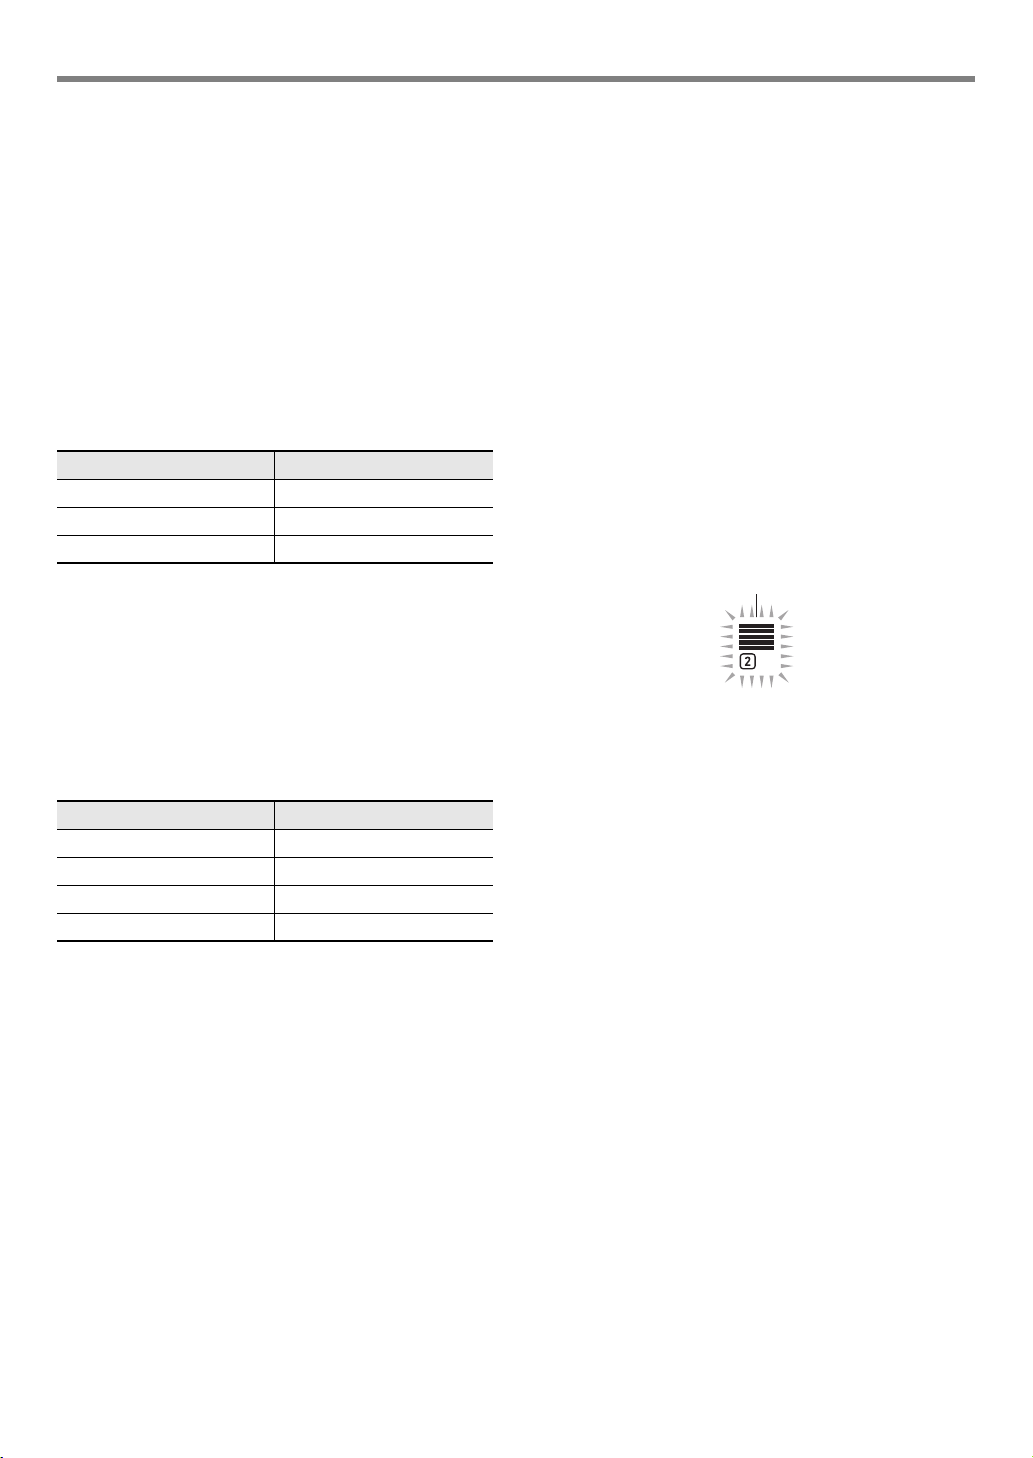
Flashing
When the part being edited is a drum part
CT-X9000_8000IN_EN.book 77 ページ 2018年4月12日 木曜日 午後1時8分
Loading ...
Loading ...
Loading ...