Loading ...
Loading ...
Loading ...
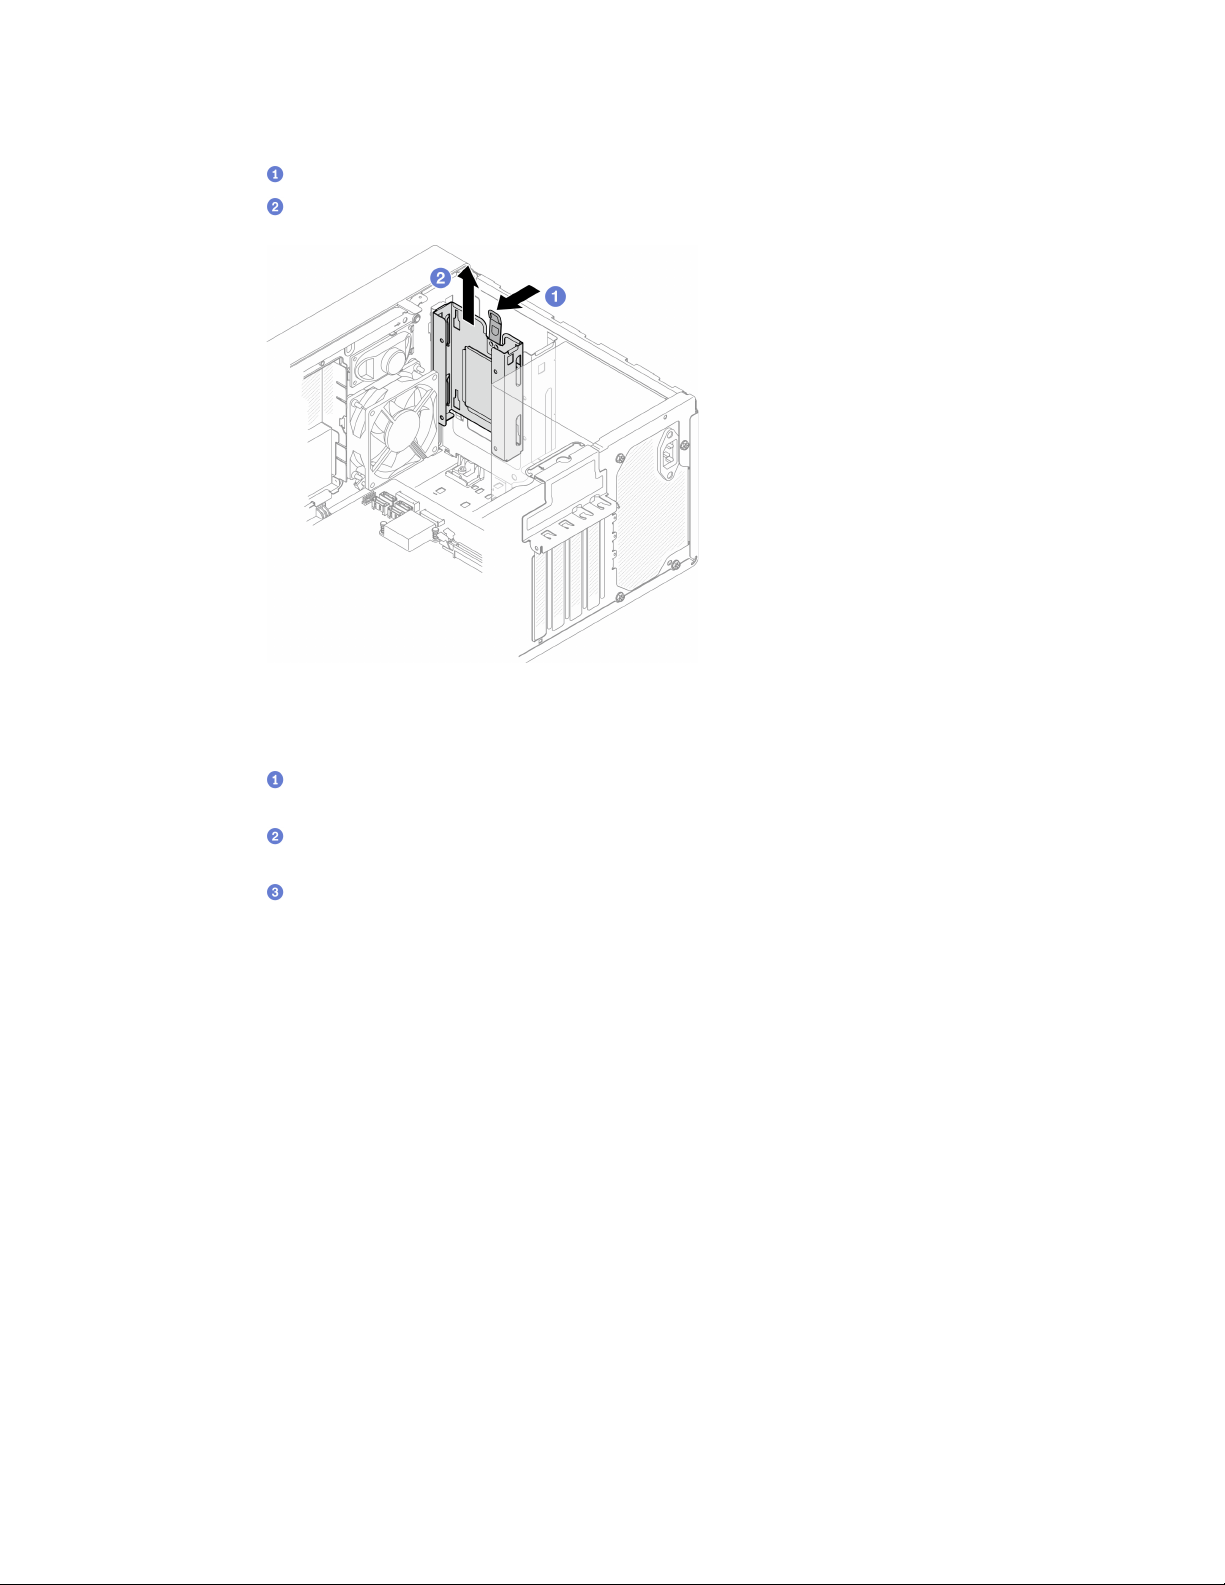
Note: Remove the bay 2 drive cage first; then, proceed to remove the bay 1 drive cage.
a.
Slightly pull out the latch on the bay 2 drive cage to release it from the bay 1 drive cage.
b.
Pull the bay 2 drive cage out from the chassis.
Figure 42. Removing drive cage from drive bay 2
Step 3. Remove the bay 1 drive cage.
a.
From outside of the chassis, remove the screw that secures the bay 1 drive cage to the
chassis.
b.
From inside of the chassis, remove the screw that secures the bay 1 drive cage to the
chassis.
c.
Pull the bay 1 drive cage out from the chassis.
Chapter 3. Hardware replacement procedures 59
Loading ...
Loading ...
Loading ...