Loading ...
Loading ...
Loading ...
:" _ i_i+iiiii¸¸:i_¸¸i¸i¸i+:'!_¸¸(i
+ Oanon's Pictgridge=cempatible printers: If
printing does not resume automatically
after you solved the problem, select
[Continue] and press O to resume
printing. If that option is not available,
select [Stop] and press _) and then
restart printing from the beginning.
+ 0therprintersoriftheerrerstiff persists with
a Canon printer: If printing does not
resume automatically, disconnect the
USB cable and turn off the camcorder.
After a short while, turn on the
camcorder and restore the USB
connection.
+ You may not be able to print correctly
with a PictBddge-compatible printer
photos whose file names have been
changed or that were recorded, created,
edited or changed with any device other
than this camcorder.
+ If [Busy] does not disappear, disconnect
the USB cable and restore the
connection after a short while.
2
3
Refer to steps I +2 in Printing after
Changing the Print Settings (q3 73).
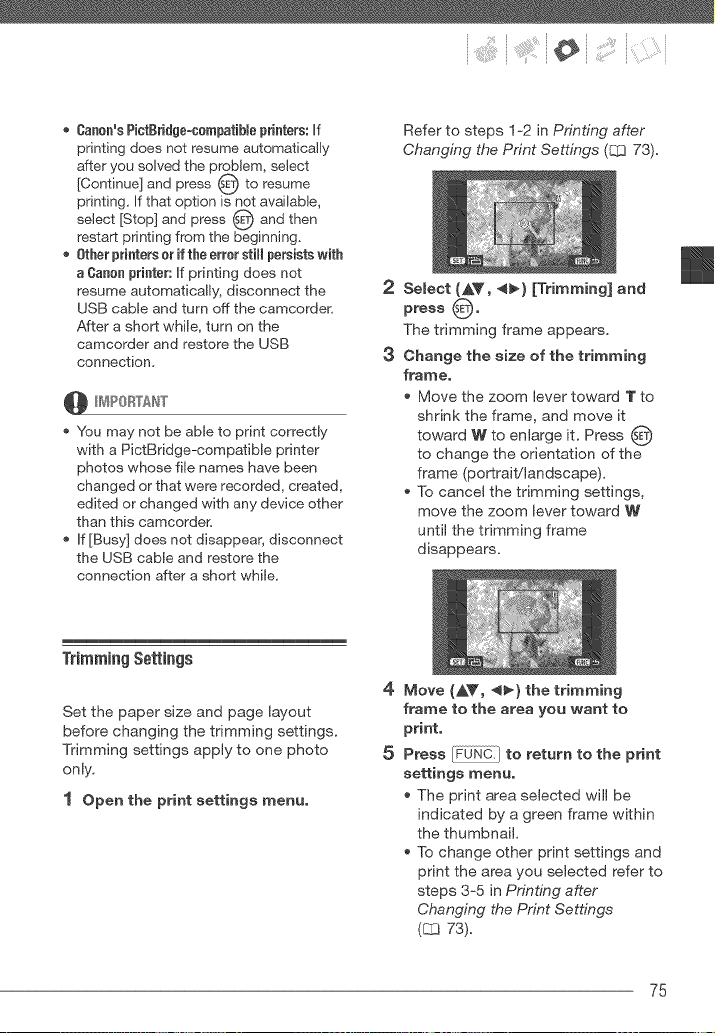
Select (_,T, _) [Trimming] and
press O o
The trimming frame appears.
Change the size of the trimming
frame,
+ Move the zoom lever toward T to
shrink the frame, and move it
toward W to enlarge it. Press
to change the orientation of the
frame (portrait/landscape).
+ To cancel the trimming settings,
move the zoom lever toward W
until the trimming frame
disappears.
Trimming Settings
Set the paper size and page layout
before changing the trimming settings.
Trimming settings apply to one photo
only.
1 Open the print settings menu,
4
5
Move (AY, _) the trimming
frame to the area you want to
print,
Press to return to the print
settings menu,
+ The print area selected will be
indicated by a green frame within
the thumbnail,
+ To change other print settings and
print the area you selected refer to
steps 3+5 in Printl;_g after
Changing the Print Settl;_gs
(_ 73).
75
Loading ...
Loading ...
Loading ...