Loading ...
Loading ...
Loading ...
Advanced Projection
166
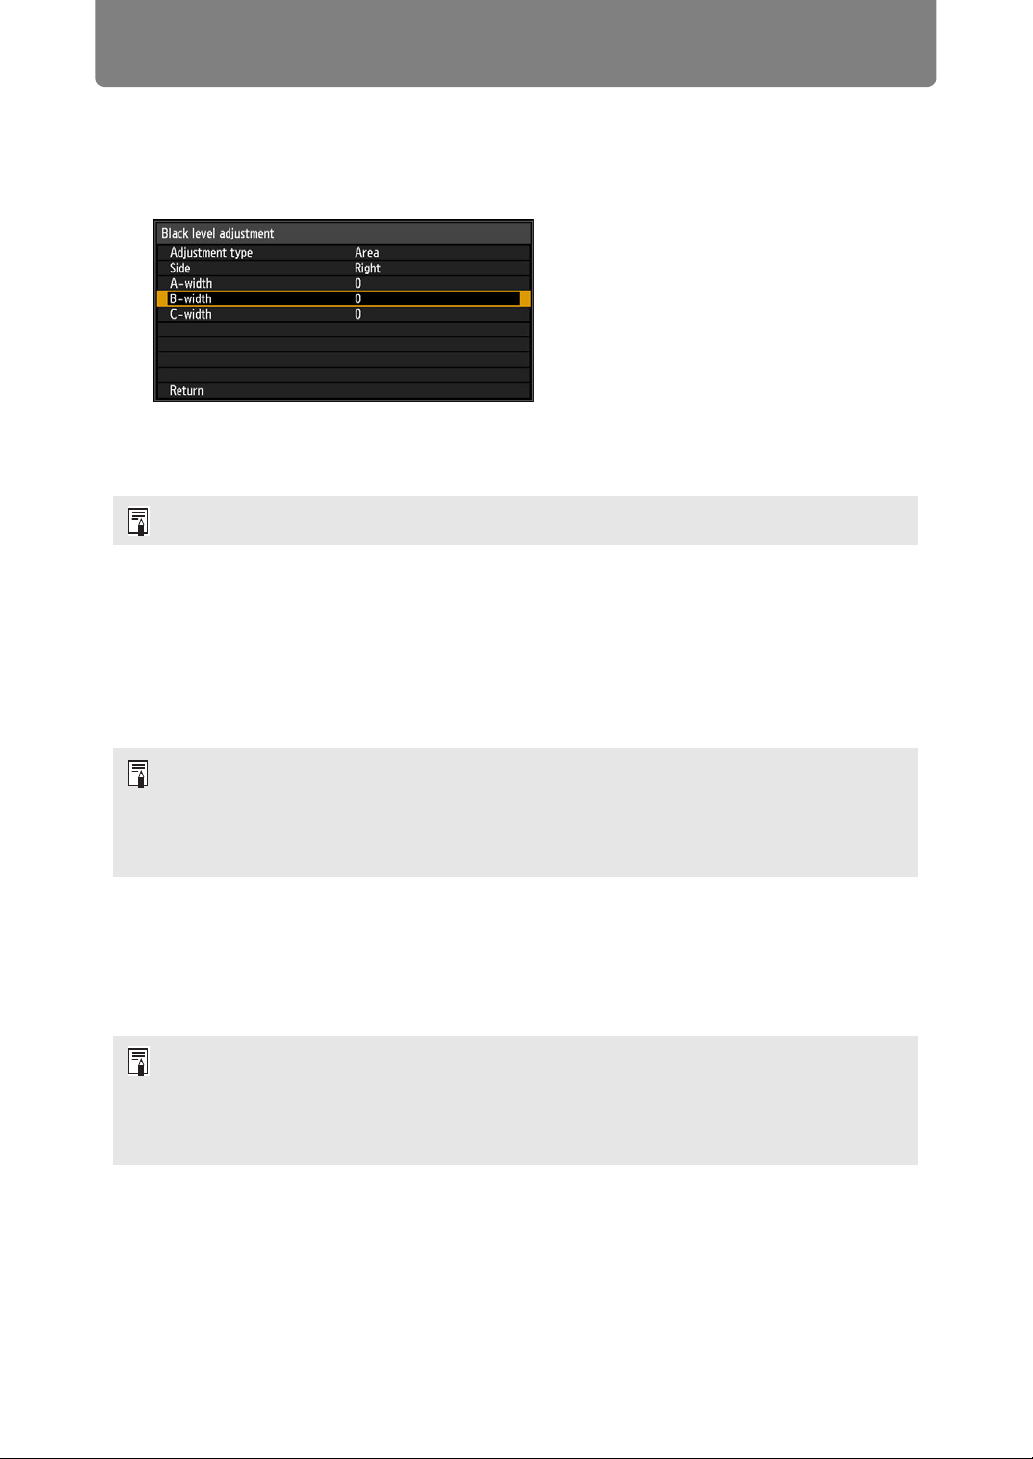
3 Select [B-width], and then specify the width of area B.
Adjust the width of area B to roughly match the area where the black level is
noticeable.
This will make the width of area D narrower.
4 Select [Adjustment type] > [Black level]. Adjust [B-area base] as you
watch the image.
5 As you watch the image, adjust the width of areas A, B, and C.
6 Readjust the black level of area B, as needed.
To reduce distracting colors and colors that are out of alignment in areas where the images
overlap, perform [Color blending adjustment] targeting the main tone in the envisaged projected
image.
■ Corner Adjustment
Projected images from multiple projectors used in overlapping projection must be
precisely repositioned. Positions of each corner in the blending area can be aligned
with the blending area of the reference projector.
1 On the reference projector, configure keystone (P95) and edge-blending
(P97) settings, and then set the edge-blending markers to [On] (P163).
2 In the [Install settings] menu, select [Professional settings] > [Edge
blending] > [Adjust] > [Corner adjustment].
Results of adjusting the black level of area B are applied to all sides.
• If you perform adjustments using [Color blending adjustment] or other menus, that may
not eliminate the distracting colors and differences in brightness in areas where the
images overlap.
• Blending can be fine-tuned by adjusting [Adjustment type] > [Black level] > [Red],
[Green], and [Blue].
• First, complete [Side] adjustment as described in “Basic Instructions” (P163).
• Sides set to an edge-blending width of 12 or more can be adjusted when [Keystone] is
set to [Corner adjustment] and the aspect ratio is [16:10].
• To reset adjustment, use [Keystone] (P95).
• A small edge-blending width may limit the amount of adjustment available.
Loading ...
Loading ...
Loading ...