Loading ...
Loading ...
Loading ...
153
Advanced Guide Advanced Projection
Advanced Projection
Projecting Images on a USB Flash Drive
JPEG images stored on a USB flash drive connected to the projector can be
projected as follows. Individual images can be selected for projection, or you can
project all images in a slideshow. JPEG images up to 10912×8640 can be
projected.
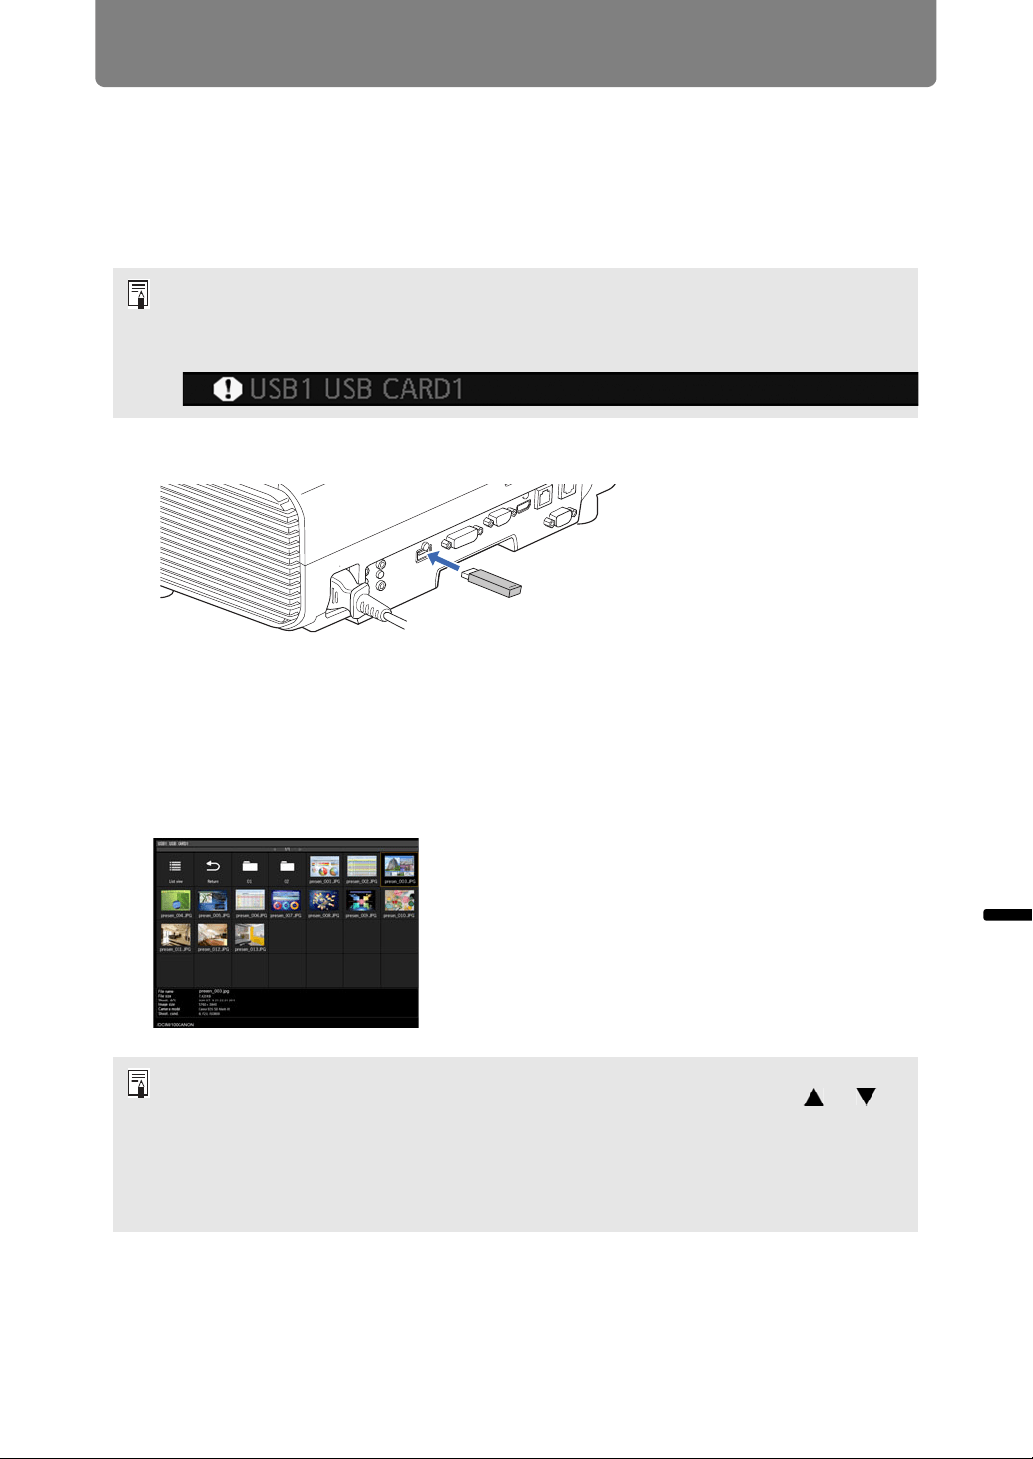
1 Insert the USB flash drive in the USB port.
Either connect the USB flash drive directly to the projector’s USB port or use a
USB cable to connect a USB multi-card reader. USB flash drives connected via
a USB hub will not be recognized.
2 Press the INPUT button to select [USB].
Thumbnails of JPEG files on the USB flash drive are now listed.
• USB flash drives with security features are not recognized by the projector and cannot
be selected as the image source.
• If the projector cannot mount the file system, the drive name is grayed out and the
following icon is displayed. In this case, the USB flash drive cannot be used.
• Up to six USB flash drives, 999 folders, or 9,999 files can be displayed.
• If there are multiple drives, a drive selection screen is displayed. Use the
[] / []
buttons to select the desired drive, and then press the OK button. Files on the drive are
now listed.
• On file and drive selection screens, you can switch between thumbnail and list display.
• Network input is not available when [USB] is selected as the other input signal in split-
screen display.
Loading ...
Loading ...
Loading ...