Loading ...
Loading ...
Loading ...
Chapter 10
88
NOTE
• Press [d] or [c] to check all of the text in the
label layout. If the one-touch panel (B) is
being used, the data cannot be edited.
Use the basic control panel (A) to edit the
data. For details, see Editing Label
Contents Before Printing on page 86.
• The text displayed on the LCD and its
display order are set by using P-touch
Editor 5.0. For details, see Setting the
Text and Order for Displaying on the LCD
on page 79.
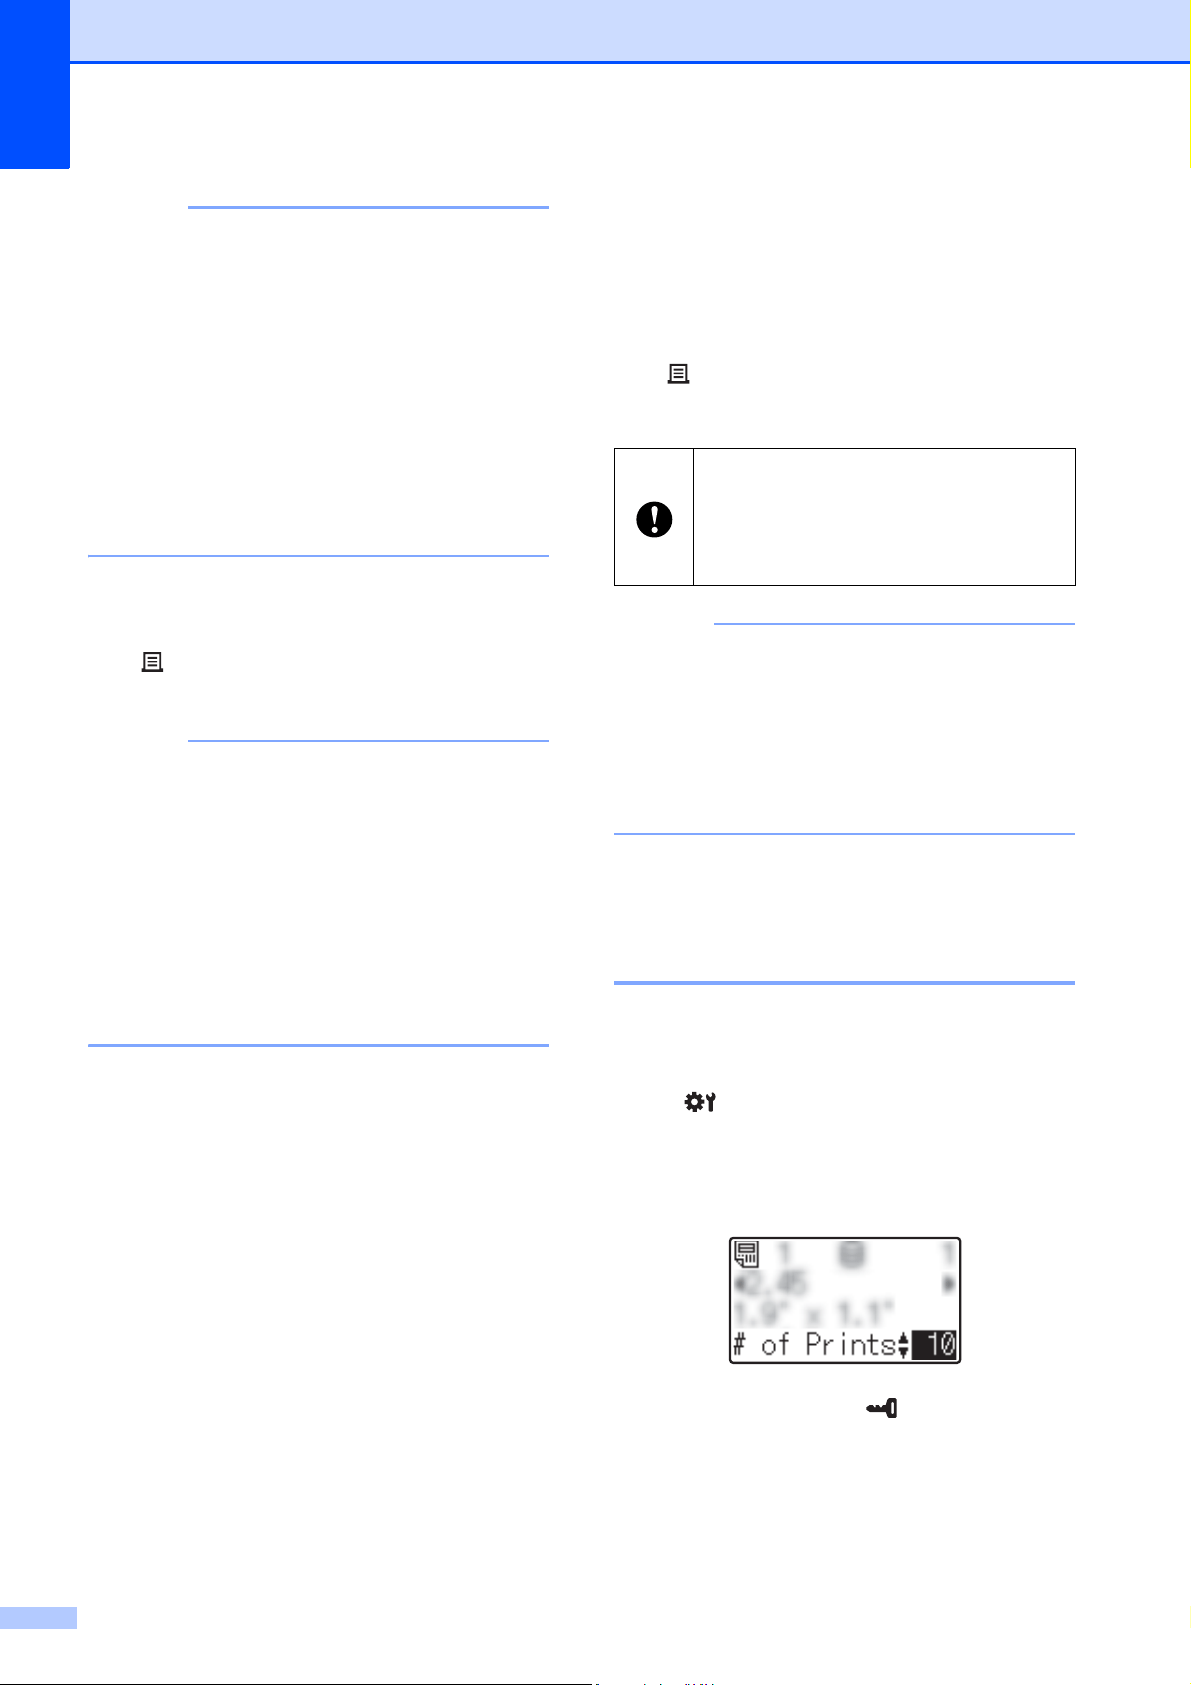
d With [a] or [b], type in the number of
copies to be printed, and then press the
(Print) button or [OK]. The labels are
printed.
NOTE
• The number of copies to be printed can be
set between 1 and 999.
• If the template contains a serialized
number, the labels will be printed with the
serialized field incremented by the
specified number of times.
•If [Confirm Print] is set to [Off],
printing begins when the one-touch key is
pressed in step c.
If a Template With a Linked Database
Is Registered with a One-Touch Key
10
If you register a template with a linked
database to a one-touch key, the displayed
contents are for the database record
corresponding to the number of times that
you press the key. For example, with a
template that has 3 database records,
pressing the one-touch key once will display
the contents of the first database record.
Pressing it twice displays the contents of the
second record, and pressing it three times will
display the contents of the third record.
Pressing the key four times will return to
displaying the contents of the first database
record.
a Press the one-touch key for the label to
be printed until the contents of the
desired database record appears.
b With [a] or [b], type in the number of
copies to be printed, and then press the
(Print) button or [OK]. The labels are
printed.
NOTE
• The number of copies to be printed can be
set between 1 and 999.
• If the template contains a serialized
number, the labels will be printed with the
serialized field incremented by the
specified number of times.
Printing a Different Date/Time
Than the Printer's Internal
Clock 10
The date/time can be temporarily changed
before printing. When the following screen is
displayed immediately before printing begins,
press [ ] (settings key) to display a screen
where the date/time can be directly entered.
Printing can be continued after the date/time
is entered.
In addition, by pressing [ ] (admin key),
then setting [Set Temp Time] to [Cont
From Last], the date/time that was directly
entered will be printed until the printer is
turned off.
If a template with a linked database is
assigned to a one-touch key, be sure
that [Confirm Print] is set to [On]. If
[Off] is selected, only the first database
can be selected.
Loading ...
Loading ...
Loading ...