Loading ...
Loading ...
Loading ...
Getting Started
7
1
i When the screen for the online user
registration appears, click [OK] or
[Cancel].
If you clicked [OK], you will go to the
online user registration page before
finishing the installation
(recommended).
If you clicked [Cancel], installation
continues.
j Click [Finish].
The installation is now complete.
NOTE
When you are asked to restart the
computer, click [Restart].
Wired LAN Connection
(TD-2120N/2130N only) 1
a Connect the LAN cable to the printer,
and then turn on the printer.
b Insert the installer CD-ROM into your
CD-ROM drive. If the language screen
appears, choose your language.
NOTE
• For Windows
®
XP/Windows
Vista
®
/Windows
®
7:
If the installer screen does not
automatically appear, display the contents
of the CD-ROM drive folder, and then
double-click [start.exe].
• For Windows
®
8:
If the installer screen does not
automatically appear, click [Run
start.exe] in the [Start] screen, or display
the contents of the CD-ROM drive folder
from the desktop, and then double-click
[start.exe].
c Click [Standard Installation].
d Read the license agreement, and click
[Agree] if you agree with the terms and
conditions.
e Click [Install] to start the installation,
and then follow the on-screen
instructions.
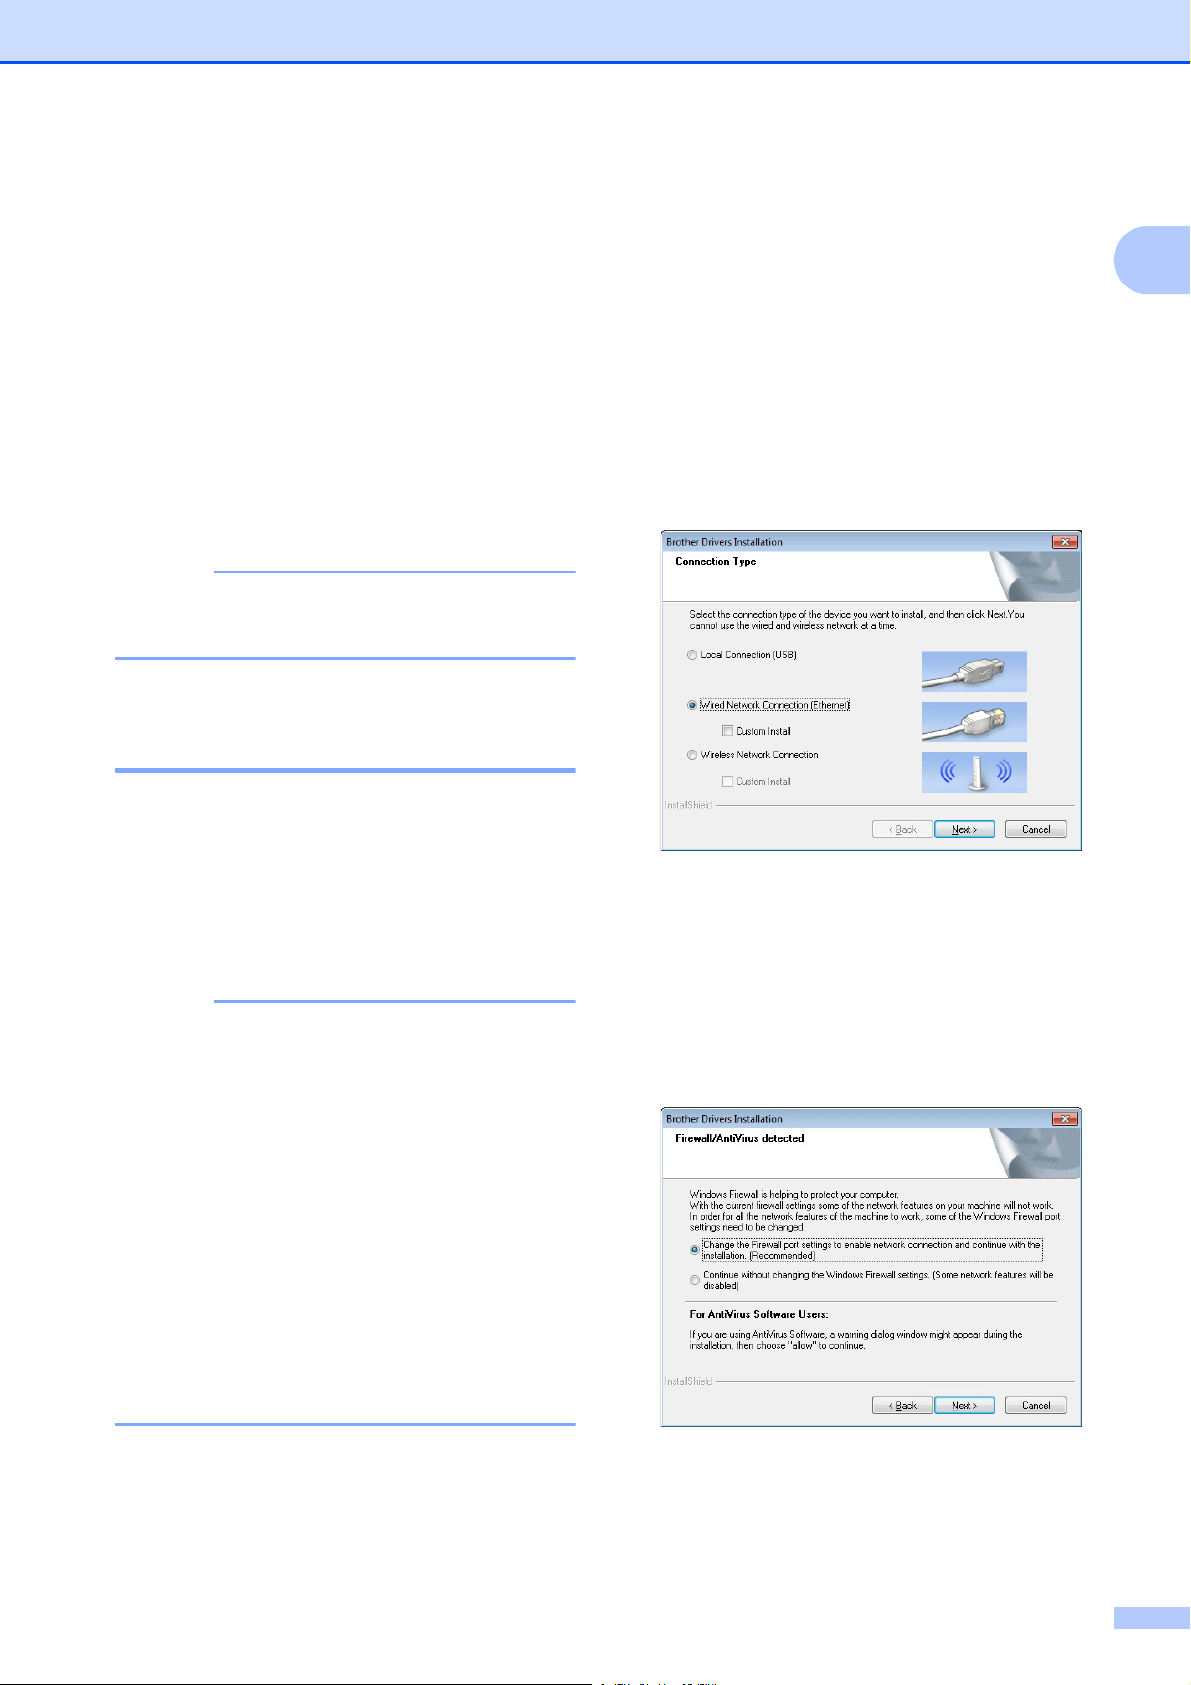
f When the screen for selecting the
connection method appears, select
[Wired Network Connection
(Ethernet)], and then click [Next].
g When the [Firewall/AntiVirus
detected] screen appears, select
[Change the Firewall port settings to
enable network connection and
continue with the installation.
(Recommended)], and then click
[Next].
If you are not using the Windows
®
Firewall, allow access using UDP ports
137 and 161.
Loading ...
Loading ...
Loading ...