Loading ...
Loading ...
Loading ...
Chapter 11
94
NOTE
In order to obtain the maximum data
transfer speed in a WLAN environment,
check for the following:
• Use this printer as close as possible to
the access point/router.
• Make sure that there are no obstacles
between this printer and the access
point/router. Large objects and walls
may make it difficult to establish a
connection.
• Other electronic devices may cause
interference. This may decrease the
data transfer speed.
In such an environment, there may be a
decrease in the speed, compared to a
wired LAN or USB connection. If a wired
LAN or USB connection is used, the
maximum processing speed may be
achieved.
Choosing Your
Wireless Installation
Method
11
There are two methods for specifying
wireless LAN settings. Choose the method
that you prefer for your environment.
Configuration using the installer CD-ROM
and temporarily using a USB cable
(page 94)
One-push configuration using WPS
(page 99)
If the printer is on an enterprise wireless
network (such as LEAP and EAP-FAST) ,
connect the printer via USB to configure its
wireless settings.
NOTE
Information is available for specifying
settings with methods other than the two
described here. For details, see the
Network User’s Guide included on the
CD-ROM.
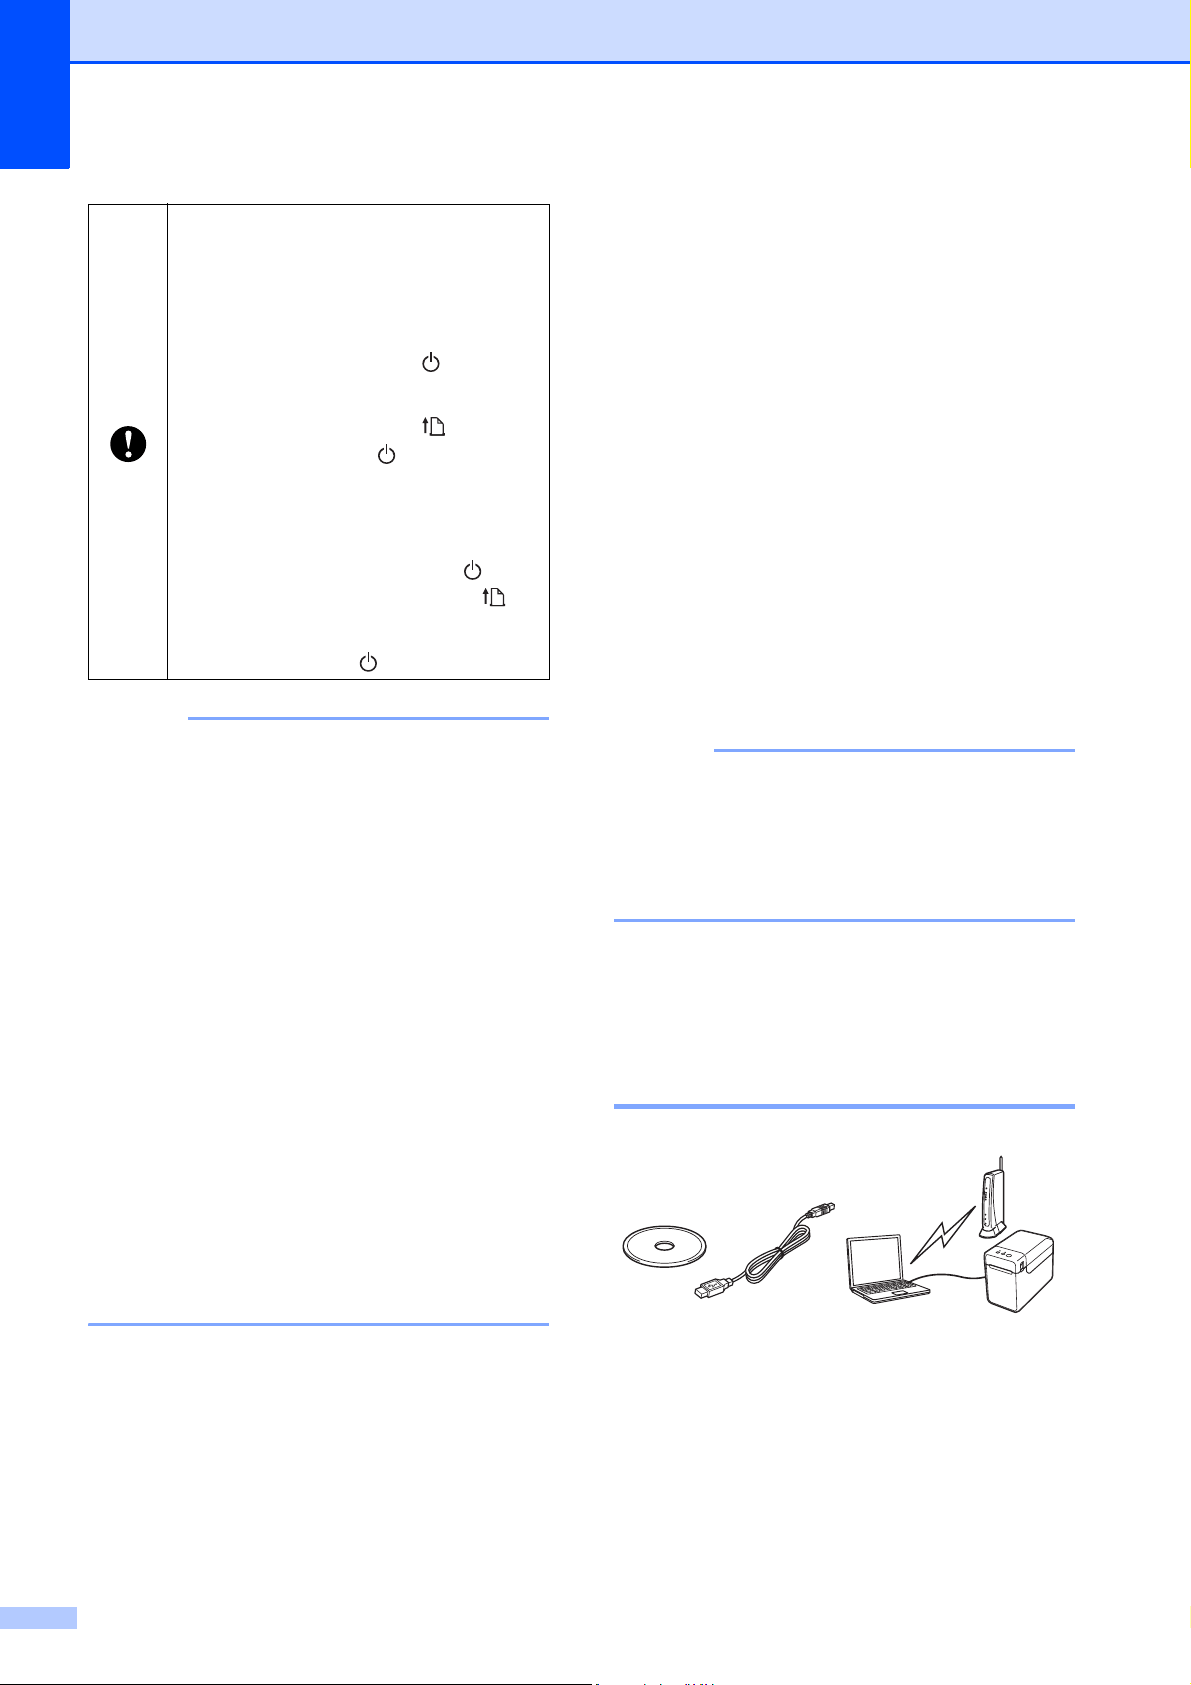
Configuration Using the
Installer CD-ROM and
Temporarily Using a USB
Cable 11
If this method will be used, we recommend
using a USB cable to connect this printer to a
computer already wirelessly connected to the
desired network.
If you have previously configured
the printer’s wireless settings, you
must reset the network settings
before you can configure the
wireless settings again.
1 Press and hold the (Power)
button to turn the printer off.
2 Press and hold the (Feed)
button and the (Power) button
until the POWER indicator lights
in orange and the STATUS
indicator blinks in green.
3 While holding down the
(Power) button, press the
(Feed) button 2 times.
4 Release the (Power) button.
Loading ...
Loading ...
Loading ...