Loading ...
Loading ...
Loading ...
32
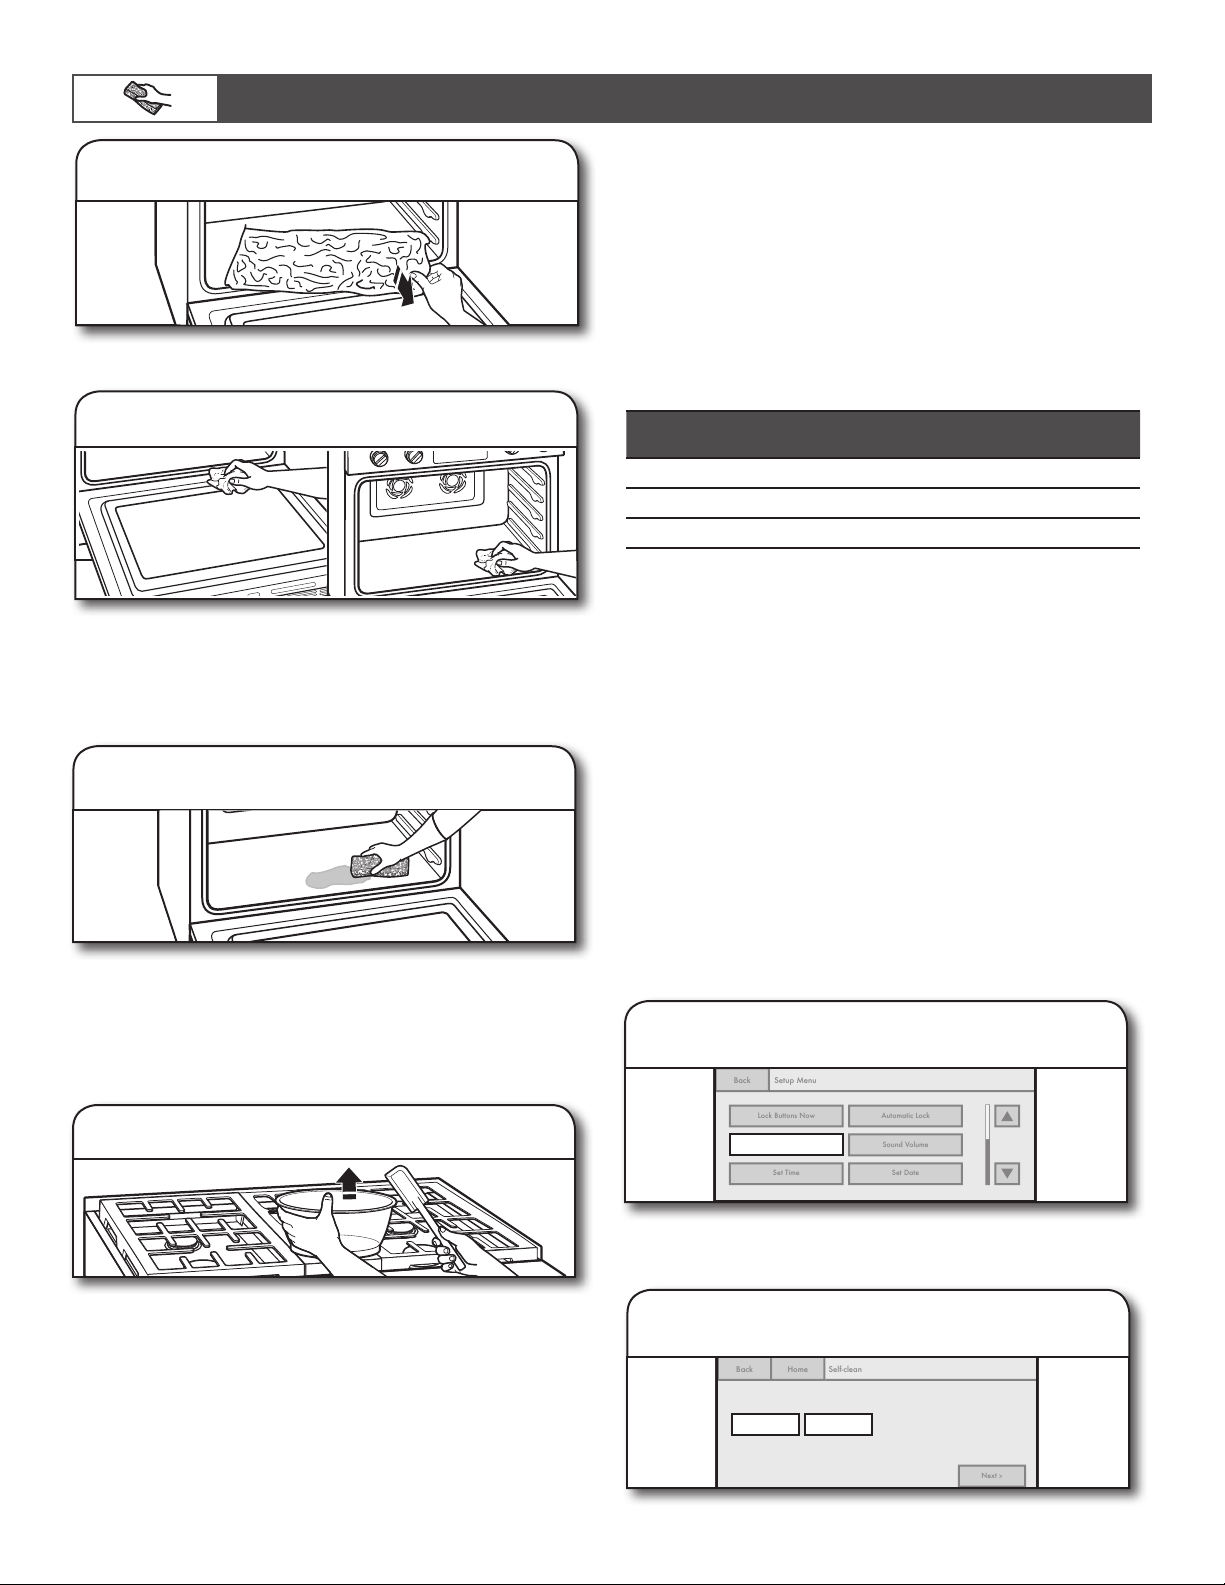
2. Remove any foil from oven.
Foil may burn or melt, damaging the oven.
3. Hand clean.
With a damp cloth, hand clean the inside door edge and 1½"
(3.8 cm) of the area around the inside oven cavity frame. Be
certain not to move or bend the gasket. This area does not
get hot enough during self-cleaning to remove soil. Do not let
water, cleaner, etc., enter slots on door frame.
4. Wipe out loose soil.
Wiping out soil reduces smoke and avoids damage. At high
temperatures, foods react with porcelain. Staining, etching,
pitting, or faint white spots can result. This will not affect
cooking performance.
To Prepare Cooktop:
Remove plastic items.
Plastic items may melt.
How the Cycle Works
IMPORTANT:
■ The heating and cooling of porcelain on steel in the oven
may result in discoloring, loss of gloss, hairline cracks, and
popping sounds.
■ The Self-Cleaning cycle uses very high temperatures, burning
soil to a powdery ash.
■ The oven is preset for a 3-hour 30-minute Self-Cleaning
cycle; however, the time can be changed.
Use the following chart as a guide to determine the desired
cleaning level:
CLEANING LEVEL
TOTAL CLEANING TIME
(includes a 30-minute cool-down time)
Light 3 hours 30 minutes
Medium 4 hours
Heavy 4 hours 30 minutes
Once the oven has completely cooled:
■ Remove ash with a damp cloth.
■ If soil remains after wiping, that means the length of the
Self-Cleaning cycle was not long enough for the amount of
soil in the oven. Repeat the Self-Cleaning cycle if desired or
the soil will be removed during the next Self-Cleaning cycle.
■ To avoid breaking the glass, do not apply a cool damp cloth
to the inner door glass before it has completely cooled.
■ The oven lights will not light during the Self-Cleaning cycle.
■ On 48" (121.9 cm) ranges, only one oven can self-clean at a
time. If one oven is self-cleaning, the other oven cannot be
set or turned on.
NOTE: The oven has a 2-speed cooling fan motor. During
self-cleaning, the fan(s) will operate at their highest speed to
increase airflow to better exhaust the hotter air through the
oven vent(s). An increase of noise may be noticeable during
and after the Self-Cleaning cycle until the oven cools.
To Use Self-Clean:
Cancel Right
Light
Kitchen Timer
Cancel Left
Lock Buttons Now
Automatic Lock
Self-clean
Sound Volume
Set Time
Set Date
Back
Setup Menu
1. Touch SELF-CLEAN.
Cancel Right
Light
Kitchen Timer
Cancel Left
Next
>
Left Right
Self-clean
Which oven do you want to clean?
Back
Home
2. Select oven to clean.
If Accessing Self-Clean by Using the Setup Menu
on 48" (121.9 cm) Ranges:
CARE AND CLEANING
Loading ...
Loading ...
Loading ...