Loading ...
Loading ...
Loading ...
90
Editing Audio Files
Erasing albums and tracks
a Press HOME to turn on the Home Menu.
b Select to display the icons.
c Select an album or track to erase and press
OPTIONS.
The Options menu appears.
• To erase multiple tracks, select [Erase Multiple].
d Select [Erase] and press ENTER.
e On the confirmation screen, select [Yes] and
press ENTER.
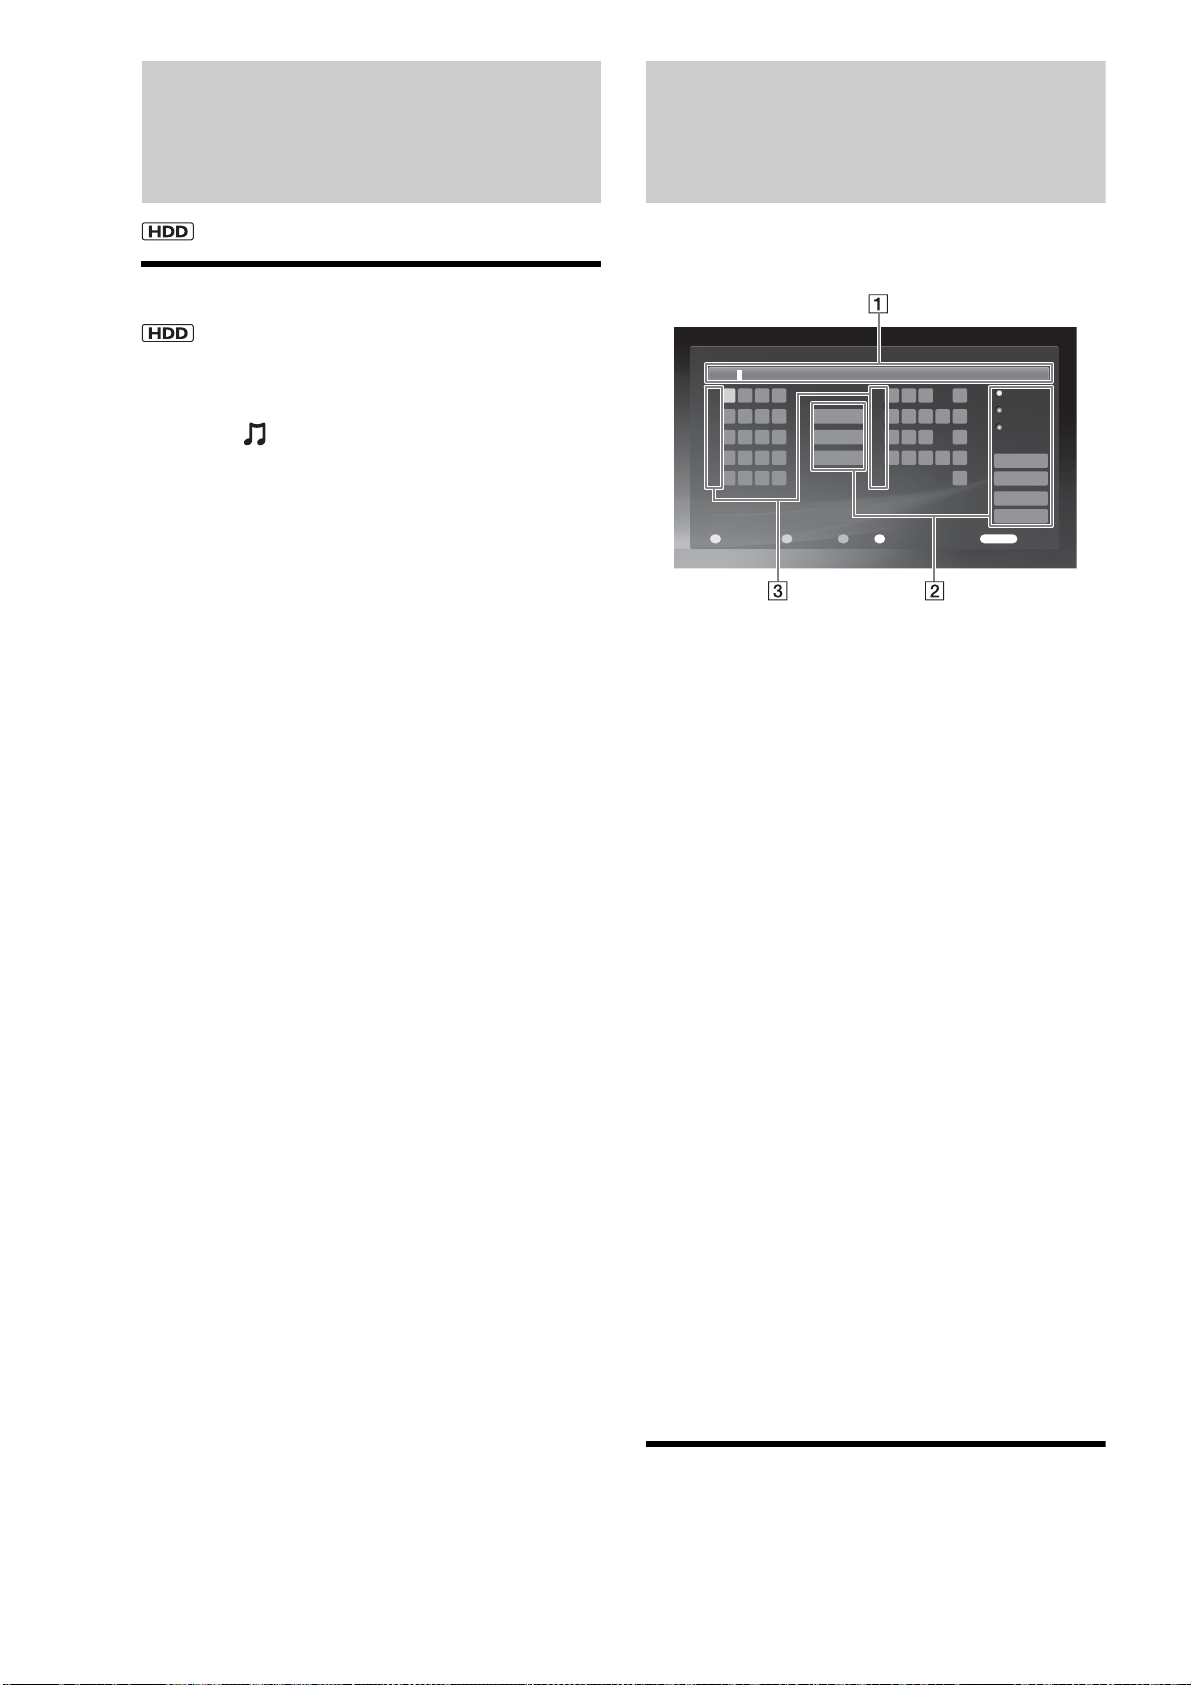
Entering Characters
The following on-screen keyboard appears when entering a
name for a disc, title, etc.
◆Example: Display for upper case letters
A Input field
Maximum word length is indicated in the field.
Select a character using the Joystick and press
ENTER.
B Input functions
Select the following items using the Joystick, or
alternatively use the other buttons enclosed in
parentheses.
[Upper Case]: Displays the keyboard for upper case
letters. (INPUT)
[Lower Case]: Displays the keyboard for lower case
letters. (INPUT)
[Symbol]: Displays the keyboard for symbols.
(INPUT)
[Register Word]: Registers the input to the word
list. (RED)
[Word List]: Displays the registered word list so
you can select from previous inputs without
entering the same word again. The list will not
appear if nothing is registered. (GREEN)
[Cancel]: Returns to the previous display, canceling
the input.
[Finish]: Returns to the previous display. The input
is entered.
[Back]: Erases the character to the left of the cursor.
(BLUE)
[All Clear]: Clears all characters in the input field.
(CLEAR)
[Space]: Inserts a space. (YELLOW)
C Number button indicators
Indicates that the characters on the same row can be
entered with the number buttons. For example, to
select [A], press 2 once.
To enter characters
Example: To enter “Sea” with the Joystick
1 Select [Upper Case] and press ENTER.
Input Title Name
ABC
,-1
ABC2
Back
Cancel
5
4
3
2
0
9
8
7
6
1
Finish
All Clear
Space
DEF3
GH I 4
JKL5
MNO 6
PQ
U
RS7
TV8
WX Y Z 9
0
RETURN
Return
Register Word Word List SpaceBack
RGBY
.
Register Word
Word List
Upper Case
Lower Case
Symbol
Loading ...
Loading ...
Loading ...