Loading ...
Loading ...
Loading ...
60
d Adjust the audio input level and press
ENTER.
e Press RETURN.
Adjusting recording pictures for
external input
a When viewing the external input, press
OPTIONS.
b Select [A/V Settings] - [Rec Settings] and
press ENTER.
The following items appear.
c Select a setting and press ENTER.
You can return these settings to the defaults by
selecting [Reset].
d Select or adjust the settings and press
ENTER.
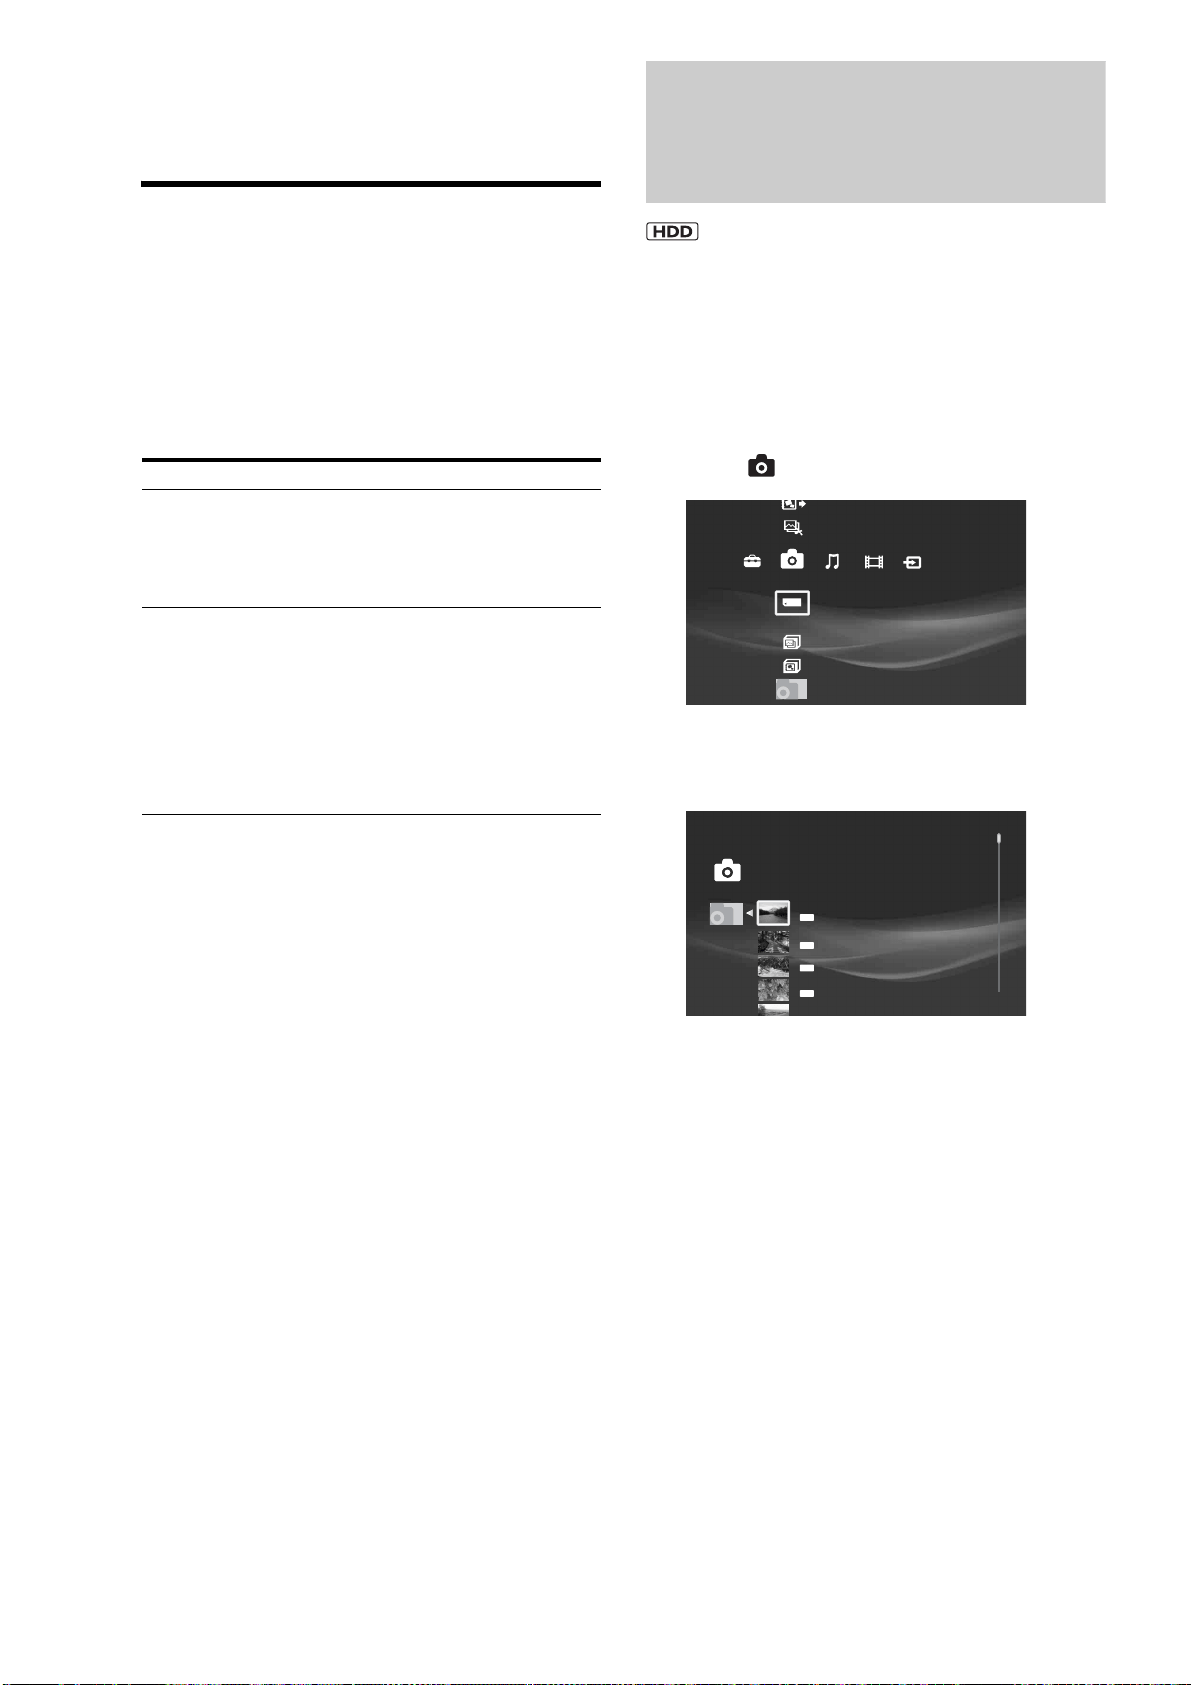
Viewing Photos Recorded
on the HDD
Many options are available for photo playback, including
slideshow and file search.
You can enjoy “x-applications” (“x-ScrapBook” and “x-Pict
Story HD”) if you import photos to the HDD. See page 64.
a Press HOME to turn on the Home Menu.
b Select to display the icons.
c Select an album on the HDD and press
ENTER.
d Select a photo and press ENTER.
To display the previous or next photo, press . or
>.
With digital still cameras, the displayed layer differs
depending on the model.
z Hint
When viewing a photo shot with 16:9 (HDTV size) setting on a TV,
black bands may appear on the top, bottom, left, and right of the photo.
See [Video Output Aspect Ratio] (page 112) and change the server’s
output aspect ratio setting to 16:9. For changing the viewing mode
setting, see your TV’s manual.
Items Details
Rec DNR Reduces picture noises in the recording
video signals.
Noisy scenes are detected and adjusted
automatically with the noise reduction
function.
Picture Adjustment Adjusts each of the following picture
elements:
Select an item and press ENTER.
• Contrast: Changes the contrast.
• Brightness: Changes the overall
brightness.
• Chroma: Makes deep colors deeper, or
light colors lighter.
• Hue: Changes overall color balance.
Create x-Pict Story HD
Copy x-ScrapBook
x-ScrapBook
x-Pict Story HD
Memory Stick
Photo
Sample Album
Album
Photo
CIMG @1866
7/10/2007 3:23PM
JPG
CIMG @1876
7/10/2007 3:37PM
JPG
CIMG @1884
7/10/2007 3:53PM
JPG
CIMG @1887
7/10/2007 4:11PM
JPG
CIMG @1891
Album
Loading ...
Loading ...
Loading ...