Loading ...
Loading ...
Loading ...
18
Getting Started
Follow steps 1 to 8 to hook up and adjust the
settings of the server.
For jack and button names, see “Index to
Parts and Controls” (page 12).
Notes
• Plug cables securely to prevent unwanted noise.
• Refer to the instructions supplied with the components to
be connected.
• A TV with a video input jack is required to connect to this
server.
• Be sure to disconnect the power cord of each component
before connecting.
• To avoid electrical damage to the server and the external
devices, do not apply too much pressure on the connecting
cables.
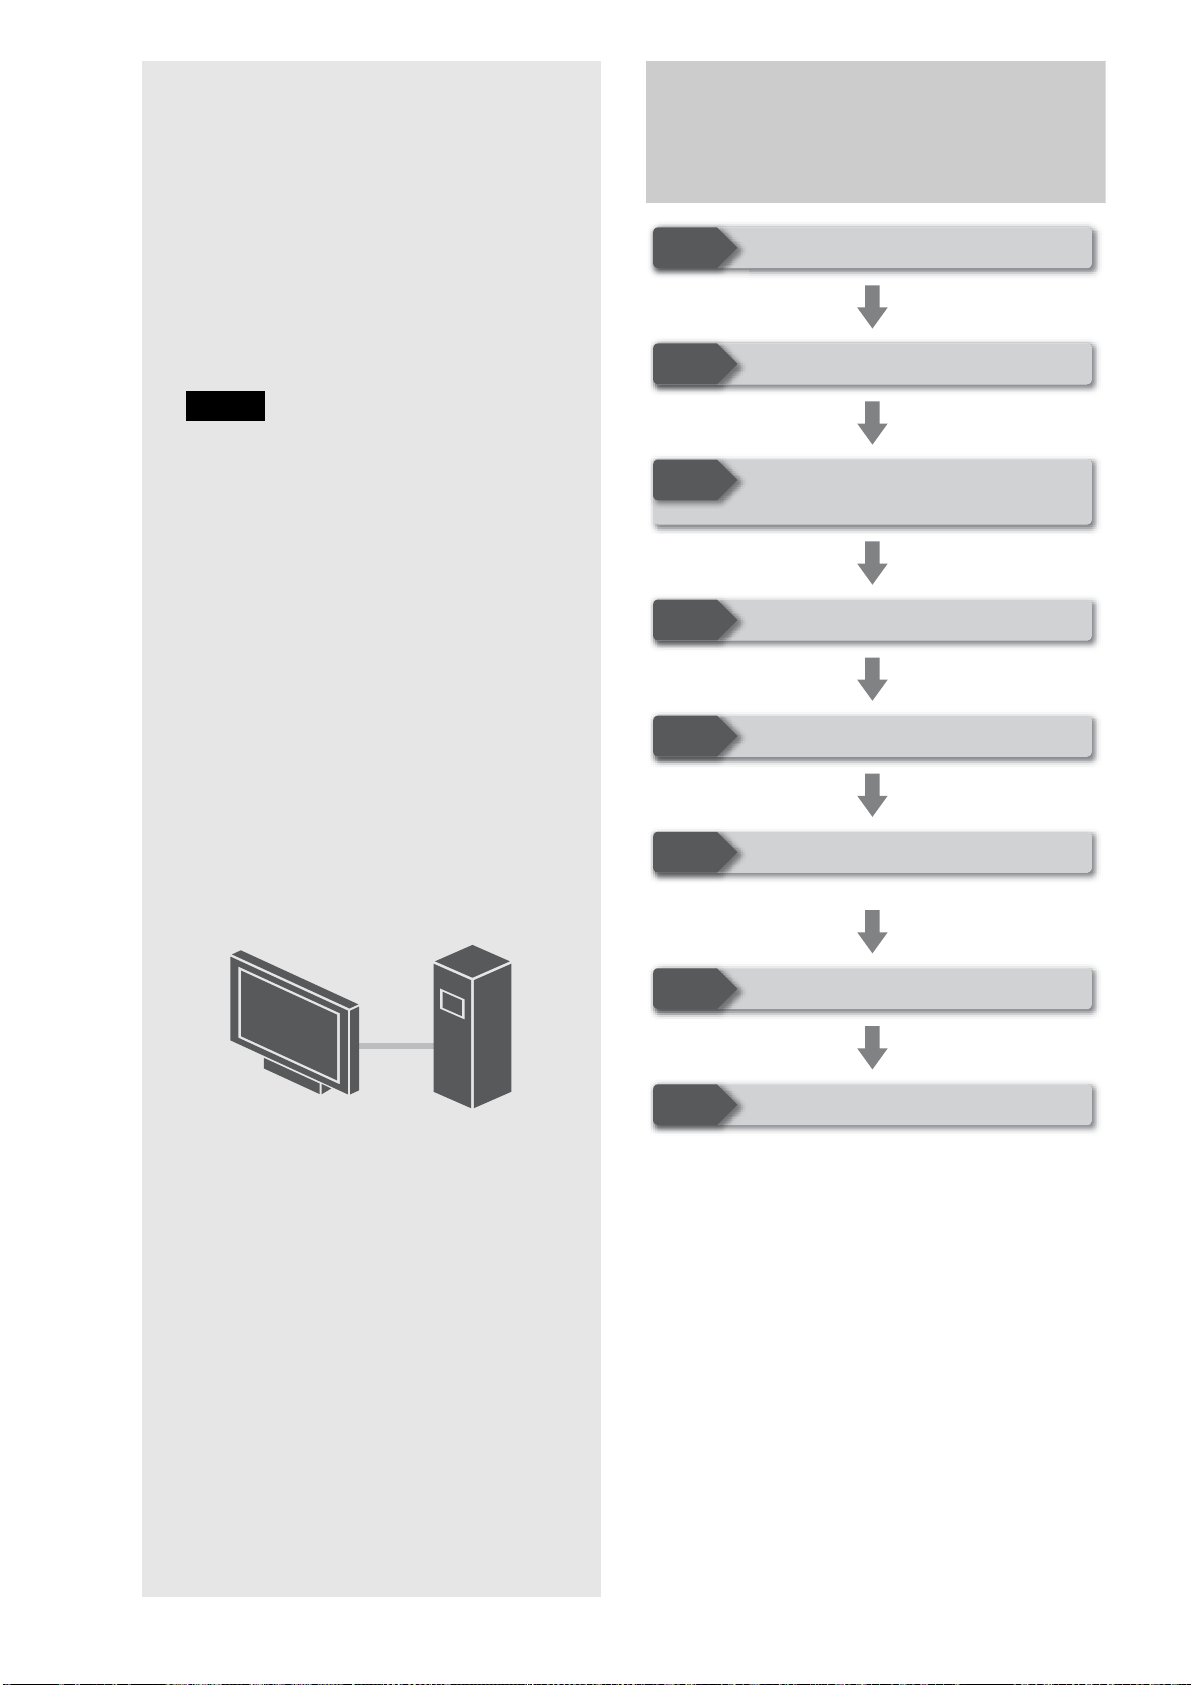
Step-by-step Instructions
Connect the power cord last to protect the internal HDD.
Step 1
Step 2
Step 3
Step 4
Step 5
Step 6
Step 7
Step 8
Unpacking (page 19)
Checking the Accessories (page 22)
Installing Tip-Over Prevention
(page 23)
Connecting to the TV (page 23)
Preparing the Remote (page 27)
Making the Initial Settings (page 28)
Connecting to the Network (page 26)
Connecting the Power Cord (page 27)
• Step-by-step Instructions. . . . . . . . . . . . . . . . 18
• Step 1: Unpacking . . . . . . . . . . . . . . . . . . . . . 19
• Step 2: Checking the Accessories. . . . . . . . . . 22
• Step 3: Installing Tip-Over Prevention . . . . . . 23
• Step 4: Connecting to the TV (or monitor) . . . 23
• Step 5: Connecting to the Network . . . . . . . . . 26
• Step 6: Connecting the Power Cord . . . . . . . . 27
• Step 7: Preparing the Remote. . . . . . . . . . . . . 27
• Step 8: Making the Initial Settings . . . . . . . . . 28
• Turning off the Power. . . . . . . . . . . . . . . . . . . 30
Loading ...
Loading ...
Loading ...