Loading ...
Loading ...
Loading ...
27
Getting Started
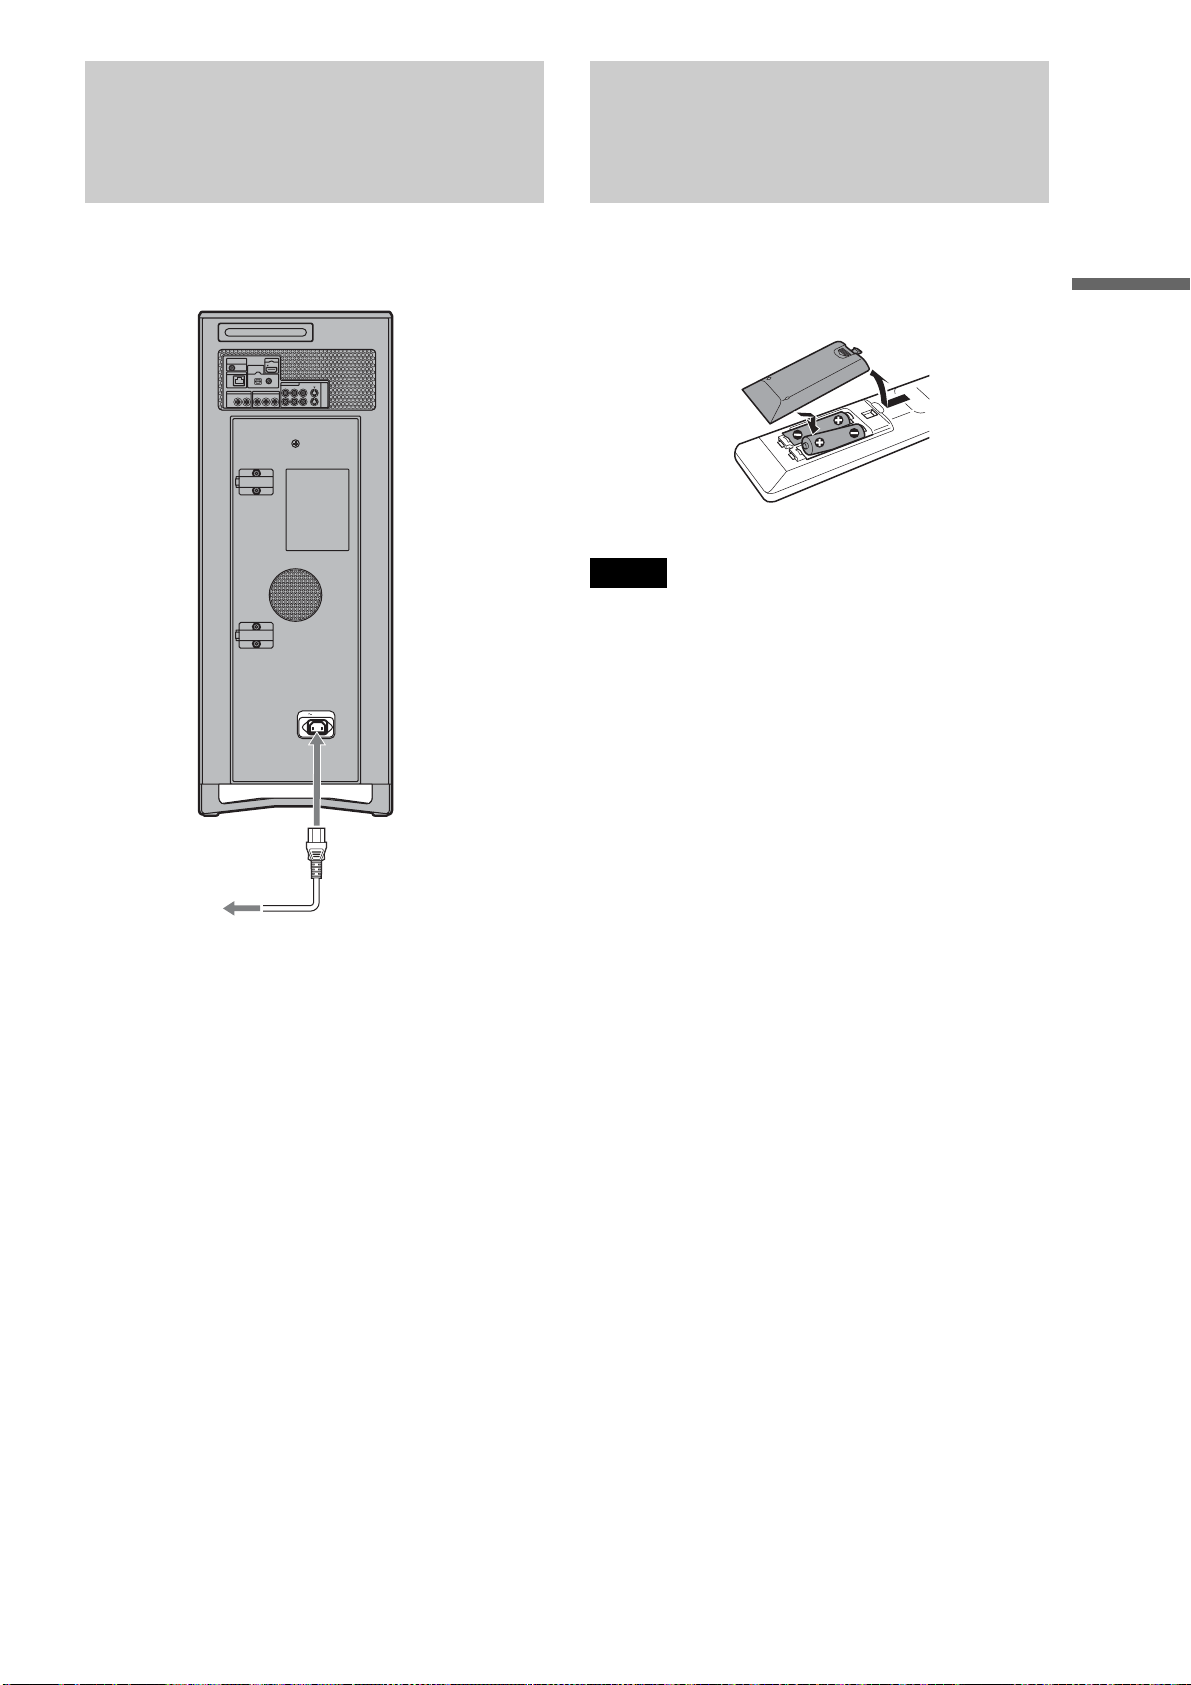
Step 6: Connecting the
Power Cord
After all of the other connections are complete, connect the
supplied power cord to the AC IN terminal of the server. Then
plug the server and TV power cords into the AC outlet.
Step 7: Preparing the
Remote
You can control the server using the supplied remote. Insert two
Size AA (R6) batteries by matching the 3 and # ends on the
batteries to the markings inside the battery compartment. When
using the remote, point it at the remote sensor on the server
(page 13).
PUSH/OPEN
CONTROL S IN/
IR IN
HDMI OUT
COMPONENT VIDEO OUT
AUDIO OUT
R
R-AUDIO-L VIDEO
LINE
IN 1
OUT
S VIDEO
YP
B PR
LAN
(
10/100
)
COAXIAL
DIGITAL OUT
PCM/DTS/
DOLBY DIGITAL
L
OPTICAL
AC IN
to AC outlet
to AC IN
Notes
• Do not leave the remote in an extremely hot or humid place.
• Do not drop any foreign object into the remote casing, particularly
when replacing the batteries.
• Do not expose the remote sensor to direct sunlight or a lighting
apparatus. Doing so may cause a malfunction.
• If you do not use the remote for an extended period of time, remove the
batteries to avoid possible damage from battery leakage and corrosion.
Loading ...
Loading ...
Loading ...