Loading ...
Loading ...
Loading ...
basic saw operations
BASIC SAW OPERATIONS
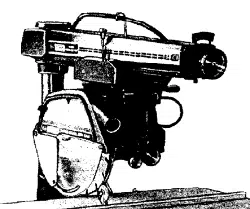
Yok_r Craftsma_ 12inch Radial Saw is an extremely
versatile tool, capable of performing innumerable cuts with
sufficient accuracy to satisfy both amateur and professional
wood-working requirements, Basic saw operations are
summarized into six categories, explained and illustrated in
the following paragraphs. A manual entitled "The Radial
Saw'" is available at your nearest Sears Retail Store or
Catalog Order House. This manual contains considerable
data and project ideas applicable to the radial saw.
NOTE: Refer to paragraphs under
"OPERATION" for illustrations and
descriptions of controls.
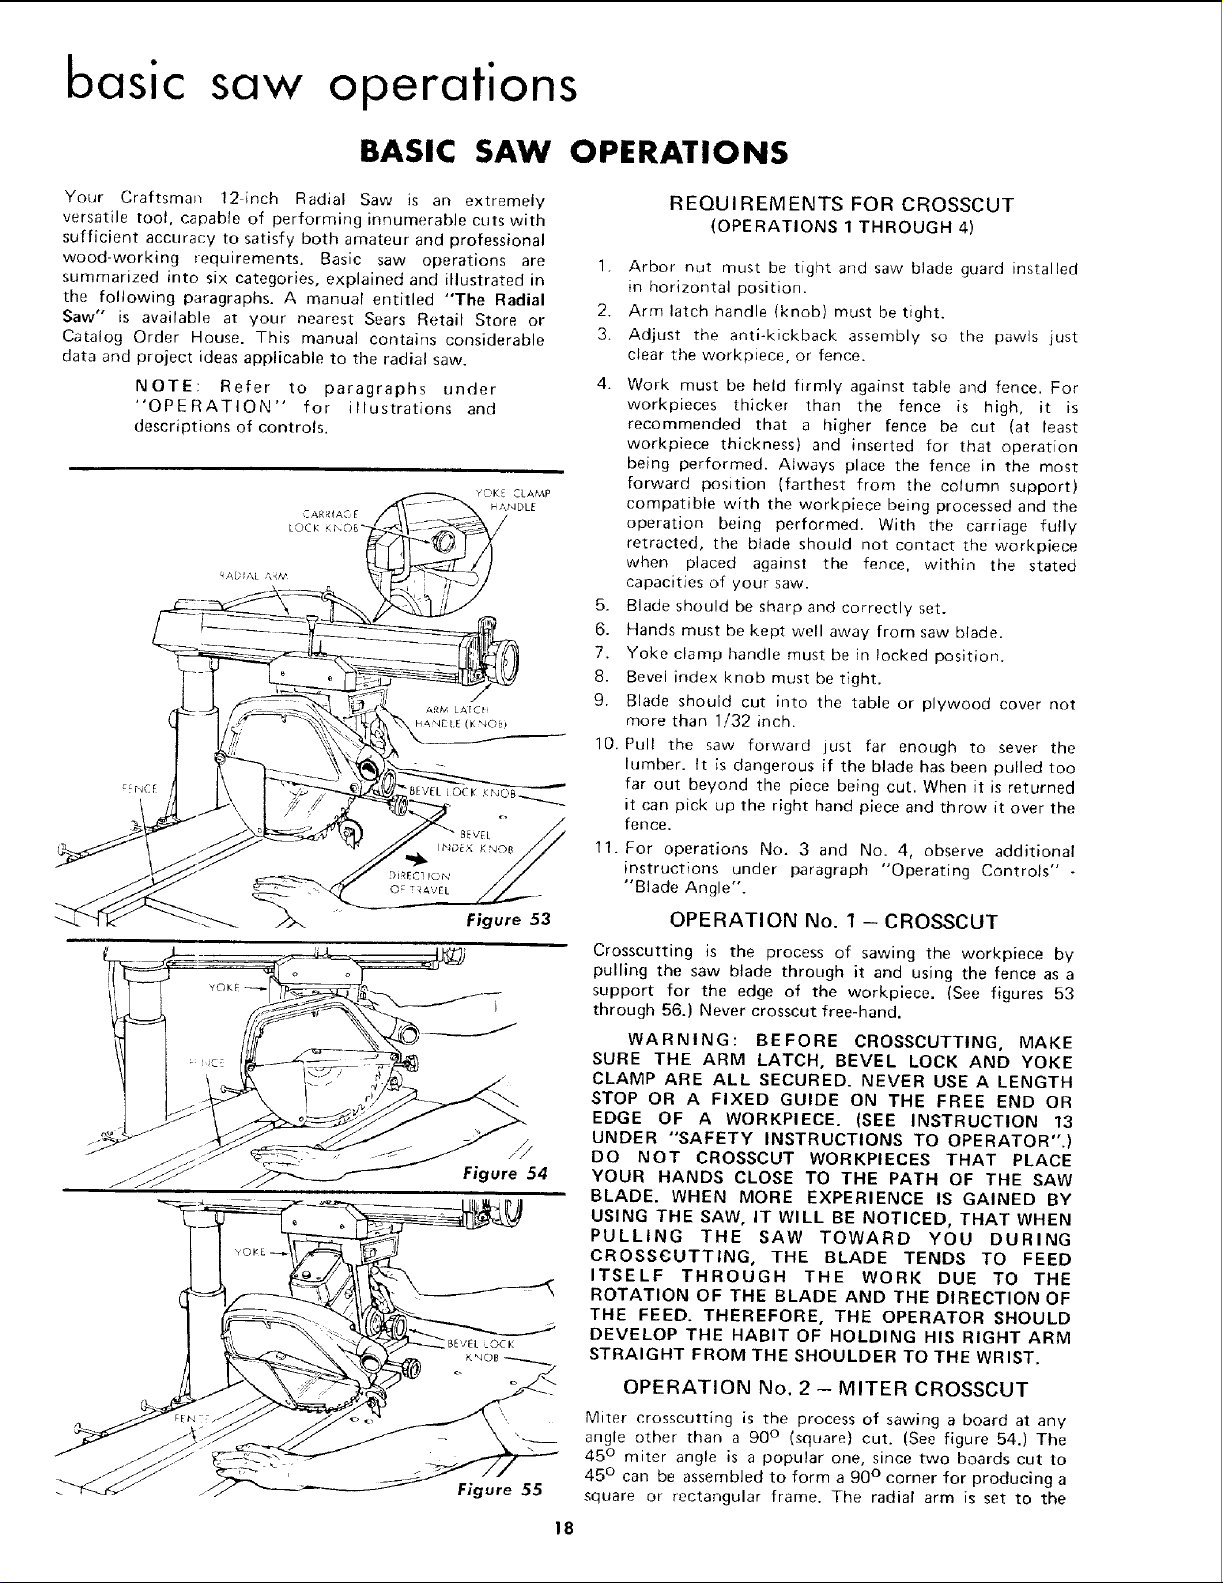
BEVEL LOCK
Figure 55
REQUIREMENTS FOR CROSSCUT
(OPERATIONS 1 THROUGH 4)
1. ArboP nut must be tight and saw blade guard installed
in horizontal position.
2. Arm latch handle (knob) must be tight.
3. Adjust the anti-kickback assembly so the pawls just
clear the workpiece, or fence.
4. Work must be held firmly against table end fence. For
workpieces thicker than the fence is high, it is
recommended that a higher fence be cut (at least
workpiece thickness) and inserted for that operation
being performed. Always place the fence in the most
forward position (farthest from the column support)
compatible with the workpiece being processed and the
operation being performed. With the carriage fully
retracted, the blade should not contact the workpiece
when placed against the fence, within the stated
capacities of your saw.
5. Blade should be sharp and correctly set.
6. Hands must be kept well away from saw blade.
7. Yoke clamp handle must be in locked position.
8. Bevel index knob must be tight.
9. Blade should cut into the table or plywood cover not
more than 1/32 inch.
10. Pull the saw forward just far enough to sever the
lumber, tt is dangerous if the blade has been pulled too
far out beyond the piece being cut. When it is returned
it can pick up the right hand piece and throw it over the
fence°
11. For operations No. 3 and No. 4, observe additional
instructions under paragraph "Operating Controls" -
"Blade Angle".
OPERATION No. 1 - CROSSCUT
Crosscutting is the process of sawing the workpiece by
pulling the saw blade through it and using the fence as a
support for the edge of the workpiece. (See figures 53
through 56.) Never crosscut free-hand.
WARNING: BEFORE CROSSCUTTING, MAKE
SURE THE ARM LATCH, BEVEL LOCK AND YOKE
CLAMP ARE ALL SECURED. NEVER USE A LENGTH
STOP OR A FIXED GUIDE ON THE FREE END OR
EDGE OF A WORKPIECE. (SEE INSTRUCTION 13
UNDER "SAFETY INSTRUCTIONS TO OPERATOR".)
DO NOT CROSSCUT WORKPIECES THAT PLACE
YOUR HANDS CLOSE TO THE PATH OF THE SAW
BLADE. WHEN MORE EXPERIENCE IS GAINED BY
USING THE SAW, IT WILL BE NOTICED, THAT WHEN
PULLING THE SAW TOWARD YOU DURING
CROSSCUTTING, THE BLADE TENDS TO FEED
ITSELF THROUGH THE WORK DUE TO THE
ROTATION OF THE BLADE AND THE DIRECTION OF
THE FEED. THEREFORE, THE OPERATOR SHOULD
DEVELOP THE HABIT OF HOLDING HIS RIGHT ARM
STRAIGHT FROM THE SHOULDER TO THE WRIST.
OPERATION No. 2 - MITER CROSSCUT
Miter crosscutting is the process of sawing a board at any
angle other than a 90 ° (square) cut. (See figure 54.) The
45 ° miter angle is a popular one, since two boards cut to
45 ° can be assembled to form a 90 ° corner for producing a
square or rectangular frame. The radial arm is set to the
18
Loading ...
Loading ...
Loading ...