Loading ...
Loading ...
Loading ...
25 Philips · NeoPix 320
• Internal Speaker: Use the projector's
internal speaker to output audio.
• ARC: Use an HDMI™ ARC compatible
device to output audio. Note: You can
select this only when a compatible
device is connected. To learn how to
connect such a device, see Connect to
a device through HDMI™ ARC, page
15.
• Bluetooth: Use a Bluetooth device
paired with the projector to output
audio. To learn how to connect a
Bluetooth device, see Connect to a
Bluetooth device, page 16.
• Volume: Adjust the volume. Note: After
selecting this menu item, you can adjust
volume by pressing / on the remote
control only.
• Bass: Set the bass level.
• Treble: Set the treble level.
• Reset to Default: Select Yes to reset all the
sound settings above.
Image settings
You can view and change the following image
settings.
• Locations: You can select a location and
then modify the image settings. All the
modified image settings will be associated
with the selected (current) location. You
can create up to 3 different sets of image
settings this way and quickly switch
between them by selecting a location. Tip:
The projector always selects the last used
location after being restarted.
• Room 1: Select this to use or modify the
image settings for Room 1.
• Room 2: Select this to use or modify the
image settings for Room 2.
• Room 3: Select this to use or modify the
image settings for Room 3.
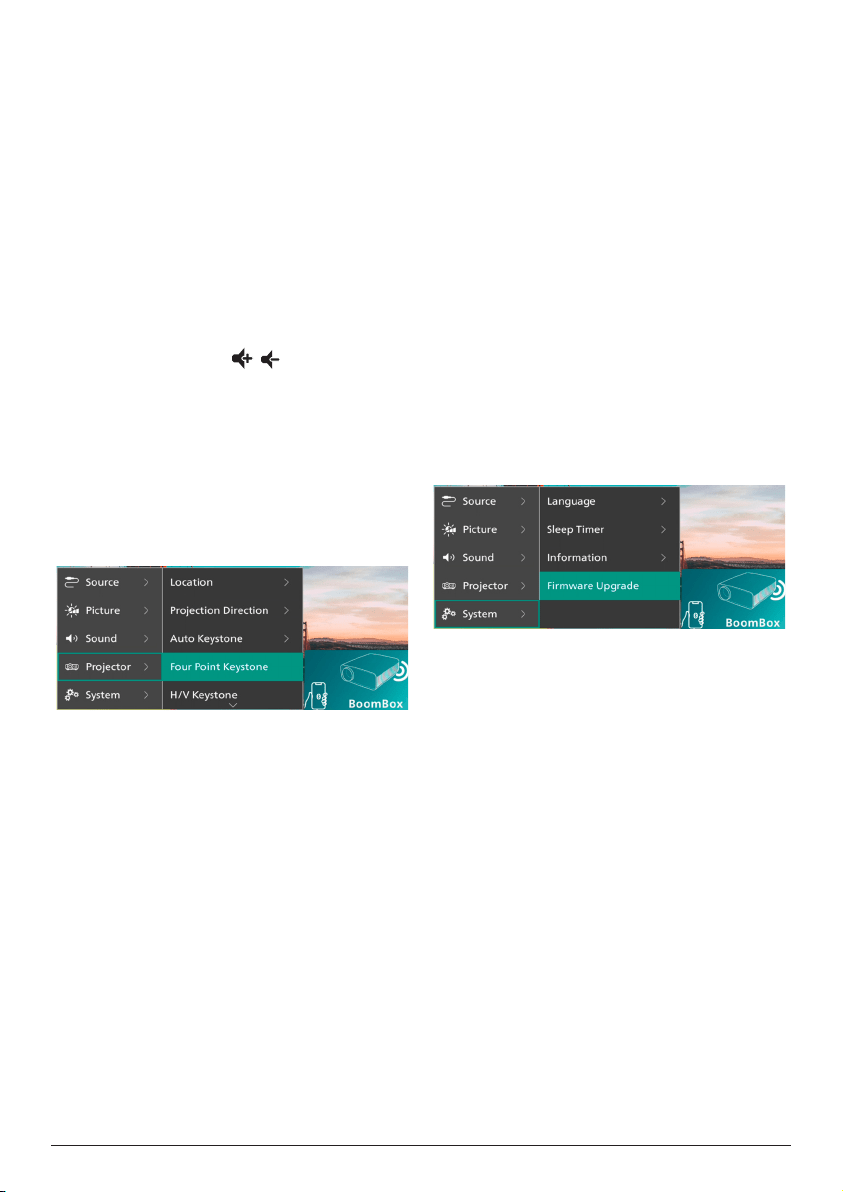
• Projection Direction: Adjust the projection
to the correct direction based on how the
projector is installed.
• Auto Keystone: Turn auto keystone
correction on or off by selecting Yes or No.
• Four Point Keystone: Select this to manually
make the image rectangular by moving four
corners of the image. This menu item is
visible only when auto keystone correction
is off.
• H/V Keystone: Select this to manually make
the image rectangular by adjusting the
horizontal and vertical keystone angles.
This menu item is visible only when auto
keystone correction is off.
• Digital Zoom: Scale down the screen to up
to 60% of its full size. The default value is
100% (no scale-down).
• Reset to Default: Select Yes to reset all the
image settings above except Projection
Direction for the current location (Room
1/2/3). The other two locations will not be
affected.
Other settings
You can view and change the following
additional settings.
• Language: Select your preferred display
language.
• Sleep Timer: Select a period of time after
which the projector turns off automatically.
The default value is Disabled.
• Information: View the hardware version,
software version, serial number and MAC
address of this product.
• Firmware Upgrade: Update the projector's
software or factory reset the projector.
• Online Upgrade: For more details, see
Update software online, page 26.
• Offline Upgrade: For more details, see
Update software offline, page 26.
• Factory Reset: Restore the product to
its factory default settings. After the
factory reset, the projector will restart
and allow you to set it up as new.
Loading ...
Loading ...
Loading ...