Loading ...
Loading ...
Loading ...
11 Philips · NeoPix 320
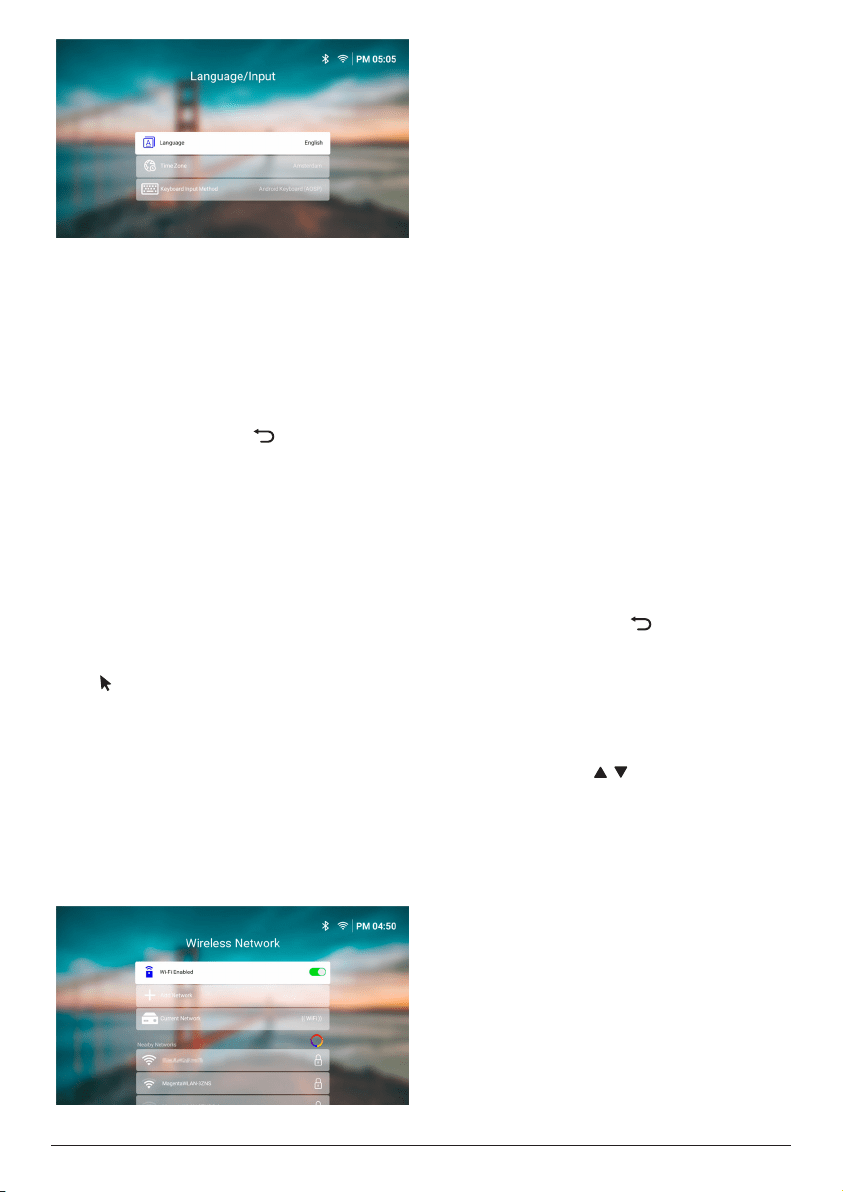
• Language: Select your preferred display
language.
• Time Zone: Set the time zone used by the
projector by selecting a city.
• Keyboard Input Method: Select your
preferred on-screen keyboard or input
method.
Note: The default display language is English
and not all languages are available.
When you are done, press to return to the
Welcome screen and press the OK button to go
to the next step.
Step 2: Connect the remote
control via Bluethooth
Follow the on-screen instructions to connect
the remote control to the projector via
Bluetooth. After making the connection, you
can use the on-screen pointer to navigate the
on-screen user interface of the projector.
Tip: To enable or disable the on-screen pointer,
press on the remote control.
When you are done, press the OK button to go
to the next step.
Step 3: Connect to a Wi-Fi
network
1 Press the OK button on the remote control
to open the Wireless Network screen. Tip:
Step 3 is optional. You may skip to Step
4 by selecting Next and pressing the OK
button.
2 Select a network from the list under Nearby
Networks and press the OK button. You
are prompted to enter the password for
connecting to the network using the on-
screen keyboard.
3 Enter the password by pressing the
navigation buttons and OK buttons. Tips:
Press and hold a navigation button to move
to the key you want more quickly. You can
also enter the password using the on-
screen pointer and OK button.
4 Select the green check mark on the
keyboard and press the OK button.
5 Wait a few seconds for the connection to
be established. After the connection is
established, the connected Wi-Fi network's
name appears after Current Network and
the Wi-Fi icon in the upper-right corner of
the screen turns bright white.
Notes:
• If you connect to an open (unsecured) Wi-
Fi network, you won't be prompted to enter
the password and the connection will be
automatically established.
• The next time you turn on the projector, it
will automatically try to reconnect to the
last connected Wi-Fi network, unless you
manually disconnect/forget the network or
factory reset the projector.
When you are done, press to return to the
previous screen and press the OK button to go
to the next step.
Step 4: Agree to the software
end user license agreement
1 View the software end user license
agreement. Press / on the remote
control to scroll up or down.
2 When you are done, press the OK button to
agree to the agreement.
Step 5: Choose whether to start
using ExpressVPN
Select either "No thanks, I'm not interested" or
"Yes, start my free trial for better streaming"
and then press the OK button.
You will see the home screen after completing
the setup.
Loading ...
Loading ...
Loading ...