Loading ...
Loading ...
Loading ...
OPERATION NO. 6- BEVEL RIPPING
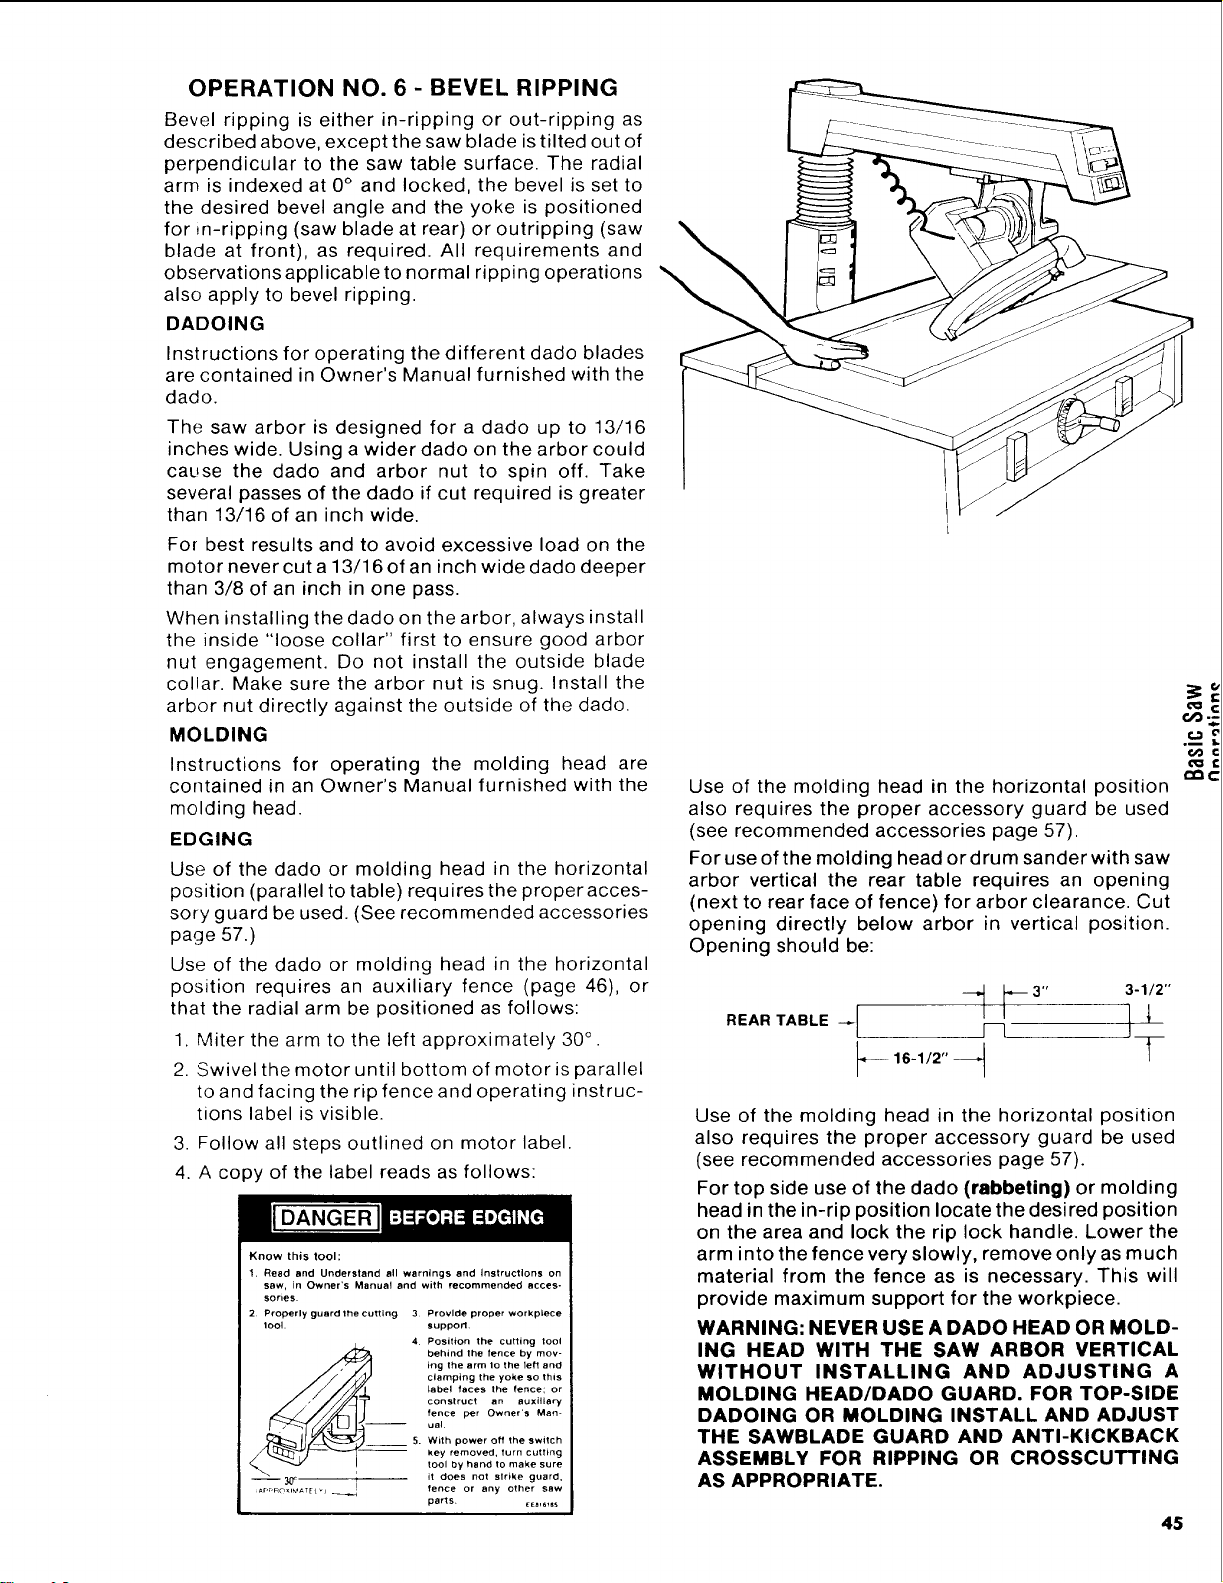
Bevel ripping is either in-ripping or out-ripping as
described above, except the saw blade is tilted out of
perpendicular to the saw table surface. The radial
arm is indexed at 0° and locked, the bevel is set to
the desired bevel angle and the yoke is positioned
for ,n-ripping (saw blade at rear) or outripping (saw
blade at front), as required. All requirements and
observations applicable to normal ripping operations
also apply to bevel ripping.
DADOING
Instructions for operating the different dado blades
are contained in Owner's Manual furnished with the
dado.
The saw arbor is designed for a dado up to 13/16
inches wide. Using a wider dado on the arbor could
cause the dado and arbor nut to spin off. Take
several passes of the dado if cut required is greater
than 13/16 of an inch wide.
For best results and to avoid excessive load on the
motor never cut a 13/16 of an inch wide dado deeper
than 3/8 of an inch in one pass.
When installing the dado on the arbor, always install
the inside "loose collar" first to ensure good arbor
nut engagement. Do not install the outside blade
collar. Make sure the arbor nut is snug. Install the
arbor nut directly against the outside of the dado.
MOLDING
Instructions for operating the molding head are
contained in an Owner's Manual furnished with the
molding head.
EDGING
Use of the dado or molding head in the horizontal
position (parallel to table) requires the proper acces-
sory guard be used. (See recommended accessories
page 57.)
Use of the dado or molding head in the horizontal
position requires an auxiliary fence (page 46), or
that the radial arm be positioned as follows:
1. Miter the arm to the left approximately 30 ° .
2. Swivel the motor until bottom of motor is parallel
to and facing the rip fence and operating instruc-
tions label is visible.
3. Follow all steps outlined on motor label.
4. A copy of the label reads as follows:
I[DANGERJ
Know this tool:
1. Read and Understand all warnings and instructions on
saw, in Owner's Manual and with recommended acces-
sorles.
2. Properly guard the cutting 3 Provide proper workplece
tO01. $upporL
4 Position the cuifing tool
behind the fence by mov-
ing the arm lo the 1ell and
clamping the yoke SO this
babel faces the fence; or
construct an auxiliary
fence per Owner's Man-
- ual
5. With power off the switch
- key removed, turn cutting
tool hand to make sure
by
Rc 3_" [t I it does not slrike guard.
fence or any other saw
parts. [E_,6,_s
Use of the molding head in the horizontal position
also requires the proper accessory guard be used
(see recommended accessories page 57).
For use of the molding head or drum sander with saw
arbor vertical the rear table requires an opening
(next to rear face of fence) for arbor clearance. Cut
opening directly below arbor in vertical position.
Opening should be:
REARTABLE _ _1 b3"_ 3-1/2"j__
_ 16-1,2" _ F
Use of the molding head in the horizontal position
also requires the proper accessory guard be used
(see recommended accessories page 57).
For top side use of the dado (rabbeting) or molding
head in the in-rip position locate the desired position
on the area and lock the rip lock handle. Lower the
arm into the fence very slowly, remove only as much
material from the fence as is necessary. This will
provide maximum support for the workpiece.
WARNING: NEVER USE A DADO HEAD OR MOLD-
ING HEAD WITH THE SAW ARBOR VERTICAL
WITHOUT INSTALLING AND ADJUSTING A
MOLDING HEAD/DADO GUARD. FOR TOP-SIDE
DADOING OR MOLDING INSTALL AND ADJUST
THE SAWBLADE GUARO AND ANTI-KICKBACK
ASSEMBLY FOR RIPPING OR CROSSCUTTING
AS APPROPRIATE.
cq:
o0
.i
45
Loading ...
Loading ...
Loading ...