Loading ...
Loading ...
Loading ...
basic saw operation
WARNING: TO AVOID MISTAKES THAT COULD
CAUSE SERIOUS PERMANENT INJURY, OBSERVE
ALL THE FOLLOWING INSTRUCTIONS IN ADDI-
TION TO THOSE ON PAGES 2-6.
Basic saw operations are summarized in six cate-
gories, explained and illustrated in the following
paragraphs.
NOTE: Refer to paragraphs under "Location and
Function of Controls" for illustrations and descrip-
tion of controls. Page 36.
CUTTING A KERF IN THE WORK TABLE
AND FENCE
NOTE: The life of your saw table will be lengthened
considerably if you will cover the front table with a
fitted piece of 1/4 inch plywood. This should be
tacked in place for easy replacement. Use of such a
cover will allow you to do all cutting into the cover,
rather than your table top. This will help prevent
dulling of the saw blade and striking table mounting
hardware. Place tacks out of the path of the sawblade.
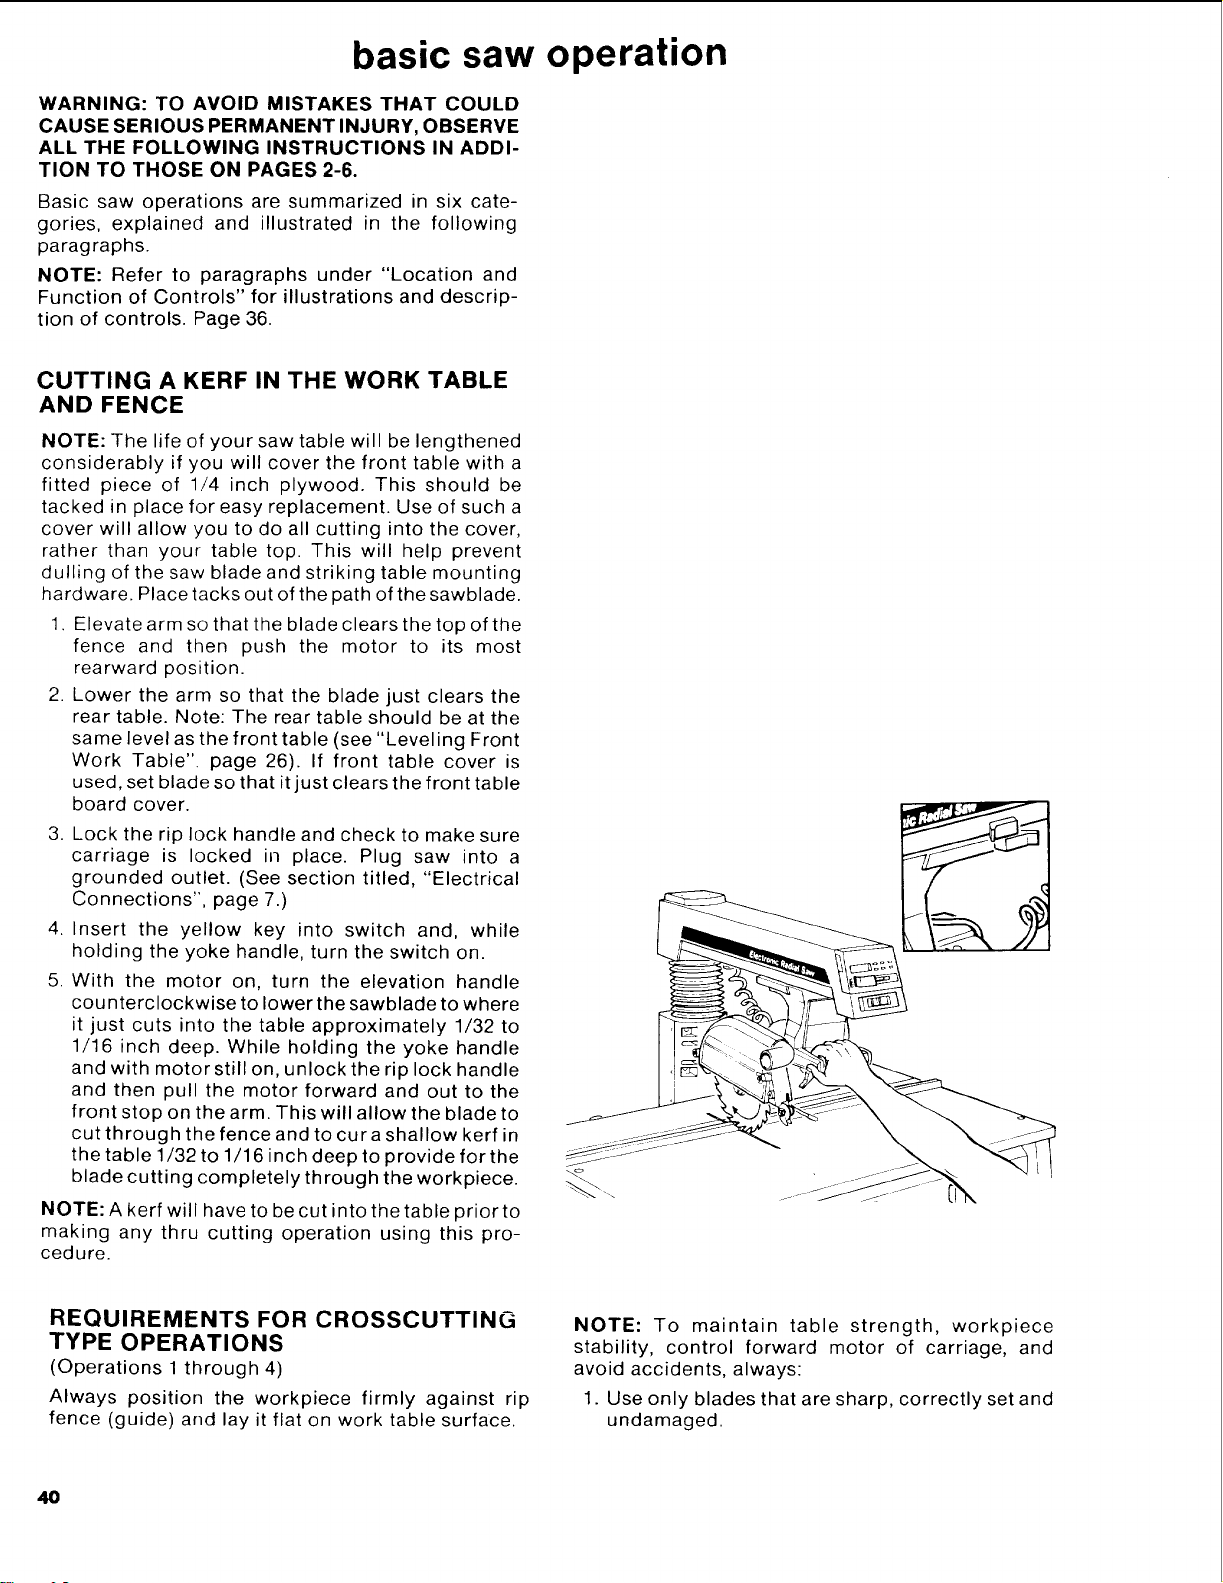
1. Elevate arm so that the blade clears the top of the
fence and then push the motor to its most
rearward position.
2. Lower the arm so that the blade just clears the
rear table. Note: The rear table should be at the
same level as the front table (see "Leveling Front
Work Table". page 26). If front table cover is
used, set blade so that it just clears the front table
board cover.
3. Lock the rip lock handle and check to make sure
carriage is locked in place. Plug saw into a
grounded outlet. (See section titled, "Electrical
Connections", page 7.)
4. Insert the yellow key into switch and, while
holding the yoke handle, turn the switch on.
5. With the motor on, turn the elevation handle
counterclockwise to lower the sawblade to where
it just cuts into the table approximately 1/32 to
1/16 inch deep. While holding the yoke handle
and with motor still on, unlock the rip lock handle
and then pull the motor forward and out to the
front stop on the arm. This will allow the blade to
cut through the fence and to curashallow kerf in
the table 1/32 to 1/16 inch deep to provide for the
blade cutting completely through the workpiece.
NOTE: A kerf will have to be cut into the table prior to
making any thru cutting operation using this pro-
cedure.
REQUIREMENTS FOR CROSSCUTTING
TYPE OPERATIONS
(Operations 1 through 4)
Always position the workpiece firmly against rip
fence (guide) and lay it flat on work table surface.
NOTE: To maintain table strength, workpiece
stability, control forward motor of carriage, and
avoid accidents, always:
1. Use only blades that are sharp, correctly set and
undamaged.
48
Loading ...
Loading ...
Loading ...