Loading ...
Loading ...
Loading ...
UPPER THREADING
64
o
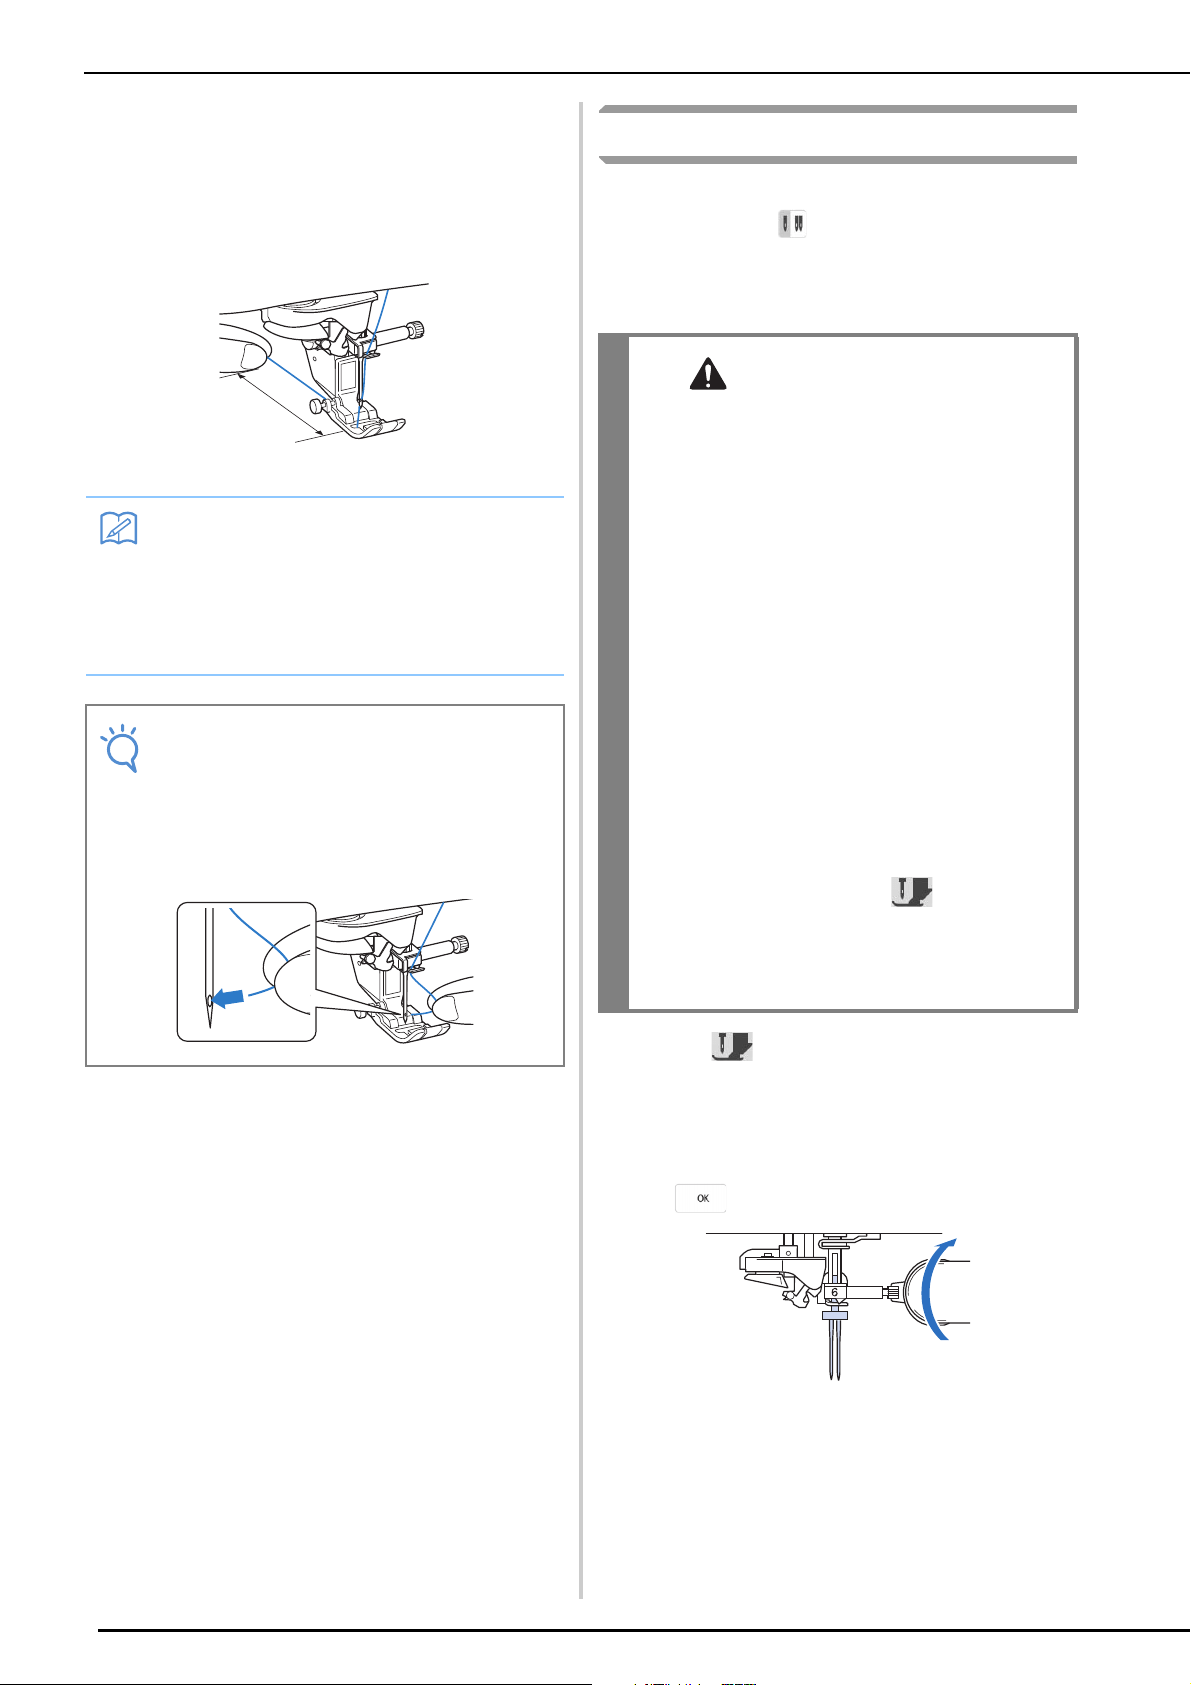
Pull out about 100-150 mm (approx. 4-6
inches) of the thread, and then pass it under
the presser foot toward the rear of the
machine.
Raise the presser foot lever if the presser foot is
lowered.
a About 100-150 mm (approx. 4-6 inches)
Using the Twin Needle Mode
The twin needle can only be used for stitch
patterns that show after being selected. Before
you select a stitch pattern, make sure the stitch can
be sewn in the twin needle mode (refer to the
“STITCH SETTING CHART” on page 218).
a
Press to lock all keys and buttons and
then install the twin needle (“CHANGING
THE NEEDLE” on page 69).
* If the message “OK to automatically lower the
presser foot?” appears on the LCD screen, press
to continue.
Memo
• If the needle could not be threaded or the
thread was not passed through the needle
bar thread guides, perform the procedure
again starting from step
c.
Then, pass the thread through the eye of
the needle after step
i.
Note
• Some needles cannot be threaded with the
needle threader. In this case, instead of
using the needle threader after passing the
thread through the needle bar thread guide
(marked “6”), manually pass the thread
through the eye of the needle from the front.
CAUTION
• Twin needle (part code XE4963-001) is
recommended for this machine. Contact your
authorized Brother dealer for replacement
needles (size 2.0/11 is recommended).
• Be sure to set the twin needle mode when
using the twin needle. Using the twin needle
while the machine is in single needle mode
could cause the needle to break, resulting in
damage.
• Do not sew with bent needles. The needle
could break and cause injury.
• When using the twin needle, it is
recommended to use presser foot “J”.
• When the twin needle is used, bunched
stitches may occur depending on the types of
fabric and thread that are used.
Use monogramming foot “N” for decorative
stitches.
• Before changing the needle or threading the
machine, be sure to press
on the LCD
Screen to lock all keys and buttons, otherwise
injuries may occur if the “Start/Stop” button
or any other button is pressed and the machine
starts sewing.
Loading ...
Loading ...
Loading ...