Loading ...
Loading ...
Loading ...
SEWING STITCH PATTERNS
164
e
Press the “Start/Stop” button to stop
sewing.
f
Keep pressing the “Reverse Stitch” button
or the “Reinforcement Stitch” button to
sew 4 stitches of reinforcement stitches.
Making Adjustments
Your stitch pattern may sometimes turn out poorly,
depending on the type or thickness of fabric, the
stabilizer material used, sewing speed, etc. If your
sewing does not turn out well, sew trial stitches
using the same conditions as the real sewing, and
adjust the stitch pattern as explained below. If the
stitch pattern does not turn out well even after
making adjustments based on the stitch
pattern, make adjustments for each stitch pattern
individually.
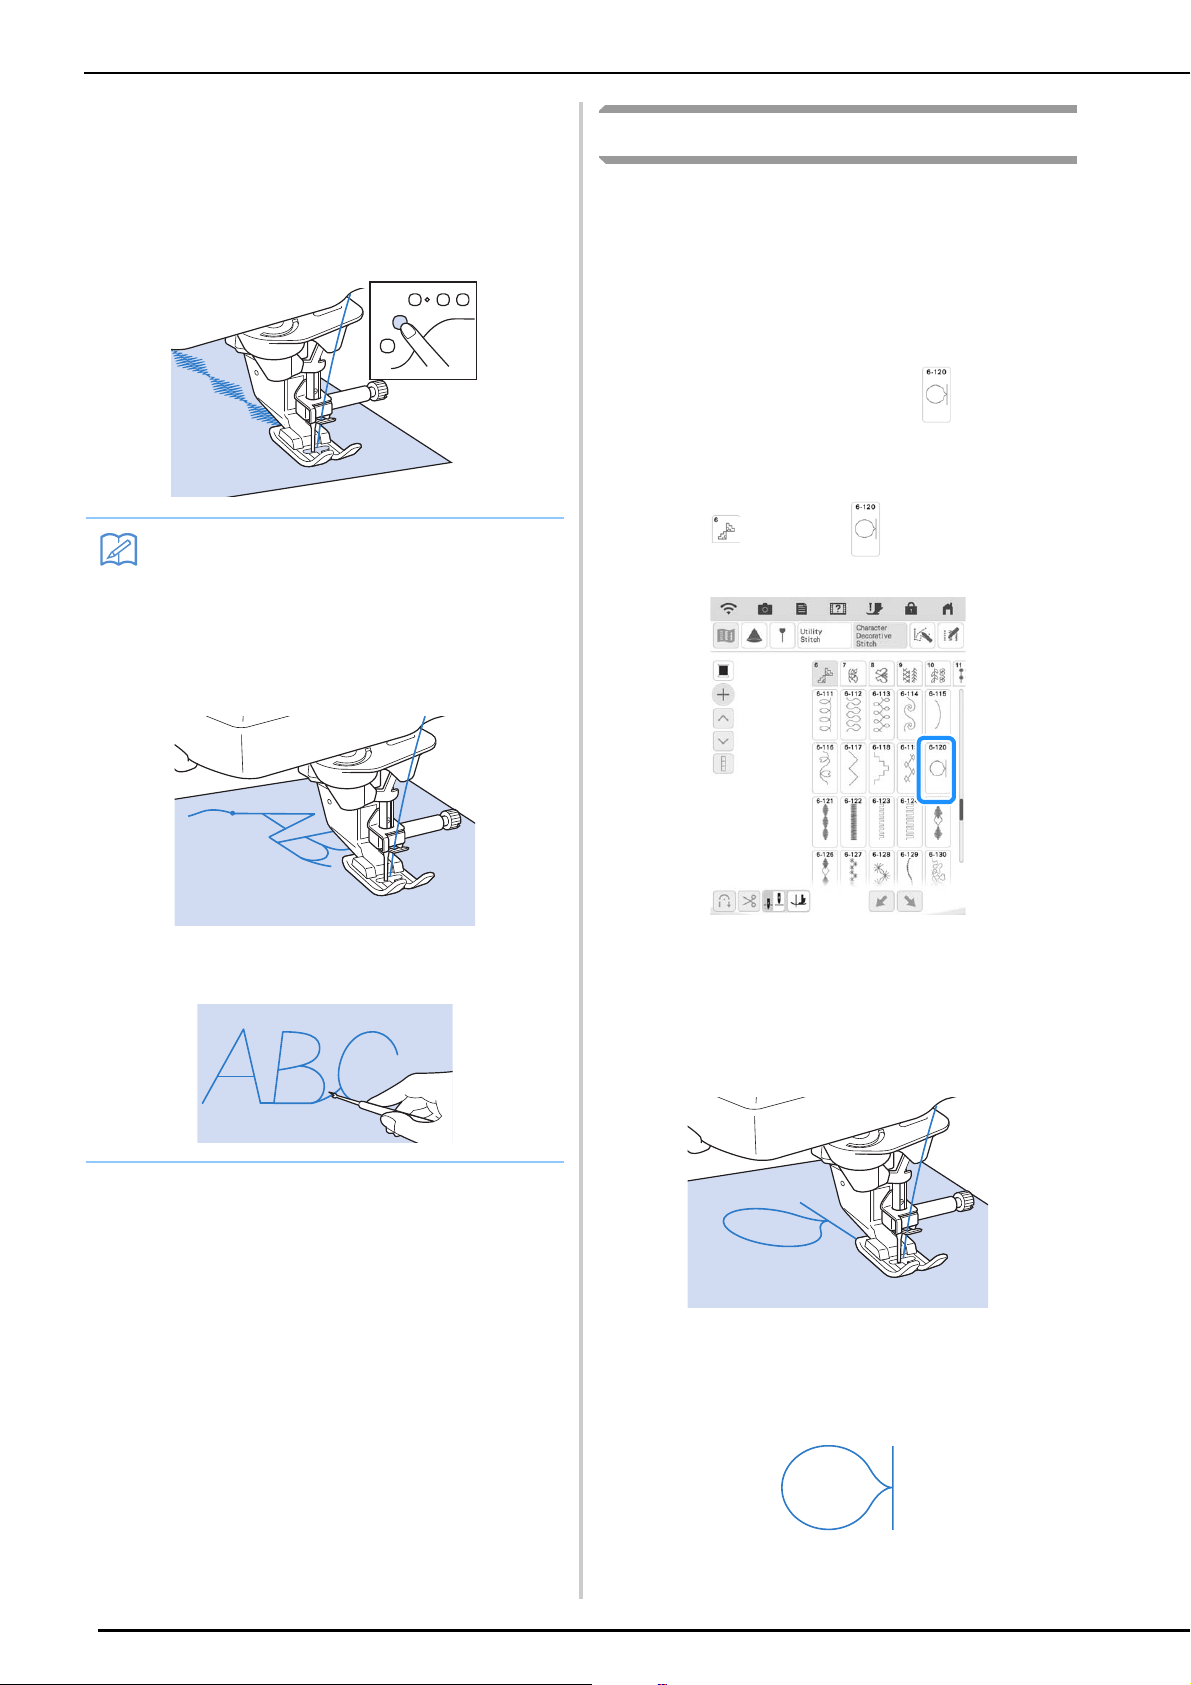
a
Press and select .
b
Attach monogramming foot “N” and sew
the stitch pattern.
c
Compare the finished stitch pattern to the
illustration of the correct stitch pattern
below.
Memo
• When sewing character stitches, the
machine automatically sews reinforcement
stitches at the beginning and end of each
character.
• After sewing is finished, use a seam ripper
to trim any excess thread (jump stitches).
Loading ...
Loading ...
Loading ...