Loading ...
Loading ...
Loading ...
EMBROIDERING TUTORIAL
35
2
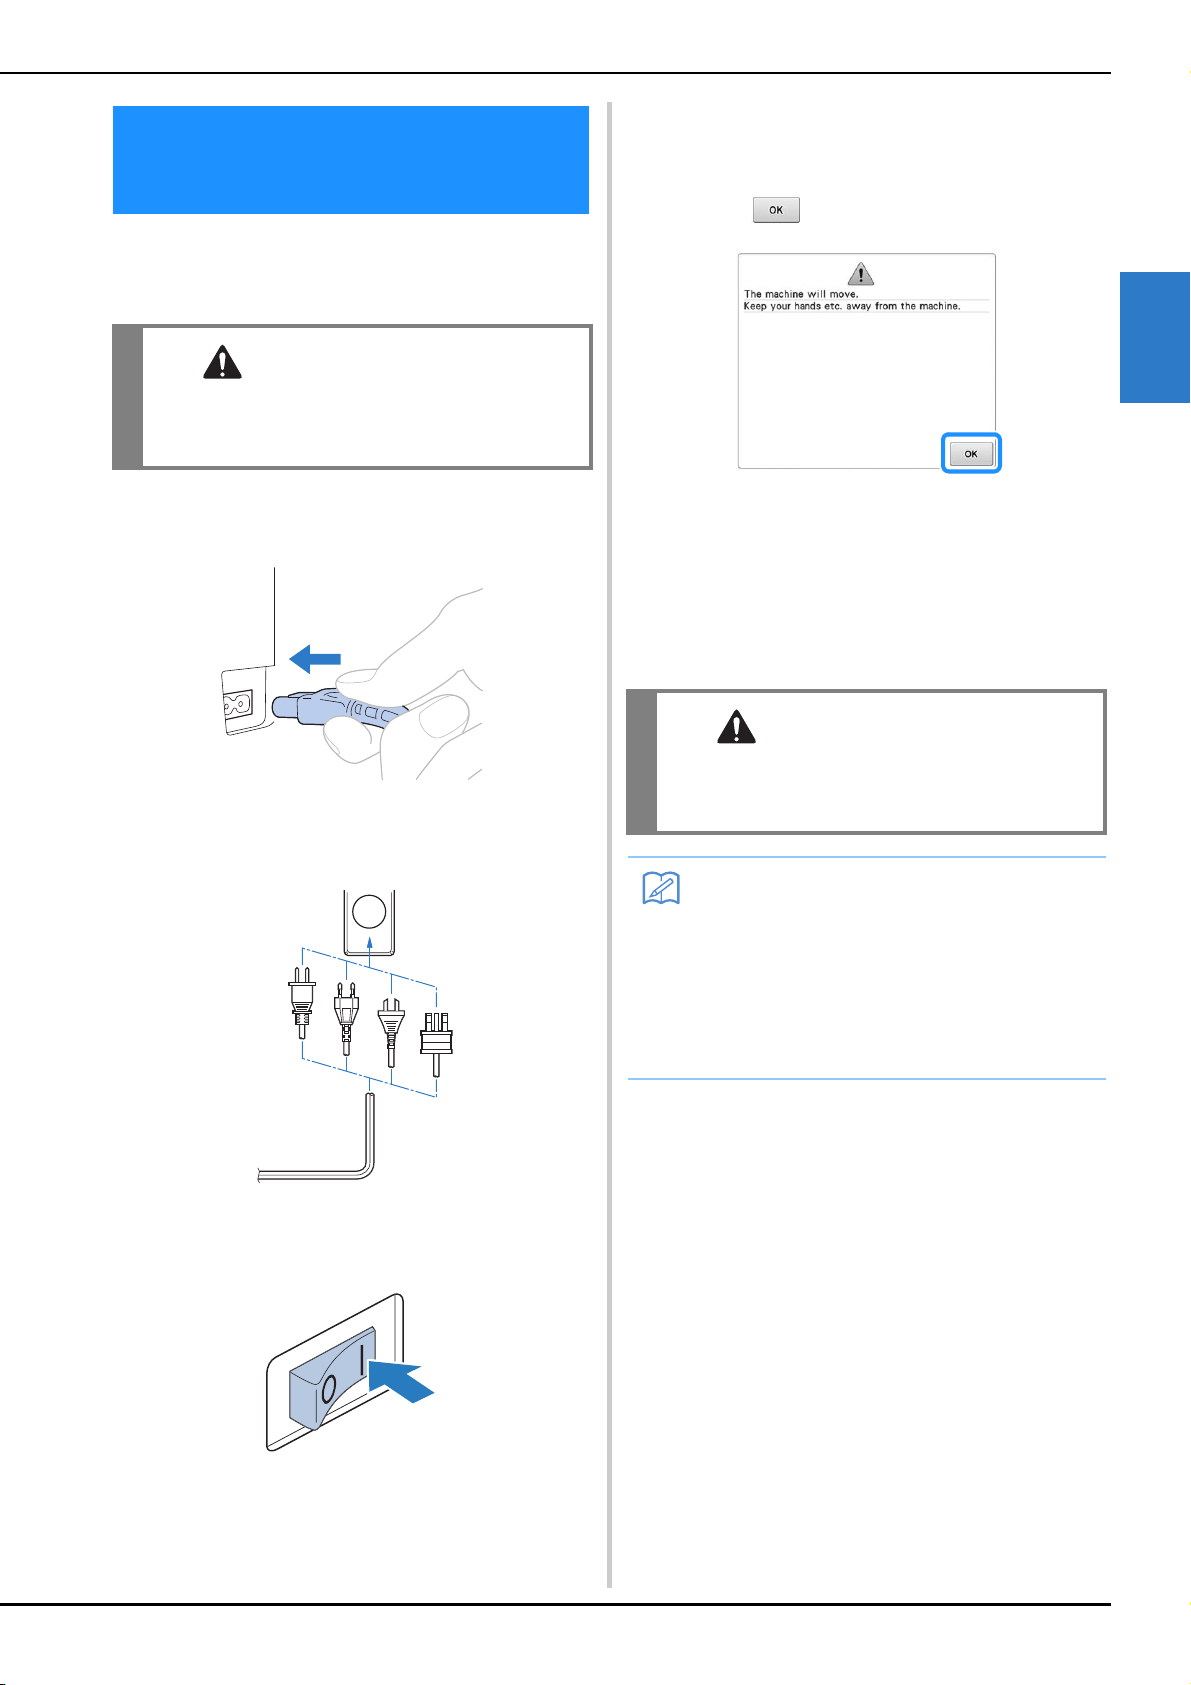
Connect the power supply cord, and then turn on
the embroidery machine. For precautions
concerning the power supply, refer to page 29.
a
Plug the power supply cord into the
machine.
b
Insert the plug of the power supply cord
into a household electrical outlet.
c
Switch on the main power switch on the
back of the machine to “I”.
The LCD screen comes on.
d
When the machine is turned on, the
opening movie is played. Touch anywhere
on the screen to display the message below.
e
Touch .
The pattern type selection screen appears, and the
start/stop button lights up in red.
f
The carriage moves to its initial position.
• If the number 1 needle bar is not already at the
embroidering position, the needle bar case moves
and the number 1 needle bar moves to the
embroidering position.
2. Turning ON the
Machine
CAUTION
• Be sure to use the included power cord for this
machine. Using any other power cord may
result in damage.
CAUTION
• Make sure to keep your hands and other items
away from the carriage, in order to prevent
any injuries.
Memo
• If the machine is turned off in the middle of
embroidering, the machine will
automatically save the design position when
turned on again. At that time, you will be
asked if you wish to continue embroidering
or begin a new operation. (Refer to
“Resume Embroidering After Turning Off the
Machine” on page 101.)
Loading ...
Loading ...
Loading ...