Loading ...
Loading ...
Loading ...
152
e
Touch .
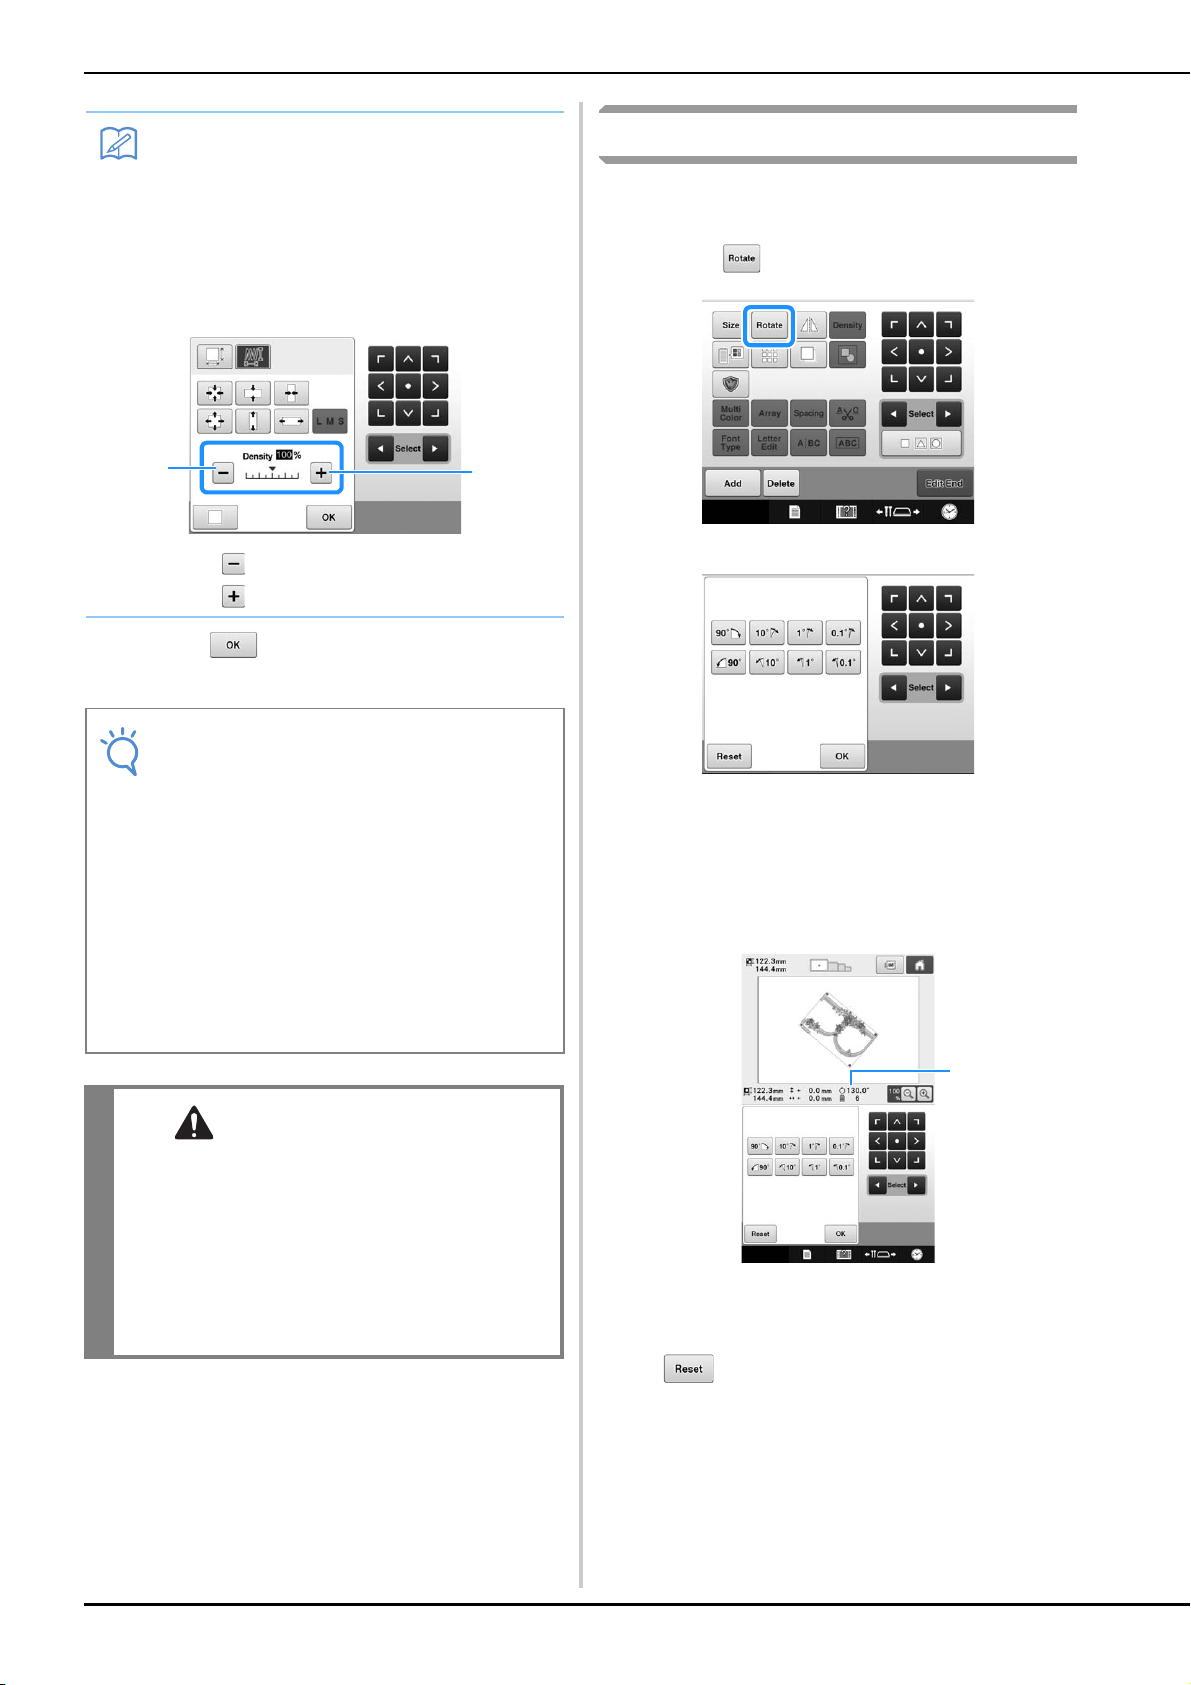
Rotating a pattern
The pattern can be rotated in either direction to
the desired angle.
a
Touch .
The screen shown below appears.
• For details on each key, refer to “Adjusting the angle”
on page 91.
b
Touch the keys to adjust the pattern to the
desired angle.
Each touch of a key rotates the pattern.
1 Shows the angle of the pattern after a key is
touched to change it.
• To return the pattern to its original angle, touch
.
c
If necessary, touch the arrow keys to adjust
the position of the pattern.
(For more details, refer to page 148.)
Memo
• In Stitch Recalculator mode, the pattern can
be reduced/enlarged between 60% and
120%.
• With the density scale bar, the thread
density can be changed.
A setting between 80% and 120% in 5%
increments can be specified.
1 Touch to make the pattern less dense.
2 Touch to make the pattern more dense.
Note
• Depending on the pattern, embroidering
may not be possible at the appropriate
thread density. Before sewing on your
project, be sure to embroider a trial sample
on a piece of scrap fabric that is the same
as the fabric used in the project, using the
same needle and embroidery thread.
• If the pattern is enlarged and there is space
between stitches, a better effect can be
achieved by increasing the thread density.
• If the pattern is reduced and the stitching is
too thick, a better effect can be achieved by
reducing the thread density.
CAUTION
• Depending on the pattern, the stitching may
become entangled or the needle may break when
the pattern is reduced. If this occurs, slightly
enlarge the pattern.
• After changing the size of the pattern, check the
icons for the embroidery frames that can be used
and use only the indicated frames. If a frame other
than those indicated are used, the presser foot may
hit the embroidery frame and cause injuries.
2
1
1
Loading ...
Loading ...
Loading ...