Loading ...
Loading ...
Loading ...
233
Troubleshooting
Maintenance / Product Specifications / Troubleshooting Troubleshooting
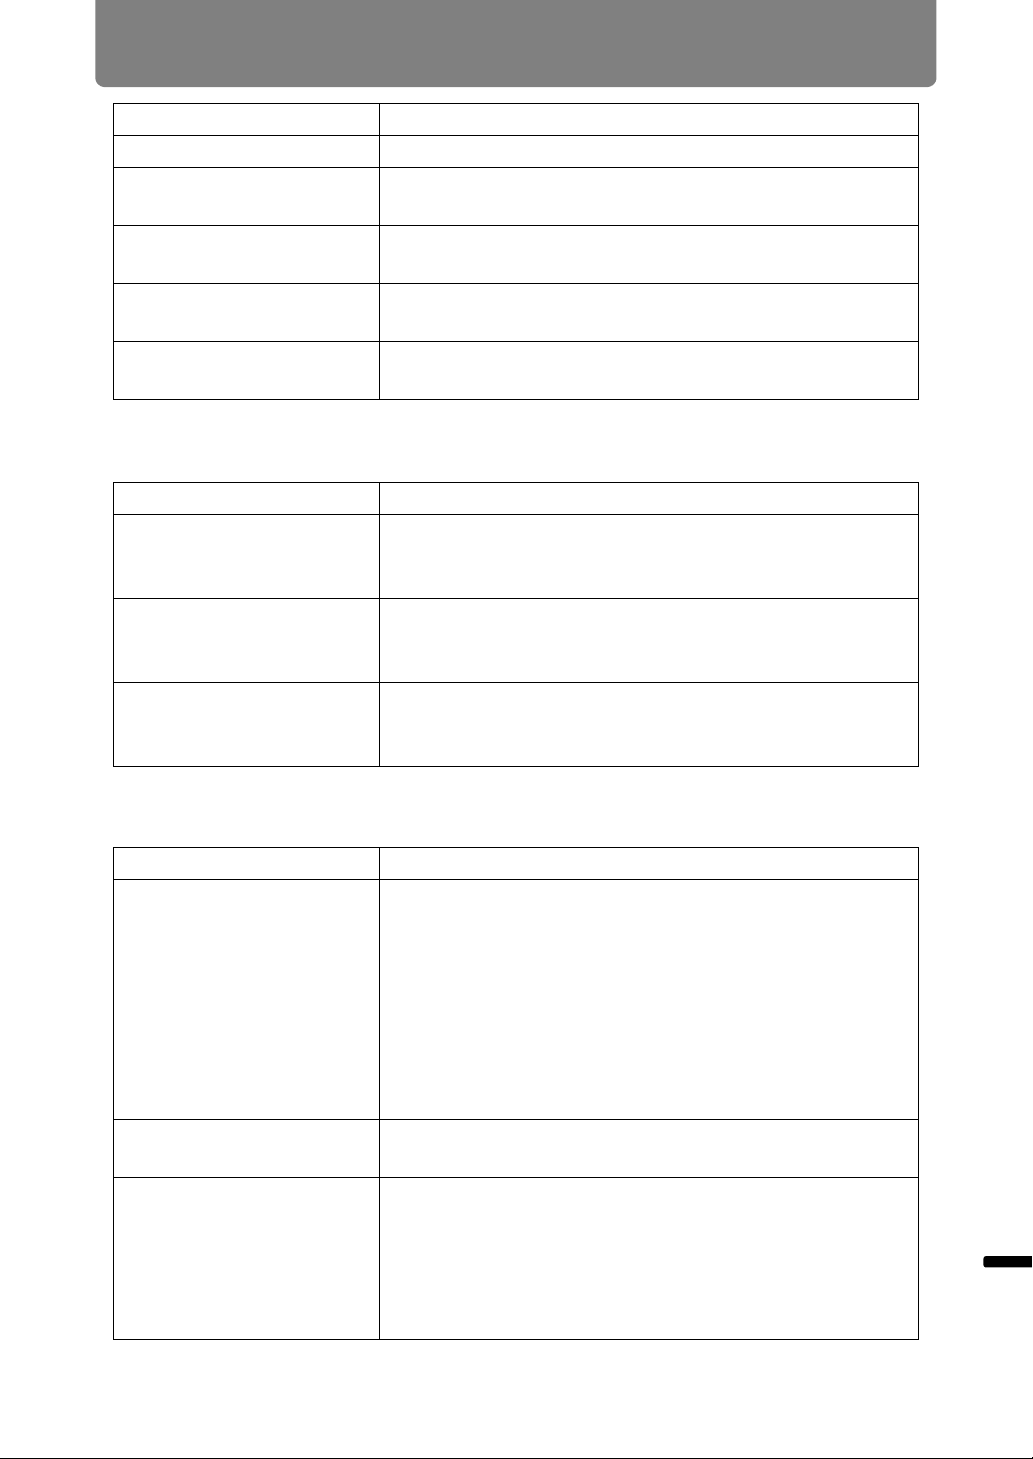
■ You Cannot Project an Image Appropriately
■ The Projector Power Turns Off
Video is blurred. Activate motion blur reduction (P172).
Motion blur reduction is
not available.
Motion blur reduction is not available in projection
using USB flash drives or networked multi-projection.
The sharpness setting is
not available.
Sharpness cannot be adjusted during split-screen
display.
The lens unit is not
installed correctly.
Check whether the lens unit is installed correctly
(P67).
The lens lever is not
engaged.
Check whether the lens unit is installed correctly
(P67).
Cause Countermeasure
The projected image is
inverted in the vertical or
horizontal direction.
The ceiling mounted / rear projection setting is
incorrect. Check the [Image flip H/V] setting in the
[Install settings] menu (P150).
The dot clock of the input
signal is higher than 162
MHz.
Set the signal dot clock to 162 MHz or less on your
computer.
A computer cable is
used in which some pins
are not connected.
Use a computer cable in which all pins are
connected.
Cause Countermeasure
The air intake or exhaust
vent is blocked.
Check whether the air intake or exhaust vent is
blocked. If the air intake or exhaust vent is blocked,
the temperature inside the projector will increase and
the power is automatically turned off to protect the
projector (The [WARNING] indicator and [TEMP]
indicator are lit.). Wait until the projector temperature
drops, then make sure that the intake and exhaust
vents are not blocked and turn on the projector (P26,
P33).
The air filter is dirty. Check whether the air filter is clogged with dust.
If the air filter is clogged, replace the air filter (P217).
The operating
environment is
inappropriate.
Check whether the operating temperature is between
0°C (32°F) and 45°C (113°F) (P25).
Projector settings must be adjusted when using the
projector at altitudes of 2,300 m (7,545.8') or higher.
In the [Install settings] menu, set [High altitude] under
[Professional settings] to [On] (P154).
Cause Countermeasure
Loading ...
Loading ...
Loading ...