Loading ...
Loading ...
Loading ...
Menu Description
158
Lens - Position
> [Install settings] > [Lens - Position]
The projector can save information about the lens position in memory. Up to three
sets of lens information (including focus, zoom, and lens shift settings) can be
saved, and the lens can be restored to these positions.
Submenu Function
Marker
Show the blending area markers.
Reset Reset the marker settings.
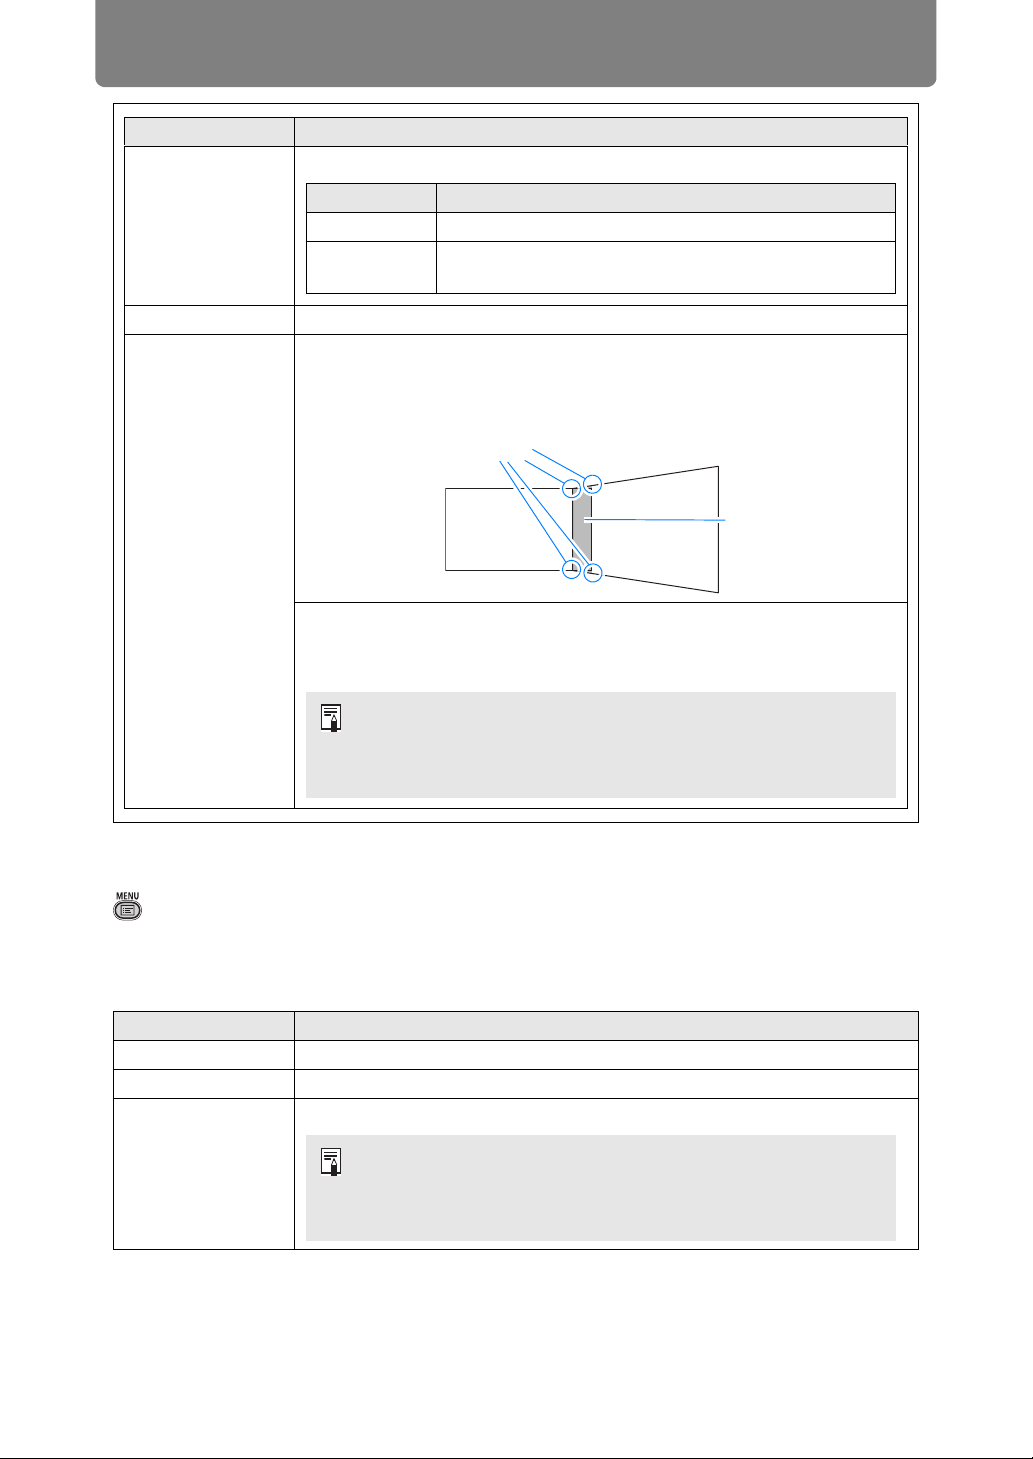
Corner
adjustment
Correct image distortion by aligning corners of the blending area with
the image from the reference projector. For multi-projection alignment,
align the corners with the projector blending area (already adjusted)
that forms the basis.
Left, Right,
Top,
Bottom
Select the direction of the blending area to adjust. As
you reposition the corners of the selected area, the
overall image changes to match the adjustment.
Submenu Function
Load position 1 – 3 Restores the lens to the positions saved using Save position 1 – 3.
Save position 1 – 3 Saves the lens position as Save position1 – 3.
Lens shift reset
Restores the lens to the preset position.
Option Function
Off Hide the blending area markers.
On
Show the blending area markers. The start marker is
red, and the end marker is green.
Points to adjust
Blending area
• Sides set to an edge-blending width of 12 or more can be
adjusted when [Keystone] is set to [Corner adjustment] and
the aspect ratio is [16:10].
• To reset adjustment, use [Keystone] (P152).
• The preset position differs depending on the type of lens.
• The preset position also changes when the orientation of the
projector is changed, due to the ceiling mounted setting, etc.
Example: [+50%, 0%] > [-50%, 0%]
Loading ...
Loading ...
Loading ...