Loading ...
Loading ...
Loading ...
Projection Procedure
69
Basic Guide Projection Procedure
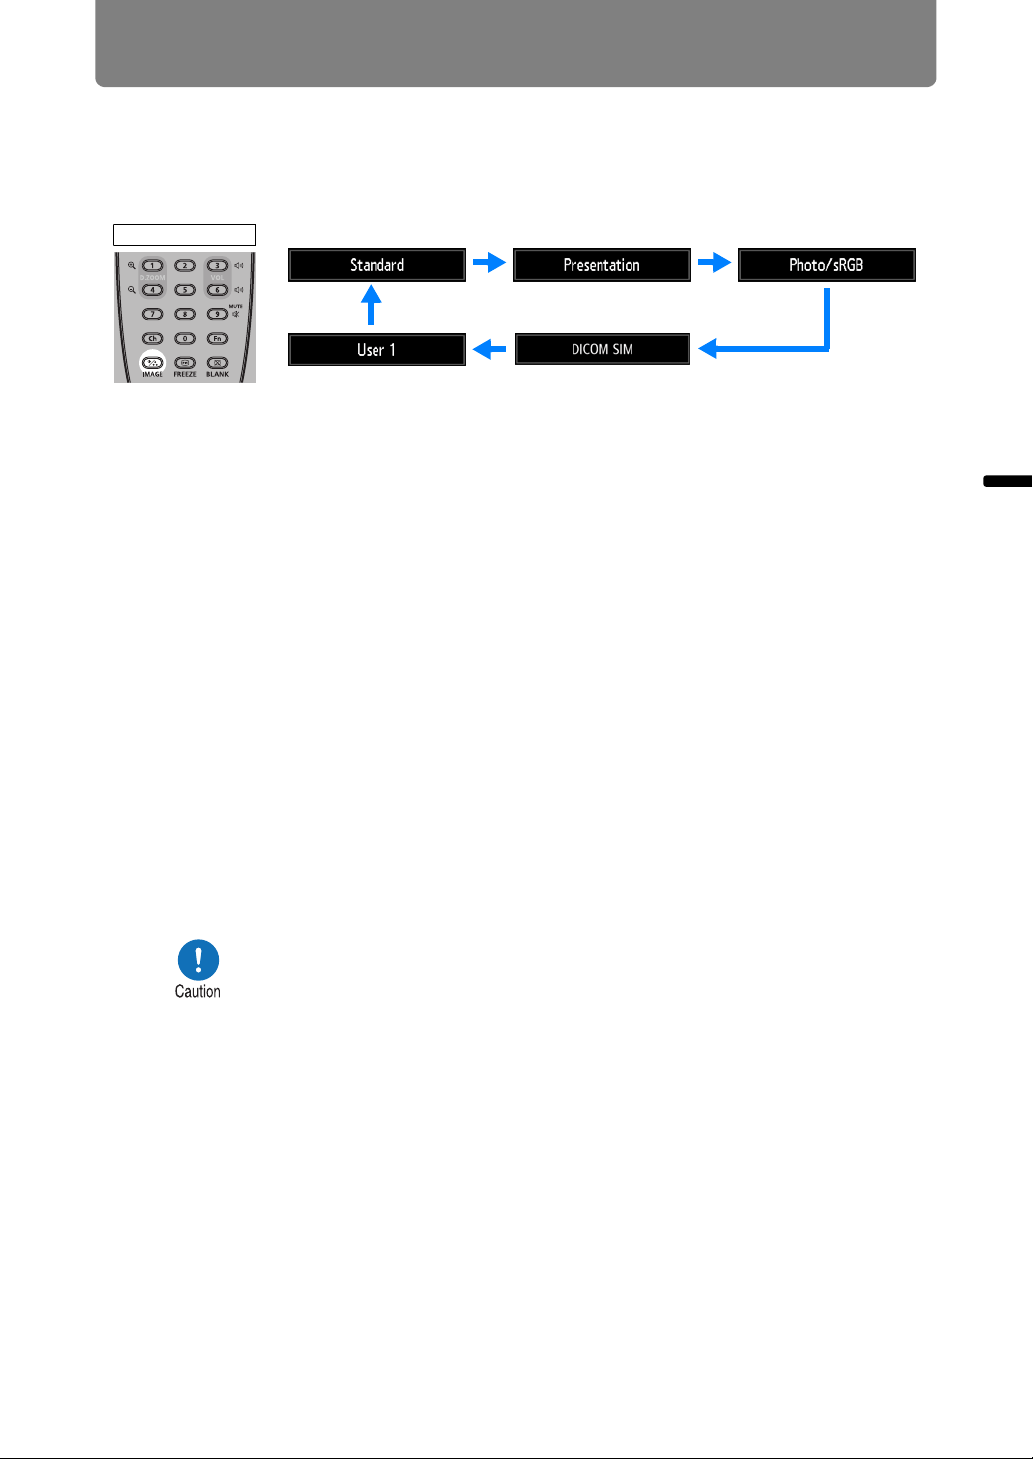
■ Selecting an Image Mode
Press the IMAGE button on the remote control to select.
The image mode changes each time the IMAGE button is pressed. (The displayed
image modes vary depending on the selected input signal.)
You can also select any image mode from the [Image mode] menu. (P99)
• User settings 1 - 3 are displayed when the desired image settings have been
created and stored using the user memory function in the image adjustment
menu. (P99)
Projecting an Image in the DICOM SIM Mode
In the DICOM simulation mode (hereinafter referred to as “DICOM SIM”), this
projector can project a monochrome medical image such as an X ray radiography,
CT image, MRI image, etc. in the tone similar to the DICOM (Digital Imaging and
Communications in Medicine) standard. Typically, to project the image according to
the DICOM standard, it requires the grayscale tone correction using a luminance
meter according to the environment. In this projector, there are 21 types of tone
settings for various ambient lights. You can correct the tone in a simplified manner
by selecting the DICOM test pattern (P197).
It is suited to project an image in a medical lecture, academic conference, in-
hospital conference, etc.
This projector is not the display monitor for a medical image. It cannot be used for
the radiological image reading or medical examination.
• It is recommended to check the tone everytime when using this
projector since it does not have the tone correction and
calibration functions against the secular change.
• It may take approximately 30 minutes until the projection
brightness of this projector becomes stabled.
Remote control
Example:
Loading ...
Loading ...
Loading ...