Loading ...
Loading ...
Loading ...
03 Your driving environment
Digial compass*
03
* Option/accessory, for more information, see Introduction.
113
Operation
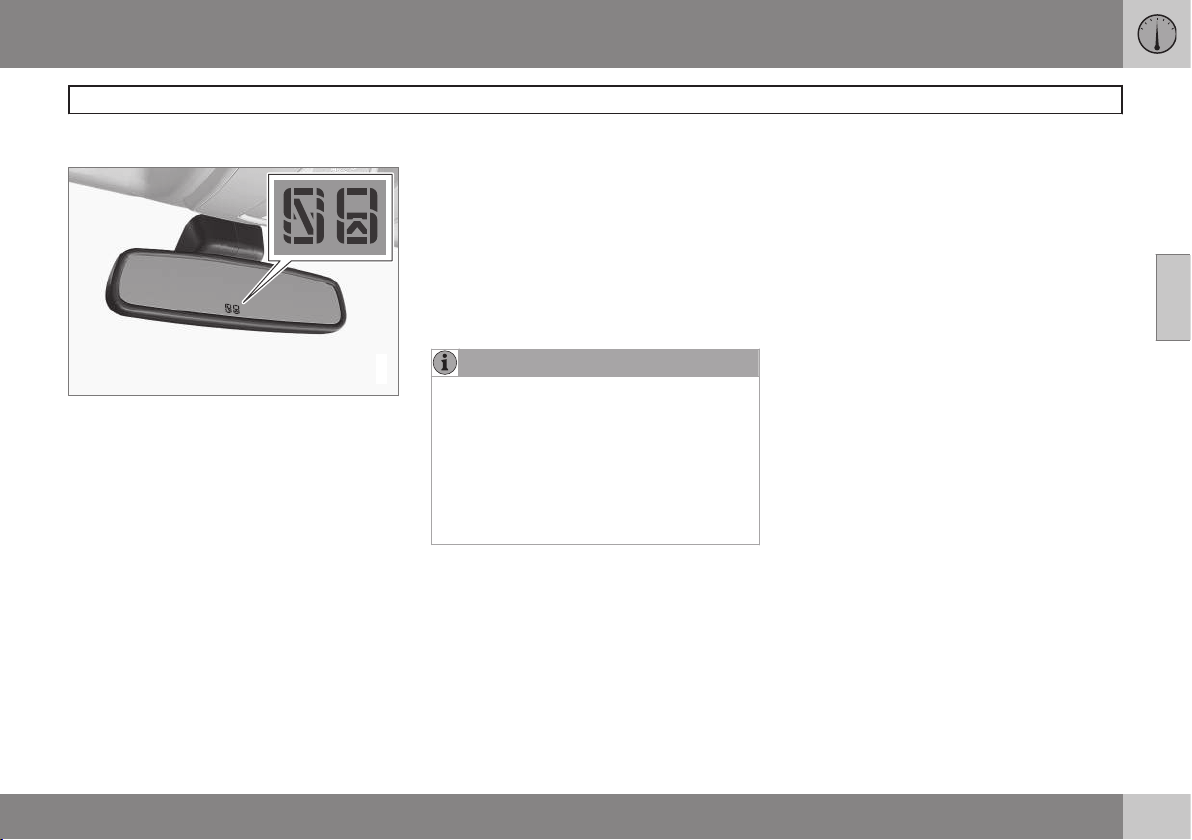
G029737
Rearview mirror with compass.
The rear-view mirror has an integrated display
that shows the compass direction in which
the vehicle is pointing. Eight different direc-
tions are shown with the abbreviations:
N
(north), NE (north east), E (east), SE (south-
east), S (south), SW (southwest), W (west)
and NW (northwest).
The compass is displayed automatically when
the vehicle is started or in ignition mode II. To
switch the compass on/off use a pen, paper-
clip or similar object and press in the button
on the rear side of the mirror.
Calibration
North America is divided into 15 magnetic
zones and the compass will need to be cali-
brated if the vehicle is driven into a new one
(see the magnetic zones on the map in the
following section "Selecting a magnetic
zone"). To do so:
1. Stop the vehicle in a large open area,
safely out of traffic and away from steel
structures and high-tension electrical
wires.
2. Start the vehicle.
NOTE
•
For best calibration results, switch off
all electrical equipment in the vehicle
(climate system, windshield wipers,
audio system, etc.) and make sure that
all doors are closed.
•
Calibration may not succeed or be
incorrect if the vehicle's electrical
equipment is not switched off.
3. Using a pen, paperclip or similar object,
press and hold the button on the rear side
of mirror for approx. 6 seconds until
C is
displayed in the mirror.
4. Press and hold the button for 3 seconds
until the number of the current magnetic
zone is displayed.
5. Press the button repeatedly until the
number of the desired magnetic zone
(1-15) is displayed. See the magnetic
zones on the map in the following section
"Selecting a magnetic zone").
6.
Wait until
C is again displayed in the mir-
ror.
7. Drive slowly in a circle at a speed of no
more than 6 mph (10 km/h) until a direc-
tion is displayed. This indicates that cali-
bration is complete.
8. Drive around in a circle an additional two
times to fine-tune the calibration.
9.
Vehicles with an electrically heated
windshield:* if
C is displayed when the
heating function is activated, perform
step 7 with the heating function on. See
also page 211 for additional information
about the heated windshield.
Repeat the calibration procedure if neces-
sary.
Loading ...
Loading ...
Loading ...