Loading ...
Loading ...
Loading ...
EN
EN - 21
3. INITIAL SETUP
Before You Start
Finding the Viewing Channel on your
TV
After you have completed All of the Connections to your TV,
review the Steps below.
1.
Press [ (Power-ON) ] to Turn On the
unit.
2.
Turn On your TV.
3.
Find the Button on the TV’s Remote
Control that accesses the External Source
Input. (The button may be labeled ‘Source’,
‘Select’ or ‘Input’. Refer to your TV’s user
manual.)
Press that Button Repeatedly until you see
the Welcome Screen on the TV screen.
• If you see the Welcome Screen, that is the correct
viewing Source Input associated with this unit’s output.
Make sure to always select this Source Input on your
TV when using this unit.
• If the TV is connected using an HDMI cable, it may
take a few moments until the Welcome Screen
appears.
Initial Setup
Please follow the instructions below to complete the Initial Setup.
1.
While the Welcome Screen is displayed,
press [ OK ].
• ‘Language Setting’ screen will appear.
• In Initial Setup, pressing [ BACK ] lets you go back to
the previous screen. Also, pressing [
/ ] lets you
go back to the previous screen or go forward to the
next screen when it is available.
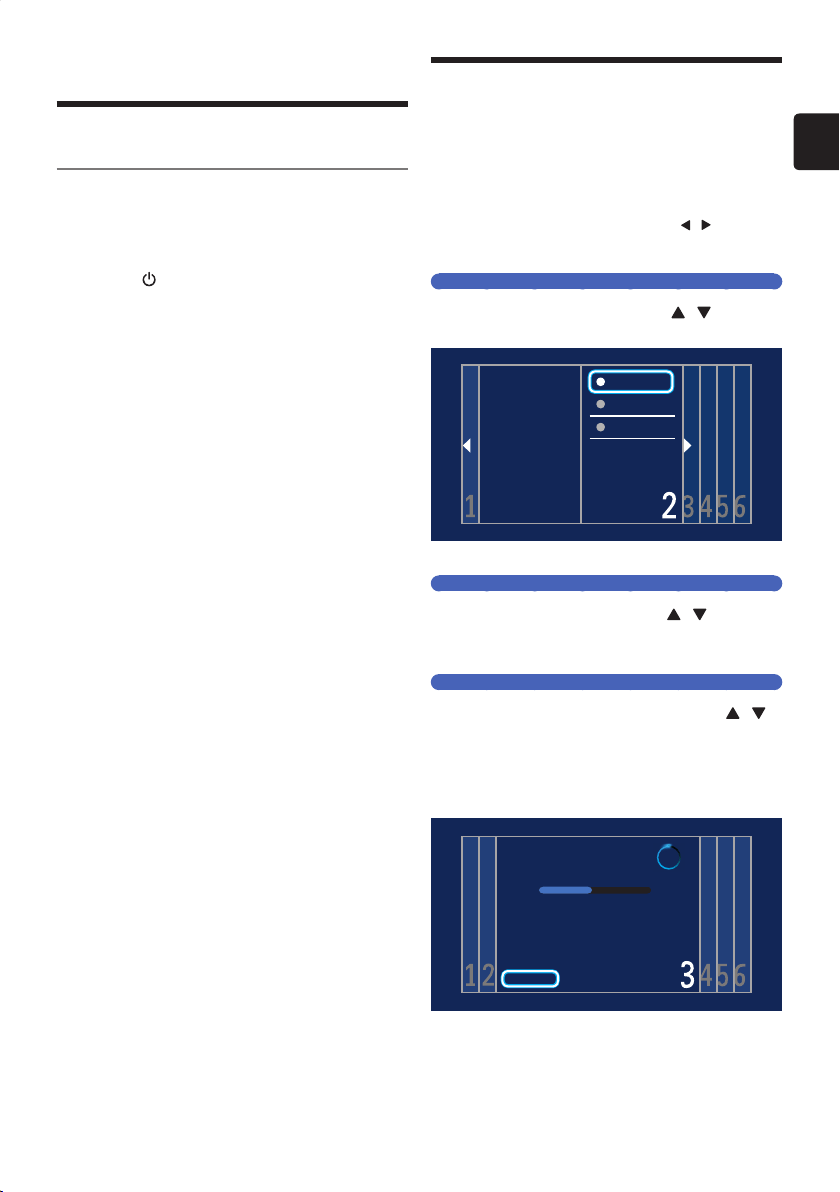
Language Setting
2.
Select your Language using [ / ] , then
press [ OK ].
Select your menu
language with the
Up/Down buttons
on your remote
control, press the
OK button to
proceed.
English
Français
Español
• ‘Country Setting’ screen will appear.
Country Setting
3.
Select your Country using [ / ] , then
press [ OK ].
• ‘Antenna / Cable Signal Setting’ screen will appear.
Antenna / Cable Signal Setting
4.
Select “Antenna” or “Cable” using [ / ] ,
then press [ OK ].
• Select “Antenna” for Terrestrial Broadcasting.
Select “Cable” for Cable Television. Then, Channel Scan
will begin.
• Select “Skip” if you wish to Skip this Setting.
System searching. Please wait...
Digital Channels found: 0
Analog Channels found: 0
Auto Channel Programming may take more than 20 Minutes to
complete. Digital will take longer than Analog Channels to find
and program the Channels. Please wait until you see the Auto
Programming Complete Message.
Stop
• If you wish to Skip Scanning, select “Stop” by pressing
[ OK ].
5.
Press [ OK ] on Finish.
• ‘Time Zone’ screen will appear.
Continued on next page.
EEC30UHPhilipsSmartDVRv1EN.indb21EEC30UHPhilipsSmartDVRv1EN.indb21 2013/09/1315:38:152013/09/1315:38:15
Loading ...
Loading ...
Loading ...