Loading ...
Loading ...
Loading ...
4-85
FACSIMILE
Contents
4
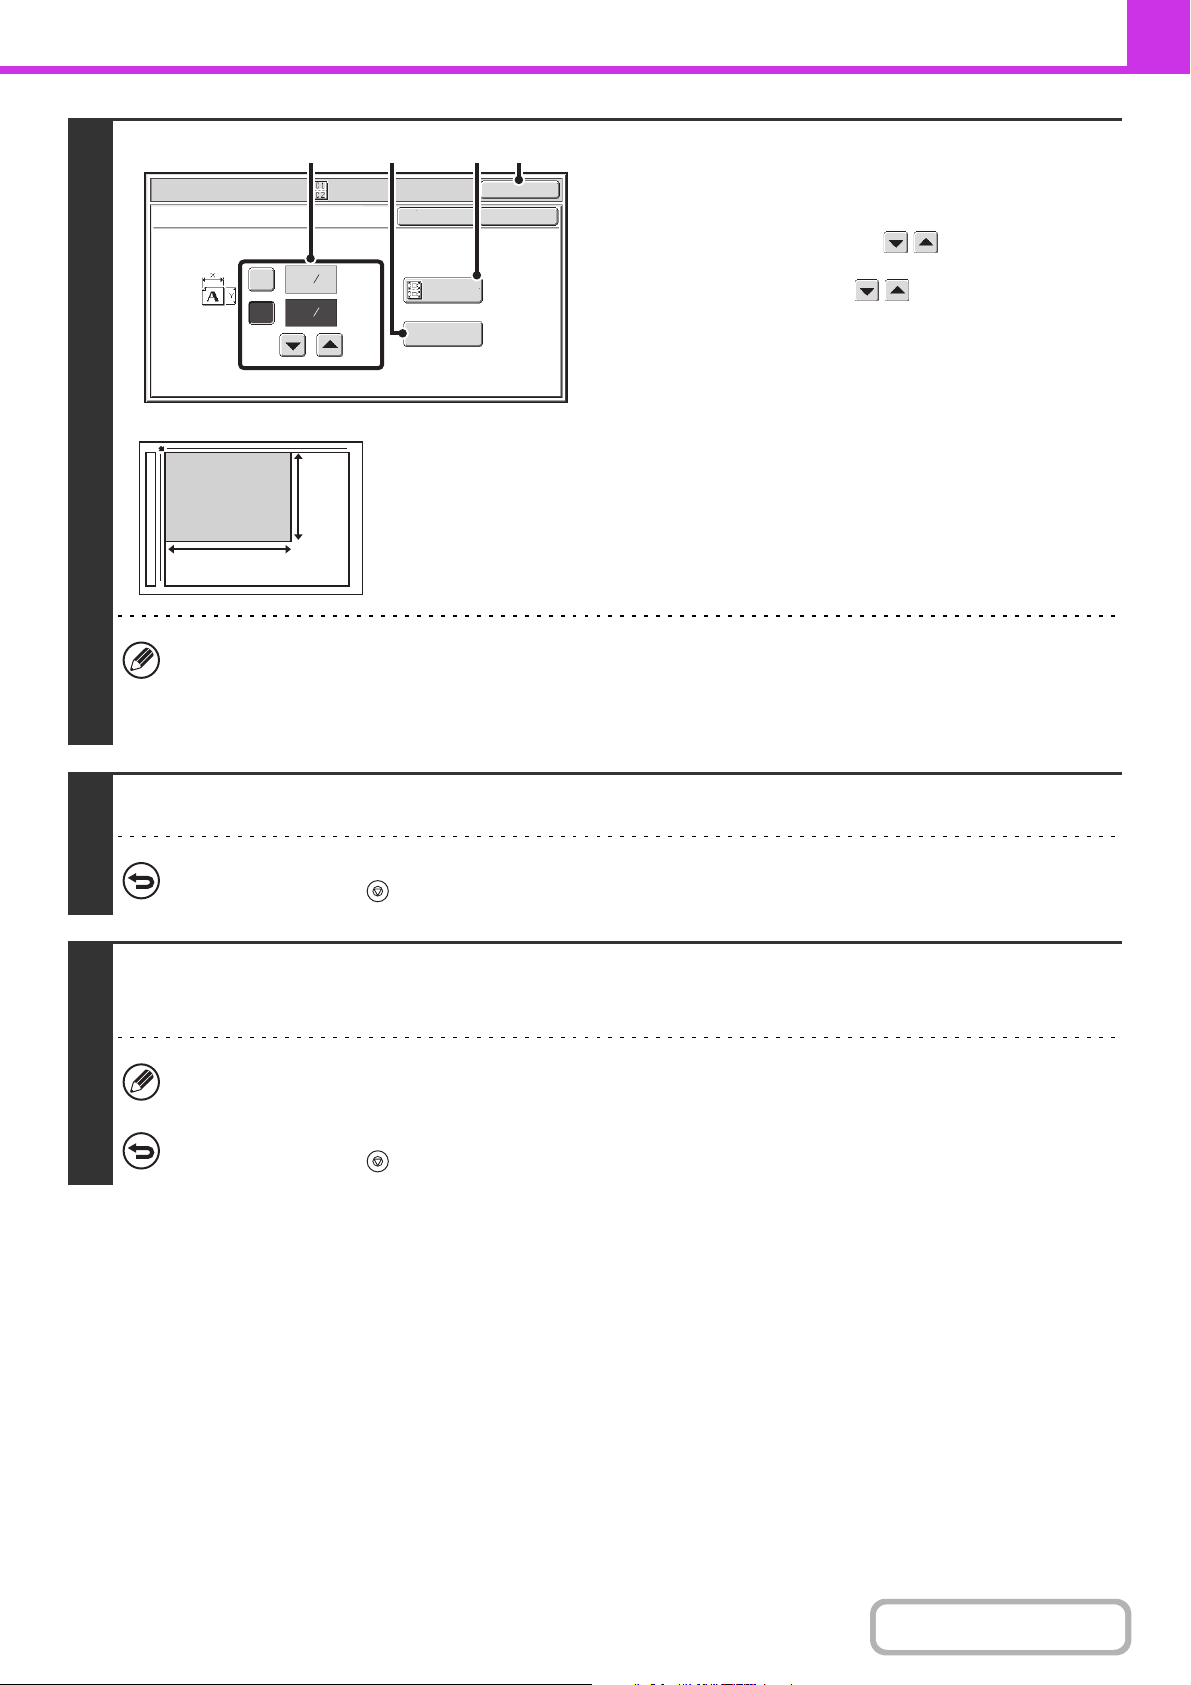
Specify the original size.
(1) Enter the original size.
• Touch the [X] key and enter the horizontal dimension
(X) of the original with the keys.
• Touch the [Y] key and enter the vertical dimension (Y)
of the original with the keys.
(A) To return the original size to the default size, touch
the [Size Reset] key.
(B) To automatically enlarge or reduce the image size to
the send size, touch the [Fit to Send Size] key. Do not
touch this key if you wish to scan the original at the
original size that you entered.
(2) Touch the [OK] key.
• The send size is automatically selected based on the original size you entered.
• After selecting Card Shot, you can touch the [Original] key in the base screen to change the original scan size or the
send size. In this case, the screen of step 3 appears when you touch the scan size key. For the procedure for
setting the send size, see "Specifying the send size of the original" (page 4-52).
5
Press the [BLACK & WHITE START] key to scan the front of the card.
To cancel scanning...
Press the [STOP] key ( ).
6
Turn the card over so that the back is face down, and press the [BLACK &
WHITE START] key to scan the back of the card.
Before scanning the back of the card, you can touch the [Configure] key in the touch panel to change the exposure.
To cancel scanning...
Press the [STOP] key ( ).
Fax/Special Modes
OK
X
Y
Card Shot
(1~8 1/2)
inch
(1~8 1/2)
inch
OK
Cancel
Fit to
Send Size
Size Reset
3
8
3
2
8
1
(2)(B)(1)
(A)
X
Y
Loading ...
Loading ...
Loading ...