Loading ...
Loading ...
Loading ...
4-67
FACSIMILE
Contents
FORWARDING RECEIVED FAXES TO A
NETWORK ADDRESS
(Inbound Routing Settings)
You can have received faxes automatically forwarded to an e-mail address, file server address, desktop address, or
network folder address. This function can be used to forward received faxes to a specified address without printing them.
CONFIGURING INBOUND ROUTING SETTINGS
All inbound routing settings are configured in the Web pages. For the procedure for accessing the Web pages, see the
Start Guide.
The following explanation assumes that the Web pages have been accessed with administrator rights.
To configure inbound routing settings, follow the steps below.
• This function cannot be used for faxes received by confidential reception.
• When faxes forwarded using this function are printed at the forwarding destination, the date and time of reception cannot
be printed on the faxes. ("Receiving Date & Time Print" is disabled.)
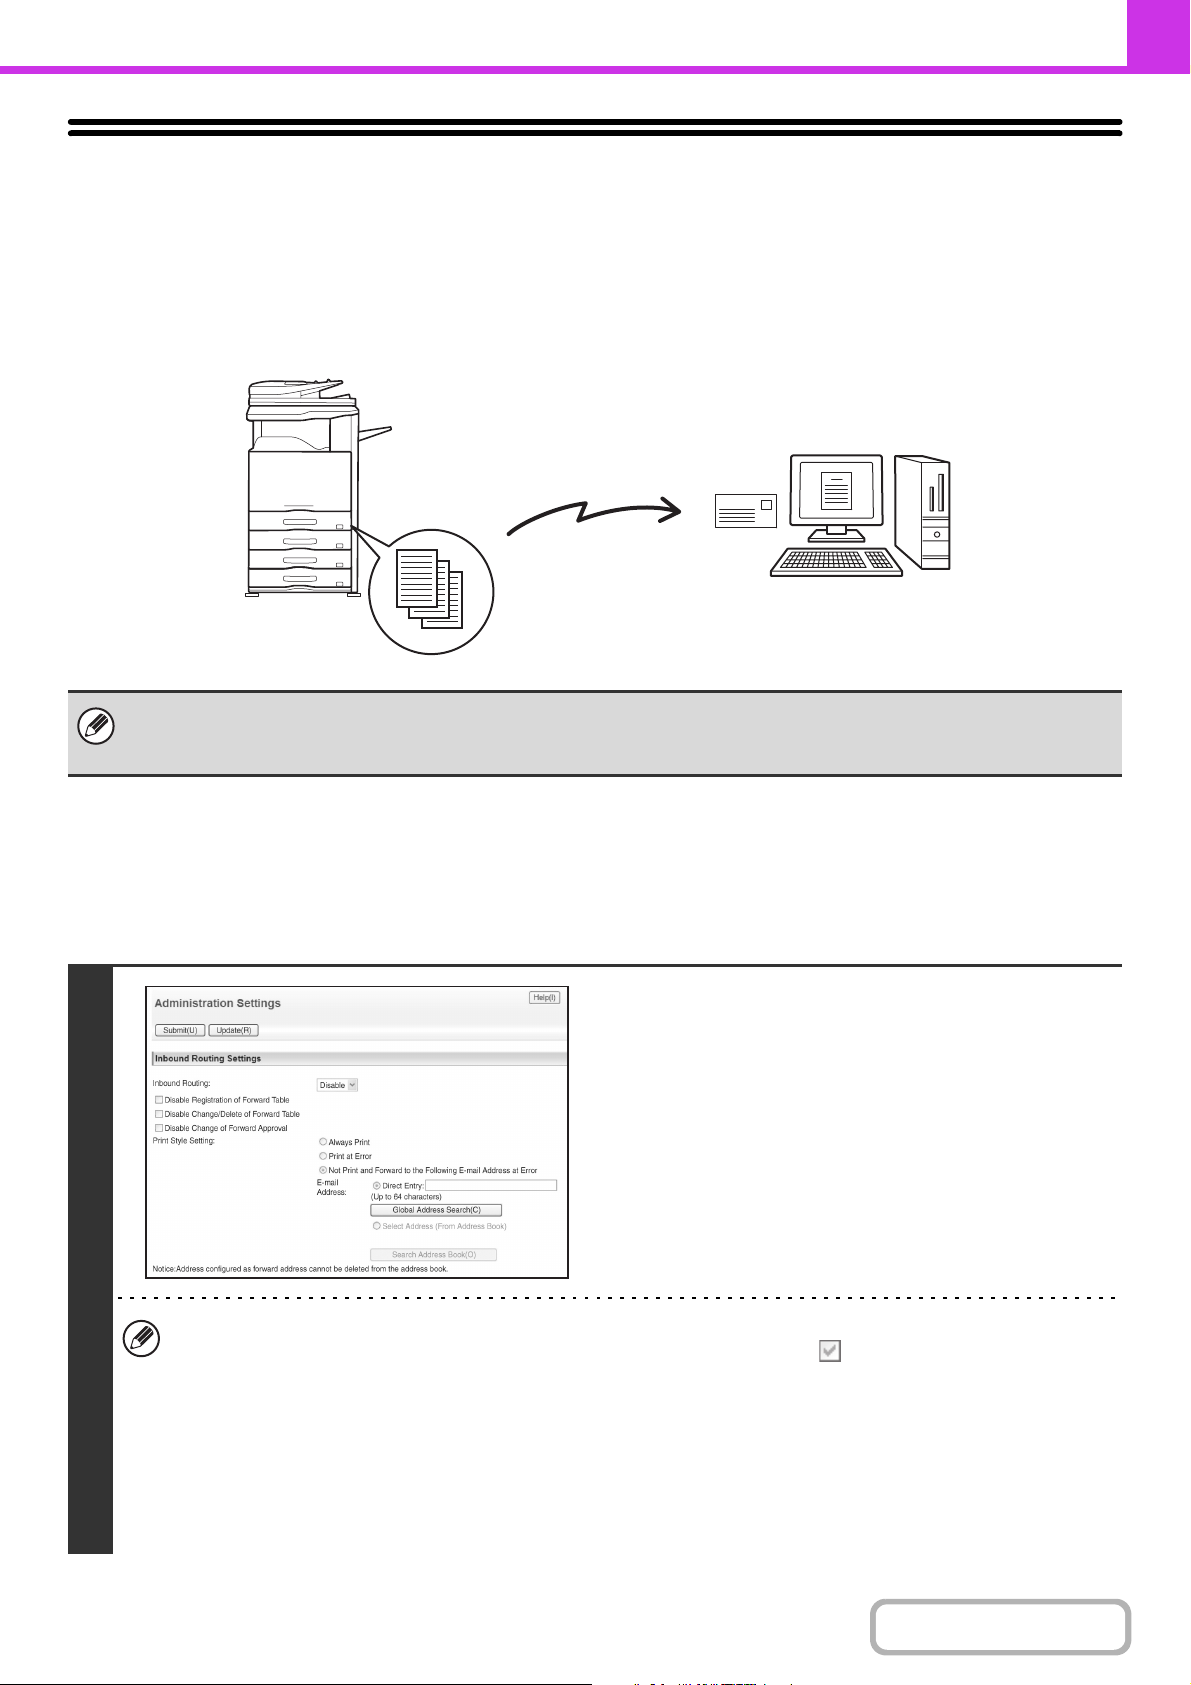
1
Enabling the inbound routing function.
(1) In the Web page menu, click [Application
Settings], [Inbound Routing Settings], and
then [Administration Settings].
(2) Select [Enable] in "Inbound Routing" and
click the [Submit] button.
Users without administrator rights can be prohibited from storing, editing, and deleting forwarding tables in this screen,
and from specifying which table is used. To do so, select the checkboxes below .
• Disable Registration of Forward Table • Disable Change/Delete of Forward Table • Disable Change of Forward
Approval
When inbound routing is enabled, you can also specify whether or not you wish the machine to print the forwarded faxes.
To have all received faxes printed before being forwarded, select "Print Out All Report" in "Print Style Setting". To
have received faxes printed only when an error prevents forwarding, select "Print at Error".
If an error occurs when [Not Print and Forward to the Following E-mail Address at Error] is selected, received data is
not printed, but is forwarded to the specified e-mail address.
After configuring the settings, be sure to click the [Submit] button.
Forwarding
Received fax
The machine
Loading ...
Loading ...
Loading ...