Loading ...
Loading ...
Loading ...
23
INSTALLATION
ENGLISH
Gas Supply
The range is designed to operate at a pressure of
5" of water column on natural gas or 10" of water
column on LP.
Make sure you are supplying the range with the type
of gas for which it is configured.
This range is convertible for use with natural or LP
gas. When using this range with LP gas, conversion
must be made by a qualified LP installer before
attempting to operate the range.
For proper operation, the pressure of natural gas
supplied to the regulator must be between 6" and
10.5" of water column.
For LP gas, the pressure supplied to the regulator
must be between 11" and 13" of water column. When
checking for correct operation of the regulator, the
inlet pressure must be at least 1" more than the
operating (manifold) pressure as given above.
The pressure regulator located at the inlet of the
range must remain in the supply line regardless of
which type of gas is being used.
A flexible metal appliance connector used to connect
the range to the gas supply line should have an I.D.
of
5
/
8
" and a maximum length of 5 feet. In Canada,
flexible connectors must be single wall metal
connectors less than 6 feet in length.
Electrical Supply
Installation of the range must be planned so that the
rough in of the terminal block for the receptacle or
conduit connection will allow maximum clearance to
the rear of the unit.
When the power supply cord or conduit is connected
to the mating receptacle or terminal block cover, the
combined connection should protrude no more than
2'' (51 mm) from the rear wall.
NOTE
Canadian models have the power cord supplied
with the range.
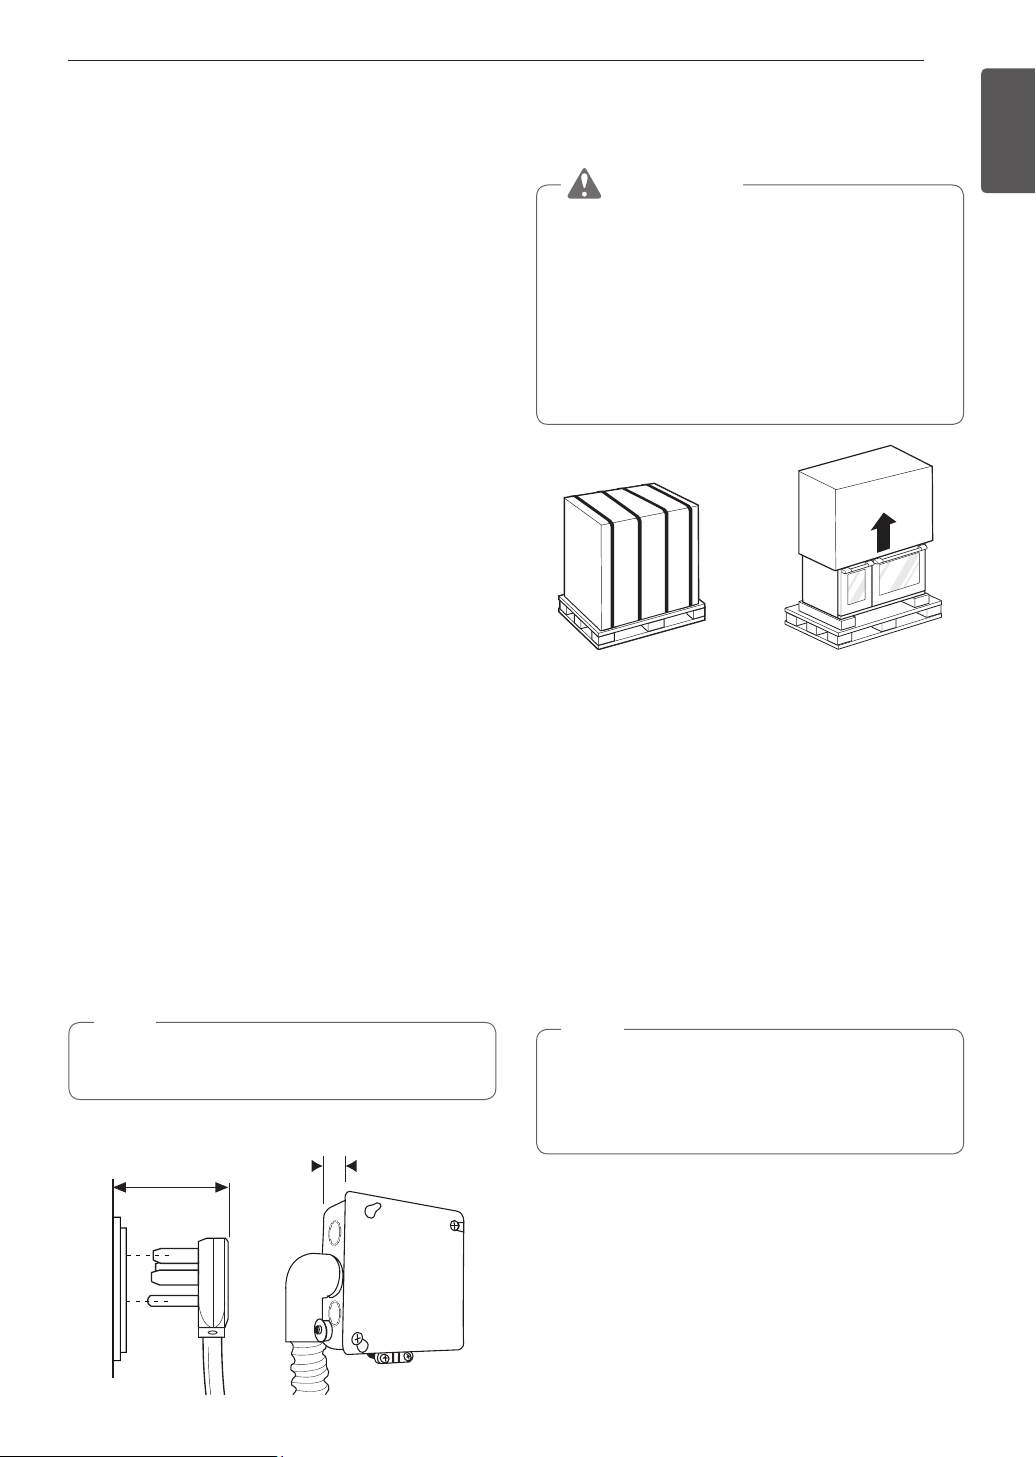
Power Cord & Receptacle
2" (51 mm) maximum
when plugged in
Junction Box & Conduit
2” (51 mm)
maximum
Installing the Range
Unpacking the Range
CAUTION
•
You should use 2 or more people to move
and install the range. (Excessive Weight
Hazard) Failure to do so can result in back or
other injury.
•
Do not use the door handles to push or
pull the range during installation or when
moving the range out for cleaning or
service. Doing so can result in serious damage
to the door of the range.
1
Cut the packing straps. Lift the carton straight
up. Remove packing material, tape and any
temporary labels from your range before using
but leave the adhesive-backed foam layer over
the brushed-metal surface, to protect the finish
from scratches. Do not remove any warning-type
labels, the model and serial number label, or the
Tech Sheet that is located on the back of the
range.
2
Remove the door(s). This will reduce the weight
of the range during installation.
3
The grates, burner heads, burner caps, trays
and oven racks must be removed to facilitate
handling. Do not remove the griddle element.
NOTE
Doors and passageways leading to the installation
location require at least 32" (813 mm) opening. If
the opening is less than 32" (813 mm), the oven
door(s) and control knobs must be removed.
Loading ...
Loading ...
Loading ...