Loading ...
Loading ...
Loading ...
En
13
Part names and functions
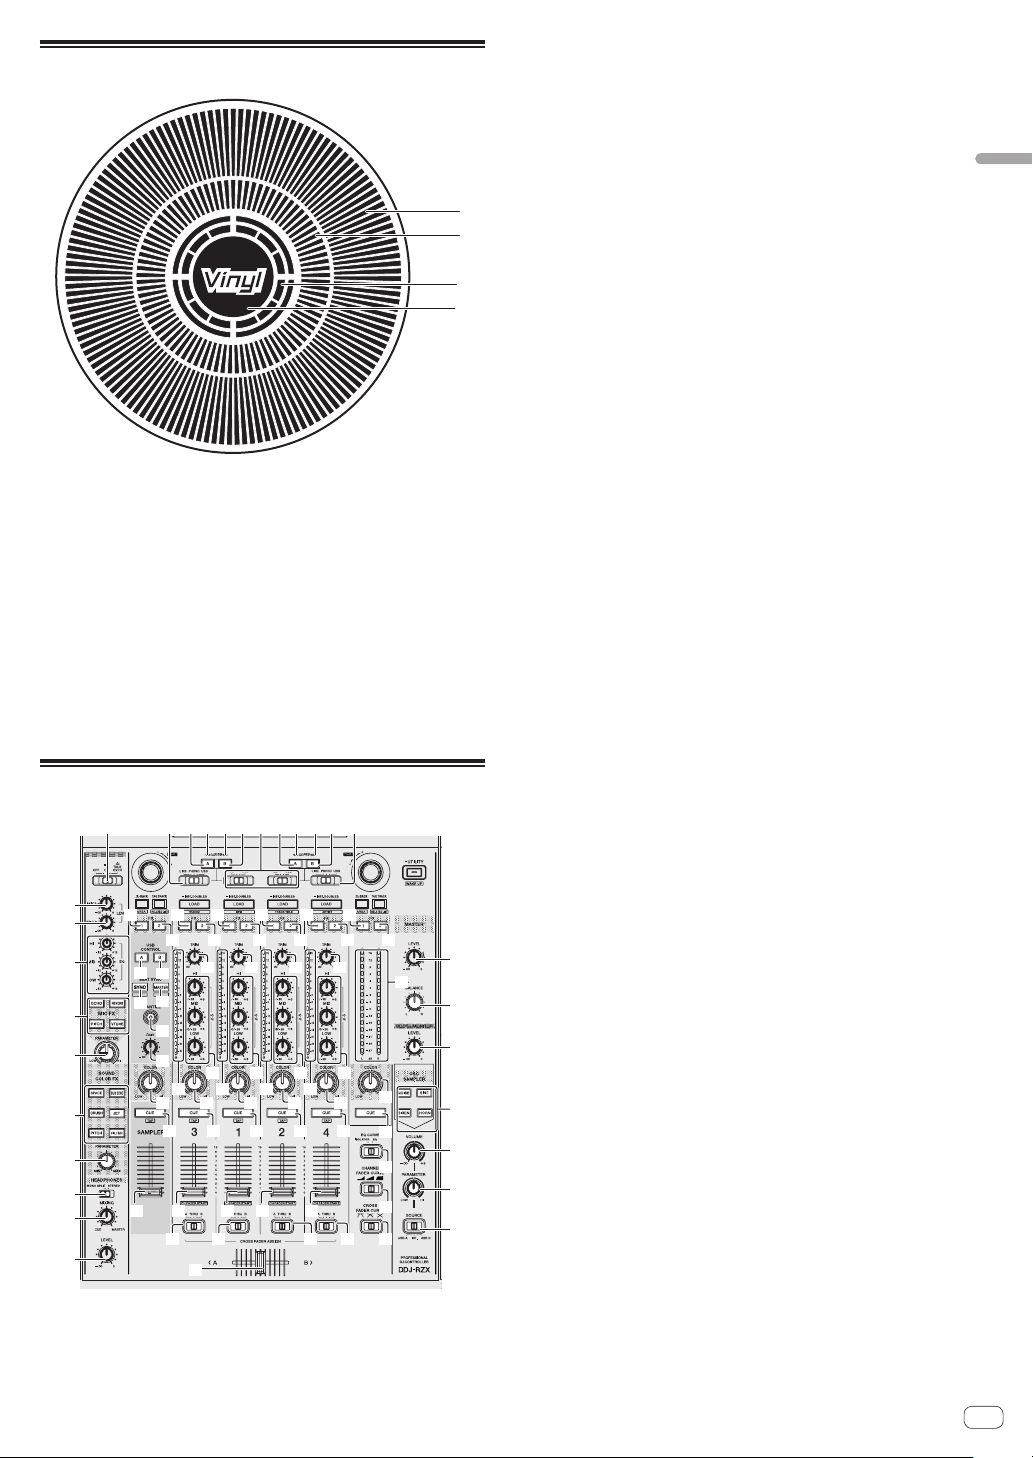
Jog dial display section
1
2
3
4
1 Operation display
This works in synchronization with the rotation display of the rekord-
box dj deck.
2 Cue point display
Displays the cue point.
! You can switch between the current cue display and hot cue
countdown display in the environment settings of rekordbox.
3 Jog touch detection display
The display lights when the jog dial top is pressed when VINYL mode
is on.
4 VINYL
The display lights when VINYL mode is on.
Mixer section
BPM DOWN
BPM UP
1
2 2 2 23 4 3 4
7
5
8
6
b
c
d
e
i
j
k
l
m
n
o
p
q
t
x
BO B B B
z
AN A A A
9
a
g
h
f
C C
D
E
w
r
F
G
H
I
J
u
v
u
v
u
v
u
v
t
y
x
z
w
y
CC
M
L
K
x
z
w
y
x
z
w
y
v
u
s
1 OFF, ON, TALK OVER selector switch
Turns the microphone on/off.
2 USB connection indicator
Displays the connection status between the USB-A terminal and
USB-B terminal.
Lights: When the computer is connected to the terminal and the
driver is installed
Flashes: When the computer is connected to the terminal and the
driver is not installed
Lights out: When the computer is not connected to the terminal
3 USB (A) button
When lights, the USB-A terminal is used in communication with the
computer.
! The [USB (A)] button and [USB (B)] button located at the left
side are used to control the USB communication for deck 1 or
deck 3. The [USB (A)] button and [USB (B)] button located at the
right side are used to control USB communication for deck 2 or
deck 4.
! When the [USB (A)] button or [USB (B)] button located on the
left side is flashing, it means the deck 1 or deck 3 audio is on
air. Flashing stops when the channel fader of deck 1 or deck 3 is
moved to the frontmost position. When the [USB (A)] button or
[USB (B)] button located on the right side is flashing, it means
deck 2 or deck 4 audio is on air. Flashing stops when the chan-
nel fader of deck 2 or deck 4 is moved to the frontmost position.
(When the USB terminal is switched, sound is also switched
instantaneously. Therefore, when the button is flashing, before
switching the USB terminal, make sure that the deck is not used
by another user.)
4 USB (B) button
When lights, the USB-B terminal is used in communication with the
computer.
! The [USB (A)] button and [USB (B)] button located at the left
side are used to control the USB communication for deck 1 or
deck 3. The [USB (A)] button and [USB (B)] button located at the
right side are used to control USB communication for deck 2 or
deck 4.
! When the [USB (A)] button or [USB (B)] button located on the
left side is flashing, it means the deck 1 or deck 3 audio is on
air. Flashing stops when the channel fader of deck 1 or deck 3 is
moved to the frontmost position. When the [USB (A)] button or
[USB (B)] button located on the right side is flashing, it means
deck 2 or deck 4 audio is on air. Flashing stops when the chan-
nel fader of deck 2 or deck 4 is moved to the frontmost position.
(When the USB terminal is switched, sound is also switched
instantaneously. Therefore, when the button is flashing, before
switching the USB terminal, make sure that the deck is not used
by another user.)
5 MASTER LEVEL control
Adjusts the master sound level output.
6 MASTER BALANCE control
Adjusts the balance for the left and right of the master output sound.
7 BOOTH MONITOR control
Adjusts the level of audio signals output from the [BOOTH] terminal.
8 Master level indicator
Displays the master output’s audio level.
9 MASTER OUT COLOR control
Changes the SOUND COLOR FX parameter applied to the master
output sound.
a MASTER CUE button
Turns monitoring of the master output’s sound on and off.
b OSC SAMPLER SELECT button
Generates oscillator sound (NOISE, SINE, SIREN, and HORN).
= Using the oscillator function (p. 31 )
c OSC SAMPLER VOLUME control
Adjusts the sound level of oscillator sound.
d OSC SAMPLER PARAMETER control
Adjusts the quantitative parameters of oscillator sound.
Loading ...
Loading ...
Loading ...