Loading ...
Loading ...
Loading ...
This section explains the basic techniques of recording movies and still images, and also basic settings
on DVD Video Camera.
Basic Operation of DVD Video Camera
Turning DVD Video Camera On or Off
Set the switch to the appropriate recording function
while holding down the button to the right of the
power switch.
--Align with "_":
this position To record still on SD
While Memory Card or miniSD
Rotatehl _ _>._ pressing Memory Card
,o
_4 _;-"\'_ ' FF":
TheDVOVideoCamera
willturno,,.
)mll •
To record movie on DVD-
RAM or DVD-R disc
To record still on DVD-
RAM disc.
Power ON status
During playback, set the power switch to" _" or
" I_1" when using disc, or set it to "_1" when using
card.
Turn the switch while holding down the button at the
right of switch.
Note:
• Once you turn the DVD Video Camera on to let it
recognize the disc, you can immediately record or play
back the same disc when the DVD Video Camera is
turned on again. However, if the disc is left in the camera
for an extended period, it will take some time for the
camera to recognize the disc again (See page 149).
• Itwilltakesometime for the DVDVideoCameratodisplay
the Disc navigation screen after power is turned on.
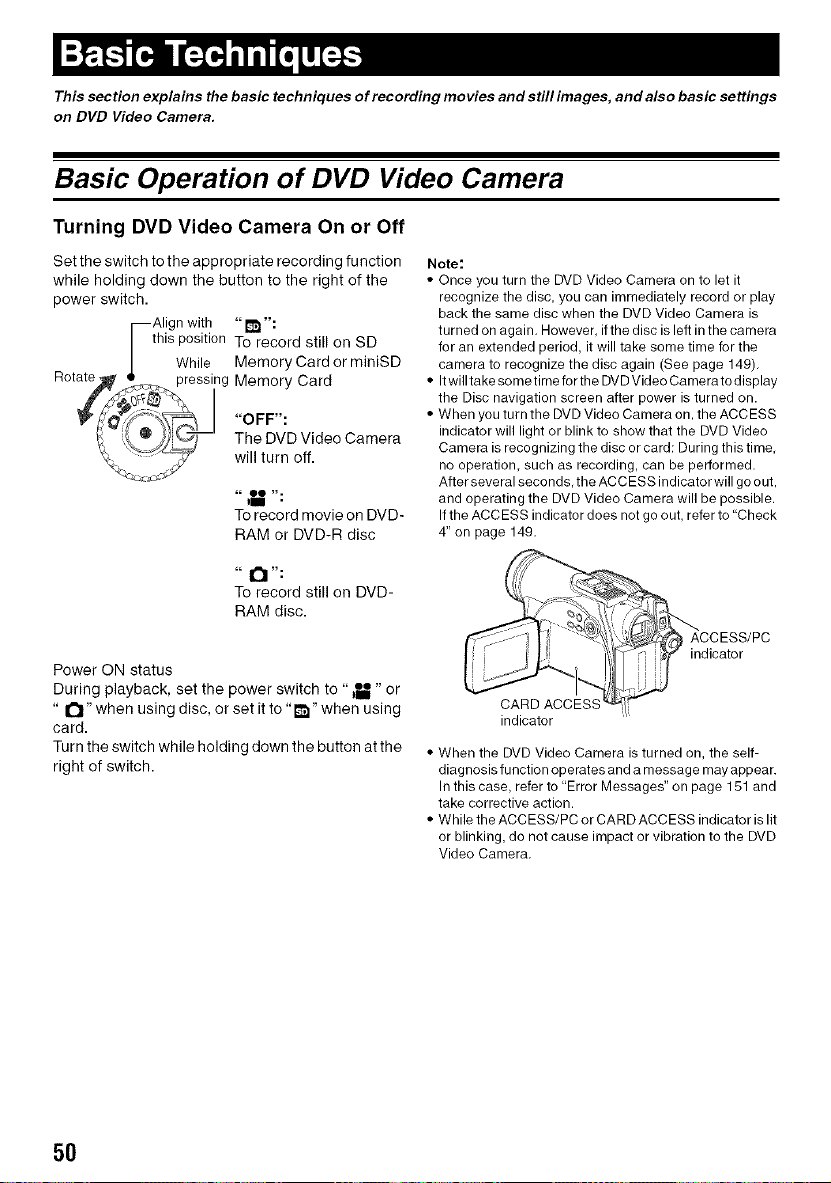
• When you turn the DVD Video Camera on, the ACCESS
indicator will light or blink to show that the DVD Video
Camera is recognizing the disc or card: During this time,
no operation, such as recording, can be performed.
After several seconds, the ACCESS indicator will go out.
and operating the DVD Video Camera will be possible.
If the ACCESS indicator does not go out, refer to "Check
4" on page 149.
CCESS/PC
_ICARD ACCESS"'_i _n"_t_-_" -S_t_ i dicat°r
indicator
• When the DVD Video Camera is turned on, the self-
diagnosis function operates and a message may appear.
In this case, refer to "Error Messages" on page 151 and
take corrective action.
• While the ACCESS/PC or CARD ACCESS indicator is lit
or blinking, do not cause impact or vibration to the DVD
Video Camera.
5O
Loading ...
Loading ...
Loading ...