Loading ...
Loading ...
Loading ...
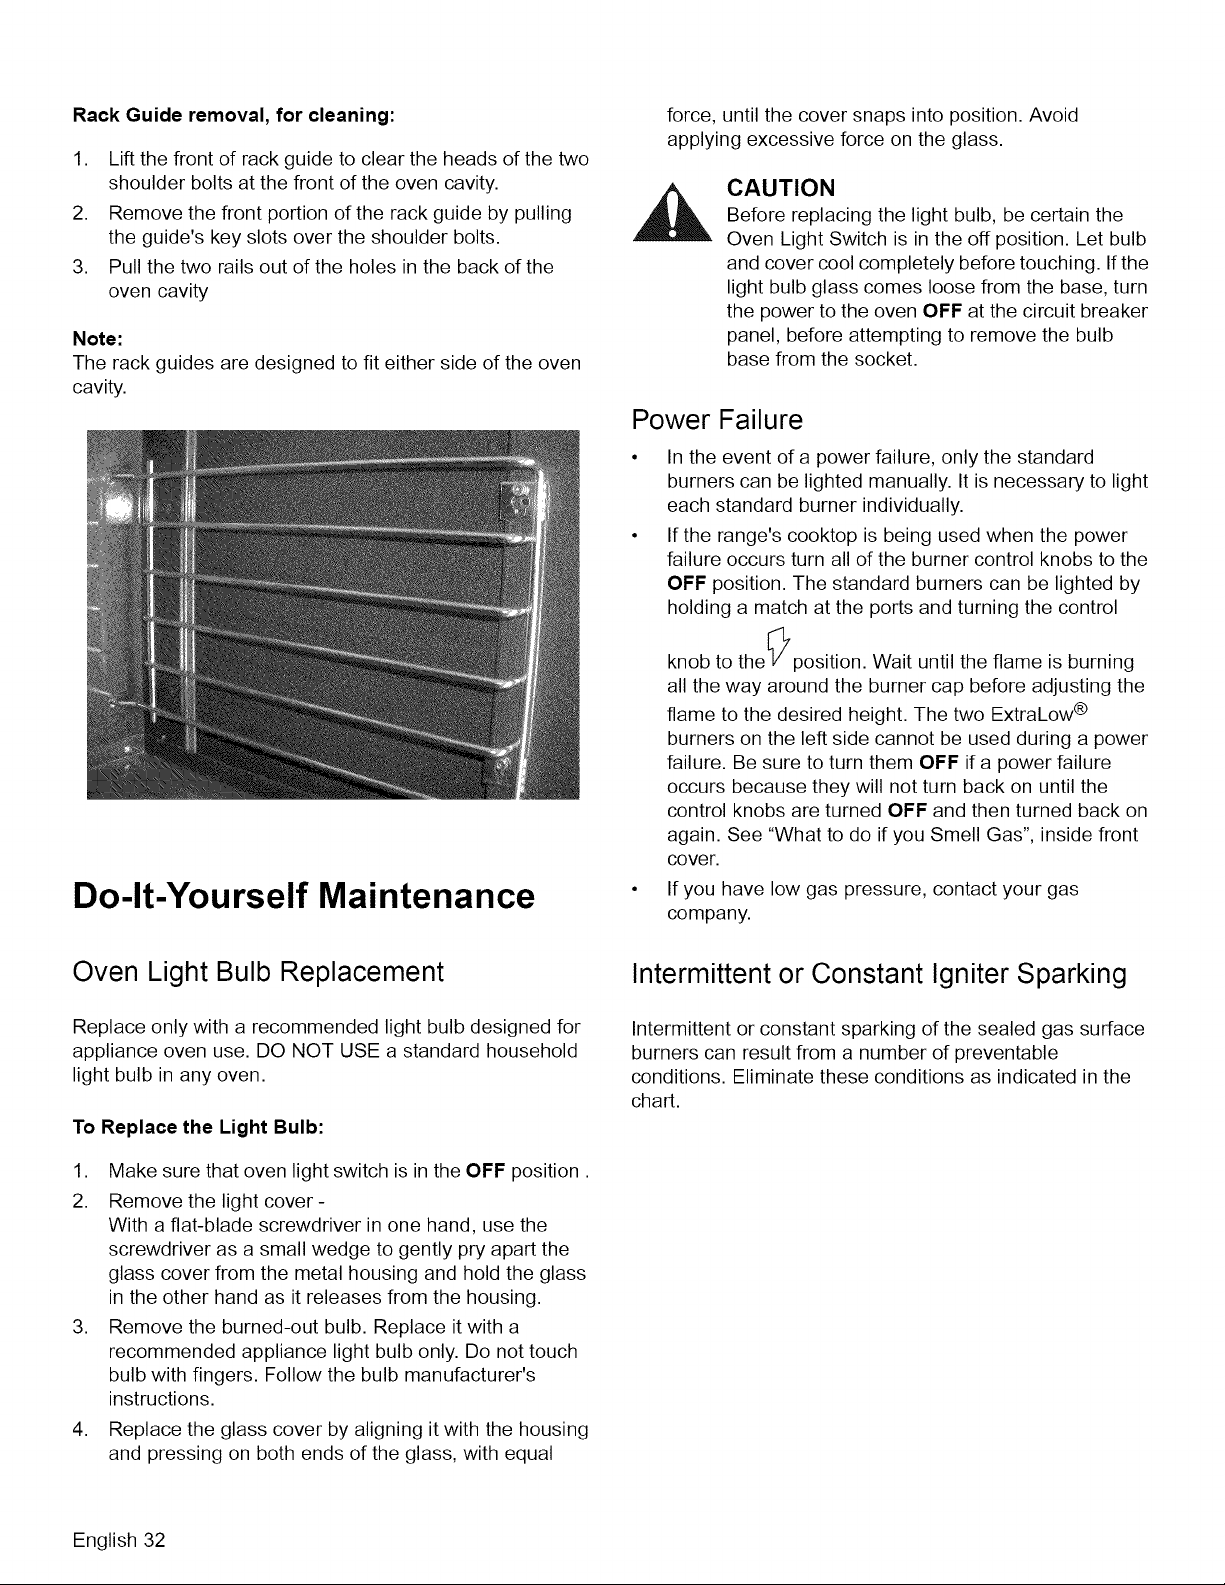
Rack Guide removal, for cleaning:
1. Lift the front of rack guide to clear the heads of the two
shoulder bolts at the front of the oven cavity.
2. Remove the front portion of the rack guide by pulling
the guide's key slots over the shoulder bolts.
3. Pull the two rails out of the holes in the back of the
oven cavity
Note:
The rack guides are designed to fit either side of the oven
cavity.
Do-It-Yourself Maintenance
Oven Light Bulb Replacement
Replace only with a recommended light bulb designed for
appliance oven use. DO NOT USE a standard household
light bulb in any oven.
To Replace the Light Bulb:
1. Make sure that oven light switch is in the OFF position.
2. Remove the light cover-
With a flat-blade screwdriver in one hand, use the
screwdriver as a small wedge to gently pry apart the
glass cover from the metal housing and hold the glass
in the other hand as it releases from the housing.
3. Remove the burned-out bulb. Replace it with a
recommended appliance light bulb only. Do not touch
bulb with fingers. Follow the bulb manufacturer's
instructions.
,
Replace the glass cover by aligning it with the housing
and pressing on both ends of the glass, with equal
force, until the cover snaps into position. Avoid
applying excessive force on the glass.
CAUTION
Before replacing the light bulb, be certain the
Oven Light Switch is in the off position. Let bulb
and cover cool completely before touching. If the
light bulb glass comes loose from the base, turn
the power to the oven OFF at the circuit breaker
panel, before attempting to remove the bulb
base from the socket.
Power Failure
In the event of a power failure, only the standard
burners can be lighted manually. It is necessary to light
each standard burner individually.
If the range's cooktop is being used when the power
failure occurs turn all of the burner control knobs to the
OFF position. The standard burners can be lighted by
holding a match at the ports and turning the control
knob to theLVYposition. Wait until the flame is burning
all the way around the burner cap before adjusting the
flame to the desired height. The two ExtraLow ®
burners on the left side cannot be used during a power
failure. Be sure to turn them OFF if a power failure
occurs because they will not turn back on until the
control knobs are turned OFF and then turned back on
again. See "What to do if you Smell Gas", inside front
cover.
If you have low gas pressure, contact your gas
company.
Intermittent or Constant Igniter Sparking
Intermittent or constant sparking of the sealed gas surface
burners can result from a number of preventable
conditions. Eliminate these conditions as indicated in the
chart.
English 32
Loading ...
Loading ...
Loading ...