Loading ...
Loading ...
Loading ...
Care and Maintenance
Range Cleaning
When Cleaning This Range:
1. Use the mildest cleaning procedure that will do the job
efficiently and effectively. Some cleaners of the same
type are harsher than others. Try on a small area first.
2. Always rub metal finishes in the direction of the polish
lines for maximum effectiveness and to avoid marring
the surface.
,
Use only clean soft cloths, sponges, paper towels,
fibrous brushes, plastic, non-metal or steel wool soap
pads for cleaning and scouring, as recommended on
the chart.
4. Any part of this appliance can be cleaned with hot
sudsy water. When rinsing is required, rinse thoroughly
5. Always wipe dry immediately to avoid water marks.
,_ CAUTION
Avoid cleaning any part of the range while it is
hot.
Brand Names
The use of brand names is intended only to indicate a type
of cleaner. This does not constitute an endorsement. The
omission of any brand name cleaner does not imply its
adequacy or inadequacy. Many products are regional in
distribution and can be found in the local markets. It is
imperative that all products be used in strict accordance
with instructions on the package. The following chart gives
directions for cleaning this range.
Cleaning Recommendations
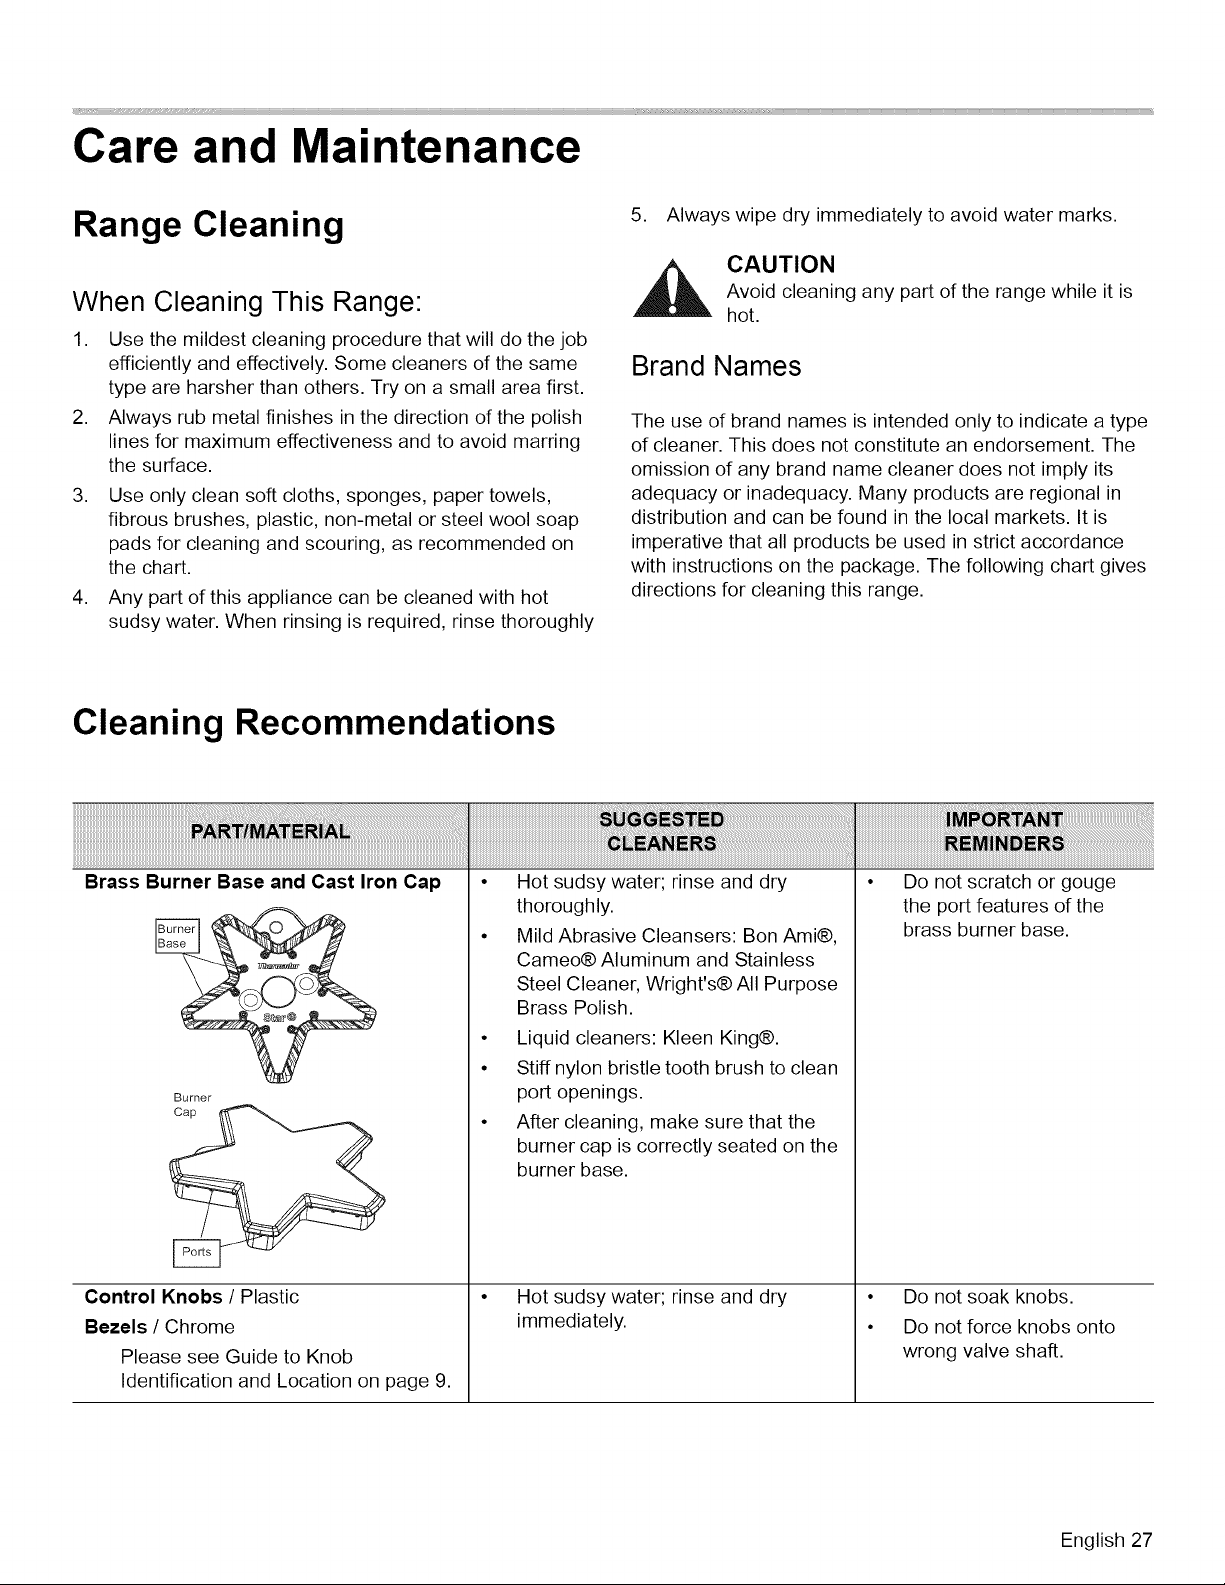
Brass Burner Base and Cast Iron Cap
Burner
Control Knobs / Plastic
Bezels / Chrome
Please see Guide to Knob
Identification and Location on page 9.
Hot sudsy water; rinse and dry
thoroughly.
Mild Abrasive Cleansers: Bon Ami®,
Cameo® Aluminum and Stainless
Steel Cleaner, Wright's® All Purpose
Brass Polish.
• Liquid cleaners: Kleen King®.
• Stiff nylon bristle tooth brush to clean
port openings.
• After cleaning, make sure that the
burner cap is correctly seated on the
burner base.
Hot sudsy water; rinse and dry
immediately.
• Do not scratch or gouge
the port features of the
brass burner base.
• Do not soak knobs.
• Do not force knobs onto
wrong valve shaft.
English 27
Loading ...
Loading ...
Loading ...