Loading ...
Loading ...
Loading ...
5
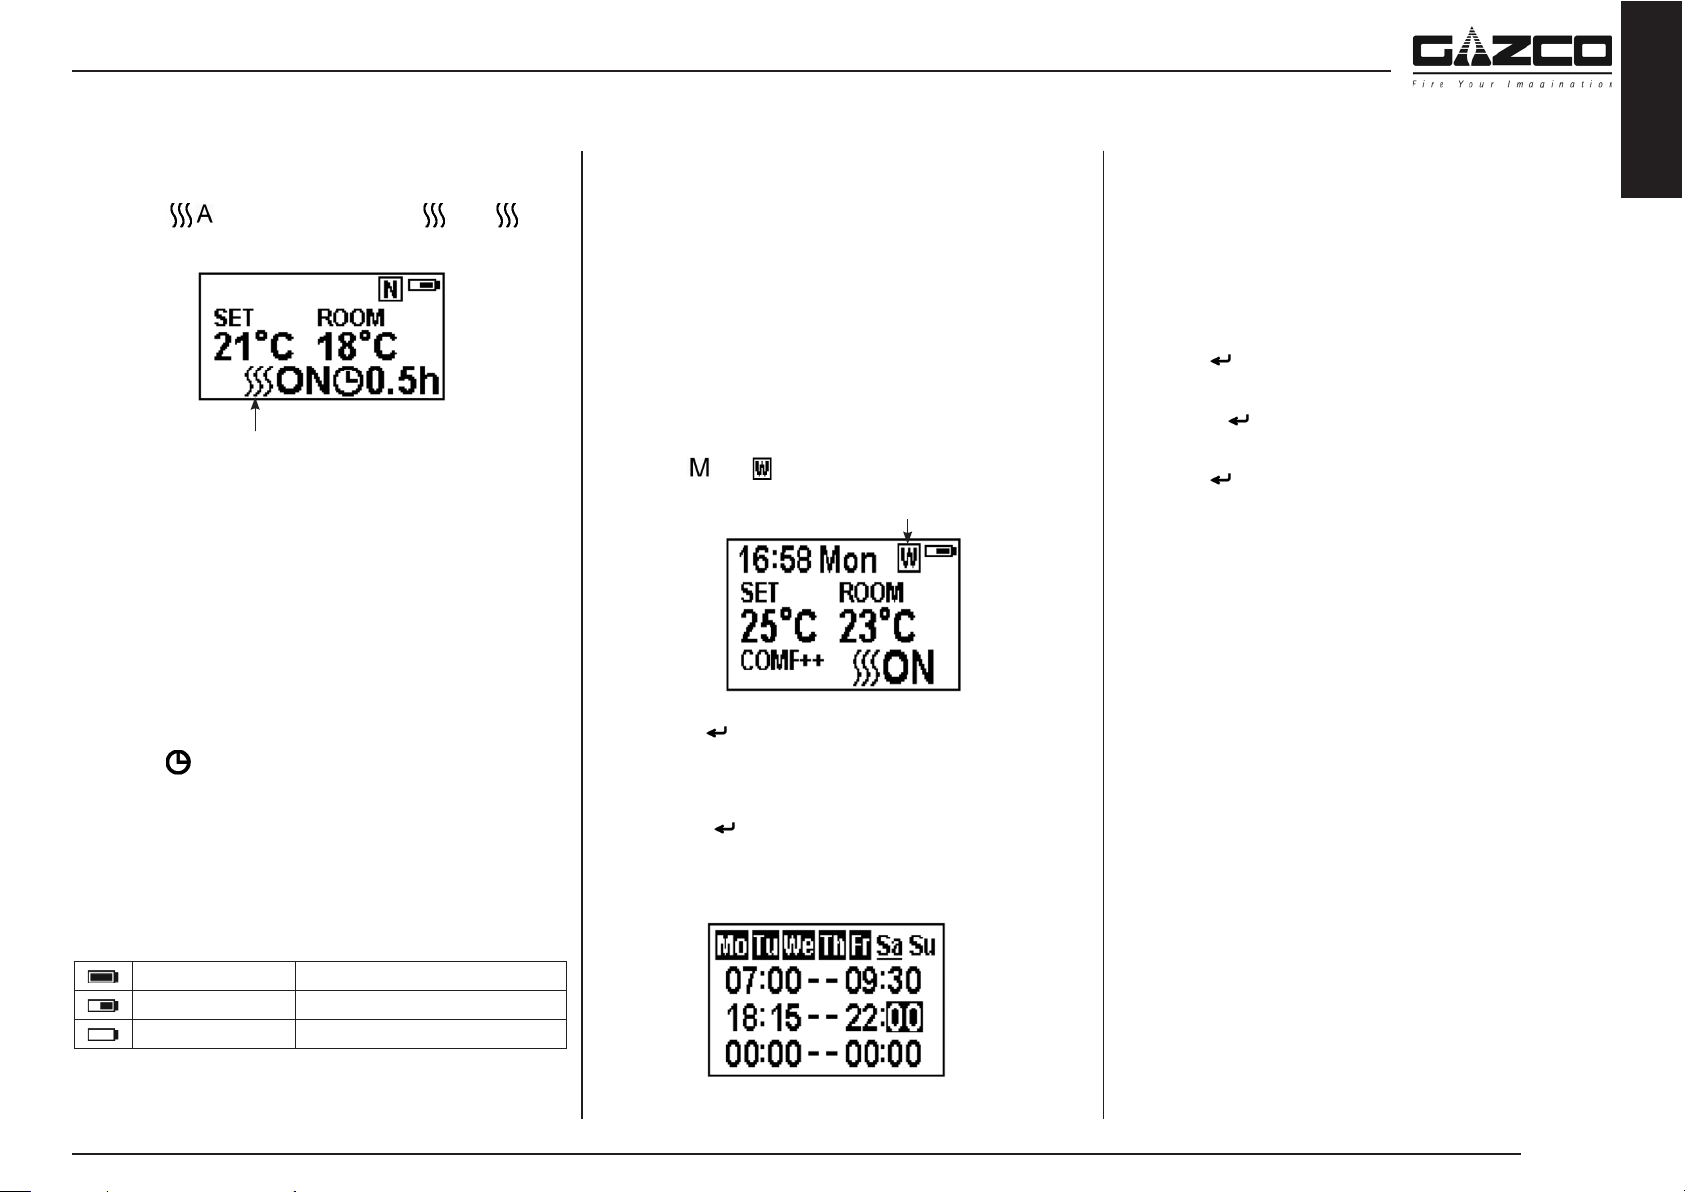
2b.25 Press the ‘+’ or ‘-’ button to adjust the setting temperature from
17℃ to 25℃.
2b.26 Press button to turn the heat on/off, ON or OFF
will show at the lower right corner of the screen, see Diagram.
Note: It is normal for the fan heater to stop running for periods
of time. This happens if the room temperature is higher than the
temperature set on the control.
The heater indicator will be turned off after 10s if the flame is
switched ON. The heater indicator will stay ON if only the heating
function is used.
When in Normal Control Mode switching the appliance off
with the remote will stop both the light and heat output.
Count Down Timer
This setting is only in normal heating control mode. It allows the
appliance to be returned to Standby after a set period of time. The
heater must be switched on to use this function.
2b.27 Press to cycle through the setting from Off and 0.5 hours to 9
hours. Timer logo and remaining time will show on the screen.
The heater of appliance can be automatically run by using daily
timer and weekly timer on the remote.
Battery
The battery power level is indicated at the top right of the remote
control screen, see Diagram.
Battery Full No action required
Battery Half Power Ensure new batteries are available.
Battery Empty Replace batteries immediately
Battery replacement is recommended after 1 year. The Remote
requires two 1.5V alkaline AAA batteries.
Changing the batteries will not affect the Timer Mode settings,
however, the clock may need adjusting.
Week Timer Heating
2b.28 The following heating periods have been preset, these can be
altered if desired:
From Monday to Friday
06:00 until 08:30
17:00 until 22:00
From Saturday to Sunday
06:30 until 09:30
11:00 until 13:00
17:00 until 22:00
2b.29 Press until shows at the upper right corner of the screen
to enter the week heating mode.
2b.30 Hold the button for 6 seconds to enter the week timer heating
mode setting.
2b.31 Press ‘’ or ‘’ to move the cursor (a flashing underline).
2b.32 Press the button in the corresponding week position to select
(the character is highlighted) or cancel (the character is displayed
normally) the current setting, the same time period can be
selected together.
2b.33 Press the ‘’ button to move the cursor to the time period setting
area.
2b.34 Press ‘’ or ‘’ button to choose hour or minute.
2b.35 Press ‘+’ or ‘-’ to set the number.
A maximum of 3 timed heating periods can be set per day.
Minute increment / decrement by 15minutes per press.
2b.36 Press to set the heating time for the selected day and return
to the week line.
2b.37 Hold the button for 3 seconds or wait for 10 seconds to save
and exit the heating time period setting.
2b.38 Press ‘’ or ‘’ to check the timer setting for the week timer
heating mode.
2b.39 Press the Heater/Advance button to advance the off cycle.
When in Weekly Timer Mode switching the appliance off with
the remote will stop the light output. The heat output will
continue according to the timer settings.
Adjusting the Set Temperature
2b.40 Press the ‘+’ or ‘-’ button to increase or decrease the temperature
on the basis of COMF temperature.
COMF means the actual temperature is the same as setting.
ECO means the actual temperature is 2℃ lower than the setting
temperature.
ECO- means 4℃ lower.
COMF+ means 2℃ higher.
COMF++ means 4℃ higher.
Adaptive start control
According to room temperature and set-pointed temperature, the
heater will automatically determine the appropriate time to heat to
ensure that it will reach the set-pointed temperature in the set time
(up to 45 minutes prior to the set time).
User Instructions
English
Loading ...
Loading ...
Loading ...