Loading ...
Loading ...
Loading ...
41
EN: 1. General
1.1 TOOLS REQUIRED
A Screw Driver, Spirit Level and Drill will be needed.
1.2 UNPACKING THE FIREPLACE
WARNING! DO NOT use this appliance if any part has been
exposed to water.
Immediately call a qualified service technician to inspect and to
replace any part of the electrical system if necessary.
1.3 Open the packaging carefully and remove the polystyrene.
Remove and discard the plastic bag.
Keep plastic wrapping away from children.
Be responsible when handling the packing materials.
1.4 Check all parts and accessories are removed before disposing of
any packaging.
If necessary keep the original packaging for future transport and/
or storage.
2. Fitting the Appliance
ENSURE THAT THE MAINS SUPPLY IS ISOLATED.
2.1 Locating the eReflex
Your new eReflex may be installed virtually anywhere in your
home. However, when choosing a location ensure that the general
instructions are followed.
2.2 For best results, install out of direct sunlight.
2.3 Make sure there are no pipes or cables behind the area to be
drilled or cut.
2.4 Before installation ensure that the wall is suitably
constructed to support the weight of the appliance.
2.5 The appliance should ideally be located close to a suitable mains
socket to enable connection. An extension could be run from an
existing socket outlet but this must be carried out by a suitably
qualified electrical engineer.
The electrical socket must be easily accessible to allow
disconnection when the appliance is fitted.
2.6 If access to the underside of the appliance will be limited after
installation is complete, ensure the plug connection on the
underside of the appliance has been considered.
This appliance must be fixed to the wall using the wall
mounting bracket provided.
The installation can then be finished in one of the
following ways;
1. Installation with a Trento Modular Suite.
See Installation Instructions supplied with the Trento
(PR2453EU).
2. Installation into a custom built setting.
Note: If installing the appliance into a custom built corner
installation the side brackets will need to be replaced
with the 2 brackets supplied, see Section 6.
Installation Instructions
2.7 If the power cord is damaged, it must be repaired by the
manufacturer, its authorised service centre or professional person.
2.8 Ensure that curtains and furniture are not positioned close to the
chosen position, as this would create a potential fire hazard or
block the heater outlet ducts.
WARNING! KEEP ALL COMBUSTIBLE MATERIALS AT LEAST
1M FROM THE FRONT OF THE ELECTRIC FIREPLACE.
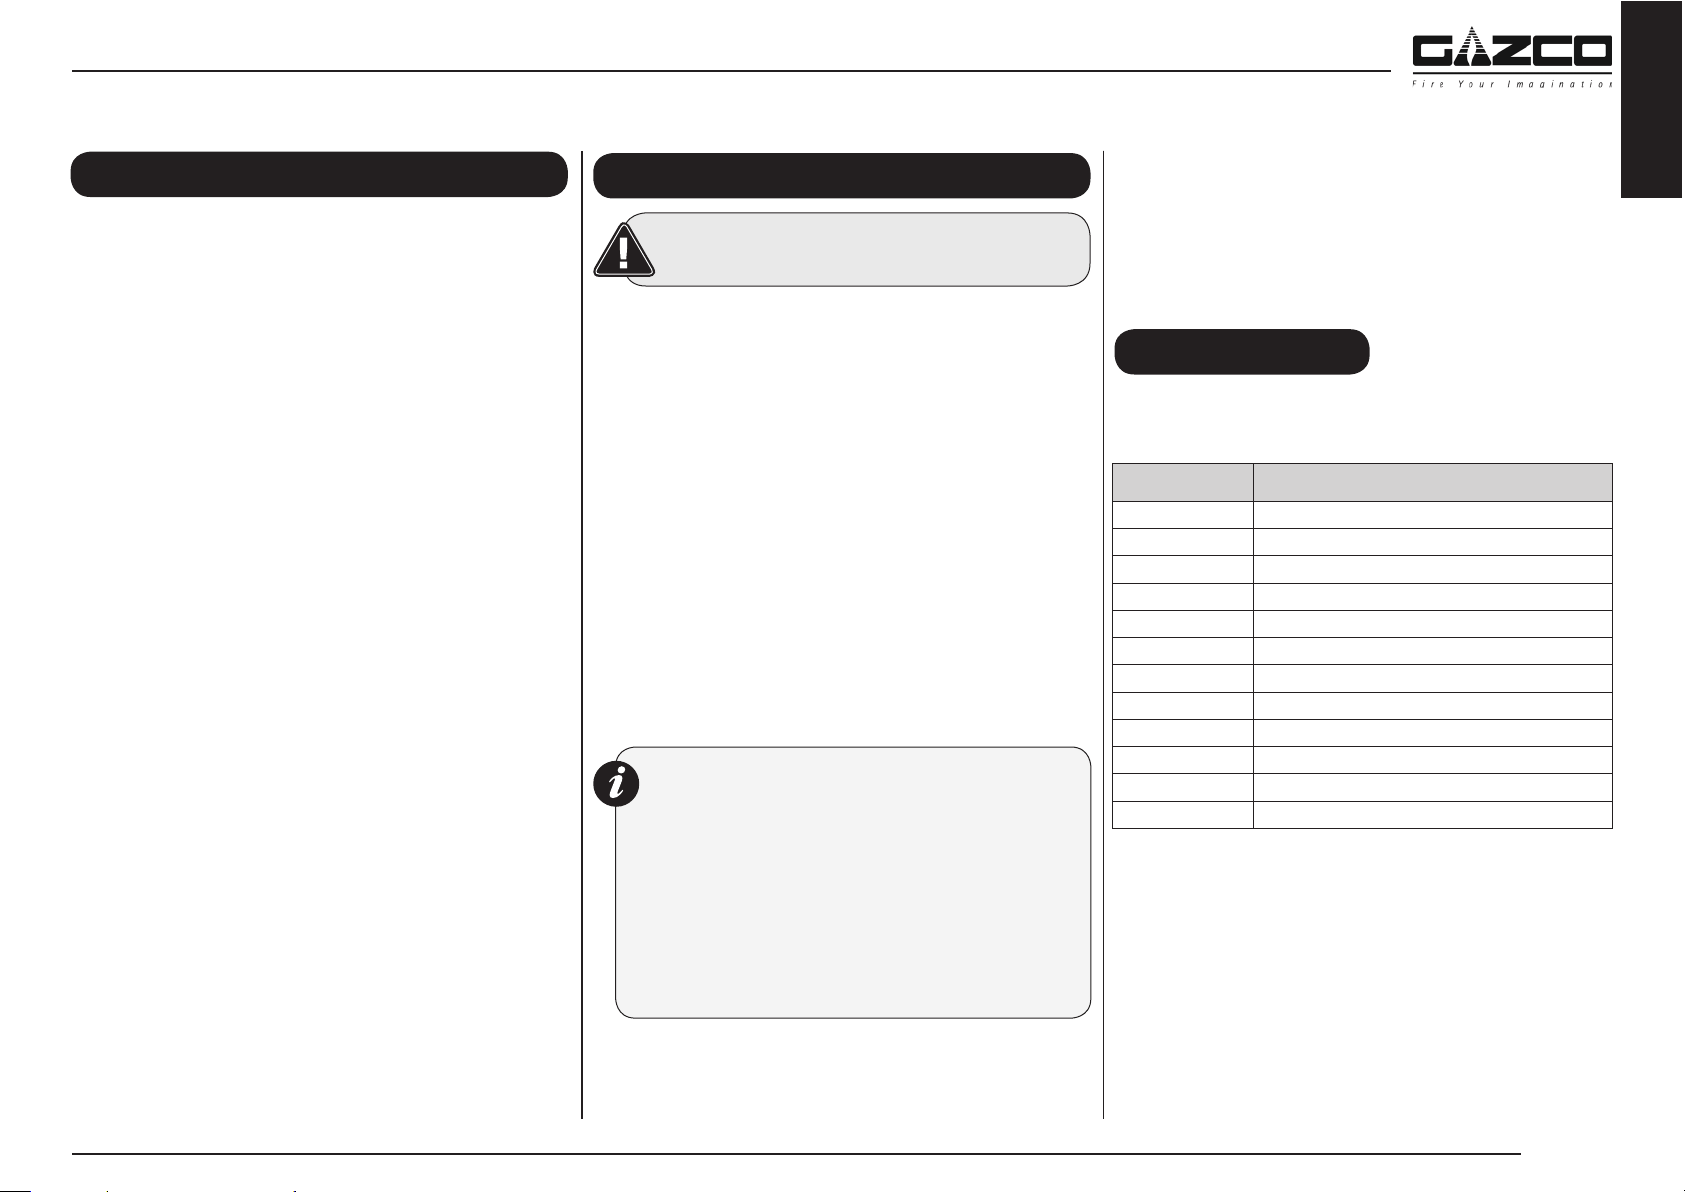
Optional Extras
2.9 This appliance can be installed with an optional decorative trim to
finish the installation.
For details please contact your Gazco retailer.
Product Code Description
910-293 eReex 55W Centre Metal Trim
910-271 eReex 55W Left Hand Corner Metal Trim
910-282 eReex 55W Right Hand Corner Metal Trim
910-113 eReex 70W Centre Metal Trim
910-091 eReex 70W Left Hand Corner Metal Trim
910-102 eReex 70W Right Hand Corner Metal Trim
910-326 eReex 75W Centre Metal Trim
910-304 eReex 75W Left Hand Corner Metal Trim
910-315 eReex 75W Right Hand Corner Metal Trim
910-146 eReex 110W Centre Metal Trim
910-124 eReex 110W Left Hand Corner Metal Trim
910-135 eReex 110W Right Hand Corner Metal Trim
English
Loading ...
Loading ...
Loading ...