Loading ...
Loading ...
Loading ...
PREPARATIONS ➤ f Initial settings En 36
1
Turn on the unit, TV, and playback devices.
2
Activate the HDMI control function on the unit, TV,
and playback devices such as BD/DVD players that
support this function.
For this unit, set “HDMI Control” to “On”. The default setting
is “Off” (p. 77).
For playback devices, refer to documentation supplied with
each device.
3
Turn off the main power of the TV and then turn off
the unit and playback devices.
4
Turn on the unit and playback devices and then turn
on the TV.
5
Switch the TV input to display the video from the
unit.
6
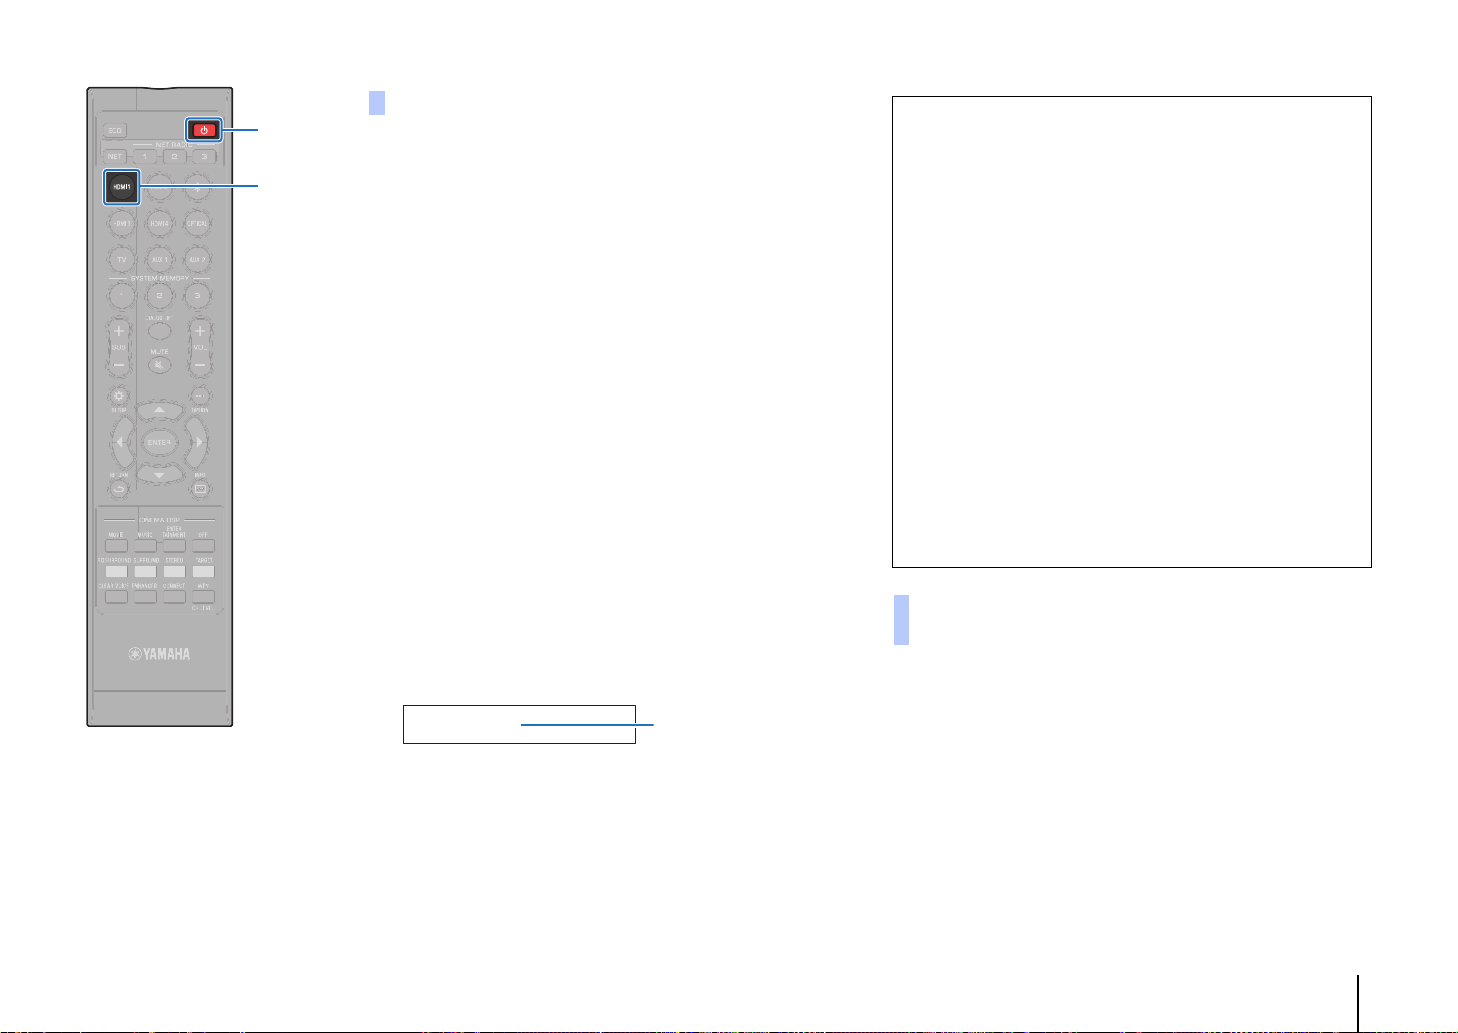
Select HDMI 1-4 as an input source and confirm that
the video of the playback device is displayed on the
TV.
When the playback device is connected to the HDMI IN 1
jack, press the HDMI1 key.
7
Check that the unit is properly coordinated with the
TV by turning off the TV or adjusting the TV volume
with the TV remote control.
When changing connected devices, or the jacks via which devices
are connected, reconfigure settings as follows.
1
Disable the HDMI control function of the TV and BD/
DVD player, turn off all connected devices, and
change the connections.
2
Perform steps 1 to 7 of “Setting the HDMI control
function”.
Setting the HDMI control function
HDMI1
Input source name
If devices are not coordinated
Confirm the settings are properly configured as described
below.
– “HDMI Control” (p. 77) is set to “On” in the setup menu.
– The HDMI control function is enabled on the TV.
The example of TV settings
• From the setup menu on your TV, select “Link setting”
“HDMI control setting”, then set a setting such as “HDMI
control function” to “ON”.
• Set audio output to any option other than TV.
If devices fail to coordinate even after the settings described
above have been applied correctly:
– Turn off this unit and the TV, and then turn them back on again.
– Disconnect the power cable of the unit and external devices
connected to the unit via HDMI cable. Plug them in again after
about 30 seconds.
– If devices fail to coordinate after OPTICAL, AUX1, or AUX2 is
input, repeat steps 5 and 6 under “Setting the HDMI control
function”.
Changing the connection method and
connected devices
z
HDMI 1
Loading ...
Loading ...
Loading ...