Loading ...
Loading ...
Loading ...
PREPARATIONS ➤ f Initial settings En 32
4
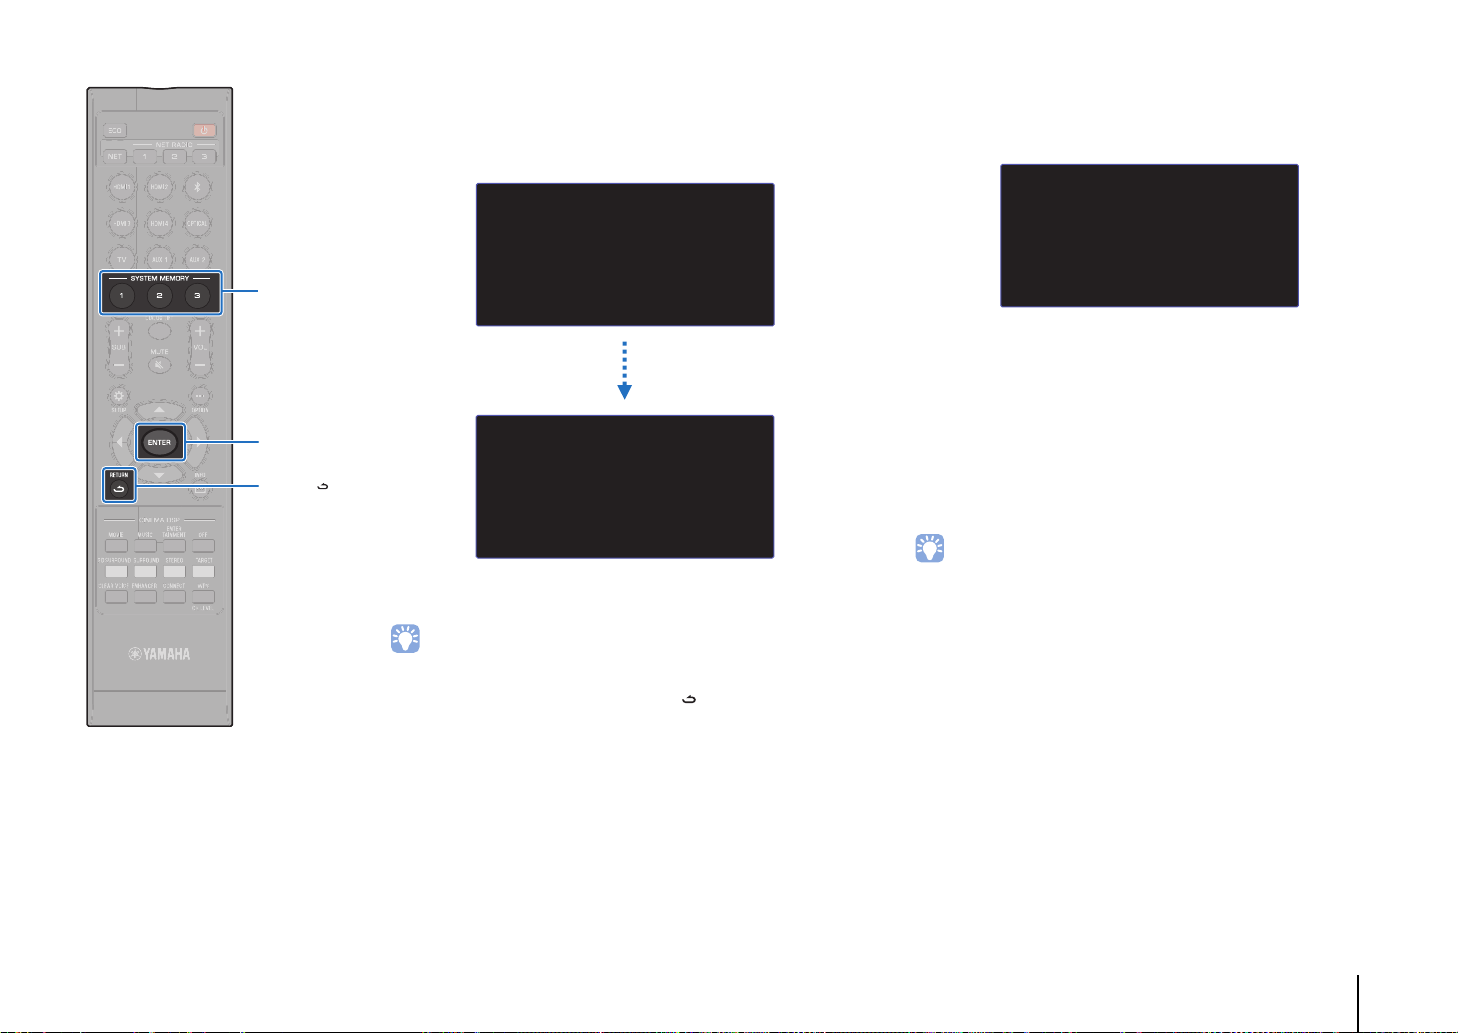
Press the ENTER key to start the AUTO SETUP
procedure and then leave the room within 10
seconds.
If the AUTO SETUP procedure is complete, this unit rings
the chimes.
• The AUTO SETUP procedure takes about 3 minutes.
• To cancel the AUTO SETUP procedure after it is started, or if you do not
want to apply the results, press the RETURN ( ) key.
• If an error occurs, an error buzzer sounds and an error message is
displayed. For details on error messages, see “If an error message is
displayed” (p. 34).
5
Press the ENTER key.
The measurement results are applied and saved in the unit.
• You can save several measurement results by pressing
the SYSTEM MEMORY 1, 2, or 3 key.
When the SYSTEM MEMORY 1 key is pressed, “M1
Saving” is displayed, and settings are saved.
• If ambient noise is picked up after measurement begins,
an error message is displayed in the “AUTO SETUP
COMPLETE” screen prompting you to begin
measurement again. Press the ENTER key to exit the
error message screen, and begin measurement again.
• See page 45 for more information on the system memory function.
SHOW RESULT
MEASUREMENT COMPLETE.
ENVIRONMENT CHECK:Success
FRONT :Beam
SURROUND :Beam
SUBWOOFER:Wired
[ENTER]:Save set-up.
[RETURN]:Do not save set-up.
AUTO SETUP START
Will begin in 10 sec.
Please leave the room.
----------
[RETURN]:Cancel
The screen changes
automatically as measurement
progresses.
AUTO SETUP COMPLETE
Please remove the MIC
from Sound Projector
and the listening position.
Press [SYSTEM MEMORY] key
to save set-up in the memory.
SYSTEM
MEMORY
ENTER
RETURN ( )
Loading ...
Loading ...
Loading ...