Loading ...
Loading ...
Loading ...
4. Plan the way you wlll push the workplece
through.
NEVER pull the workplece through. Start and
finish _e clot from the front of the table saw.
NEVER put your fingers or hands in the path
of the sawt_ade or other cutting too!.
NEVER reach in back of the cutting tool with
e_ther hand to hold down or support the work-
p_ece remove wood scraps, or for any other rea-
son.
Avoid hand pos_ons where a sudden s!ip could
cau_ fingers or hand to move _nto a sawblade or
oth,_" cutt=ng tO01
DON_ OVERREACH. AJways Keep good footing
an_ batance.
Push the workp_ece against the rotation of the
b_ade. NEVER feed materia! into the cutting tool
from tt_e rear of the saw.
Nways push the workp_ece all the way past the
As much as moss_bteoke_,_ your face and body to
one s_de of the _wbtade out of lille with a poss_-
t_e kickback or throwback
NEVER turn the saw "ON' before clearing the
tabte of atl tools, wood scraps etc exceot the
workp_ece and related fc_l or support devtce.s for
me cut ptanned
AVOID ACCIDENTAL, STARTING o Make sure
switch is "OFF" before plu.cLqing saw in.
WHENEVER SAW IS RUNNING
WARNING: Don't let familiarity (gained from
frequent use of your table saw) cause a care-
_ess mistake. Always remember that a careless
fraction of a second is enough to cause a
severe injury.
t. Baler÷ aclualiy cutting w_th the saw, watc_ it while _t
runs for a short wh_ie If i! makes an unfarnihar no_se
or vibrates a tot, stoo immediately. Turn the ,_w eft,
Unplug the saw, Do not restart unt_t finding and fixing
the problemo
2. Make sure the top of the arbor or cu11_ng tool turns
toward the front of the saw.
3, Set the cutting tool as tow as possible for the cuz
you're planning.
4. KEEP CHILDREN AWAY. All ws_tors should be kept
a safe distance from work. MaKe sure bystanders
are c4ear of the saw and workp_ece
5. Let, #_e blade reach full sp_ before cutting,
& DON'T FORCE TOOL. !t wilt do the job be_er and
safer at _ts designed rate. Feed the workp_ece rote
the b{ade only fast enougr_ to let it cut without bog-
g_ng down or binding.
7. Before freeing any jammed material:
a Turn switch "OFF".
b Unplug the saw
c Wa_t for all moving parts to stop.
u, Check biade. Spreader a_d Fe_sce re: proper
a_gnrnent before slar_ir_g, _._f_an
8. To avoid throwback of cut off p;e,ces:
a. Use _ne G_4ard assemby.
h. To remove pt6wsesbeneath or trappecl ms,de the
Guard.
Turn saw "OFFL
2 Remove switch key.
3 Unplug saw,
4. Wa_t for blade to stop before !_fl_n9 the 9_sard.
Additional Instructions for
RiP TYPE CUTS
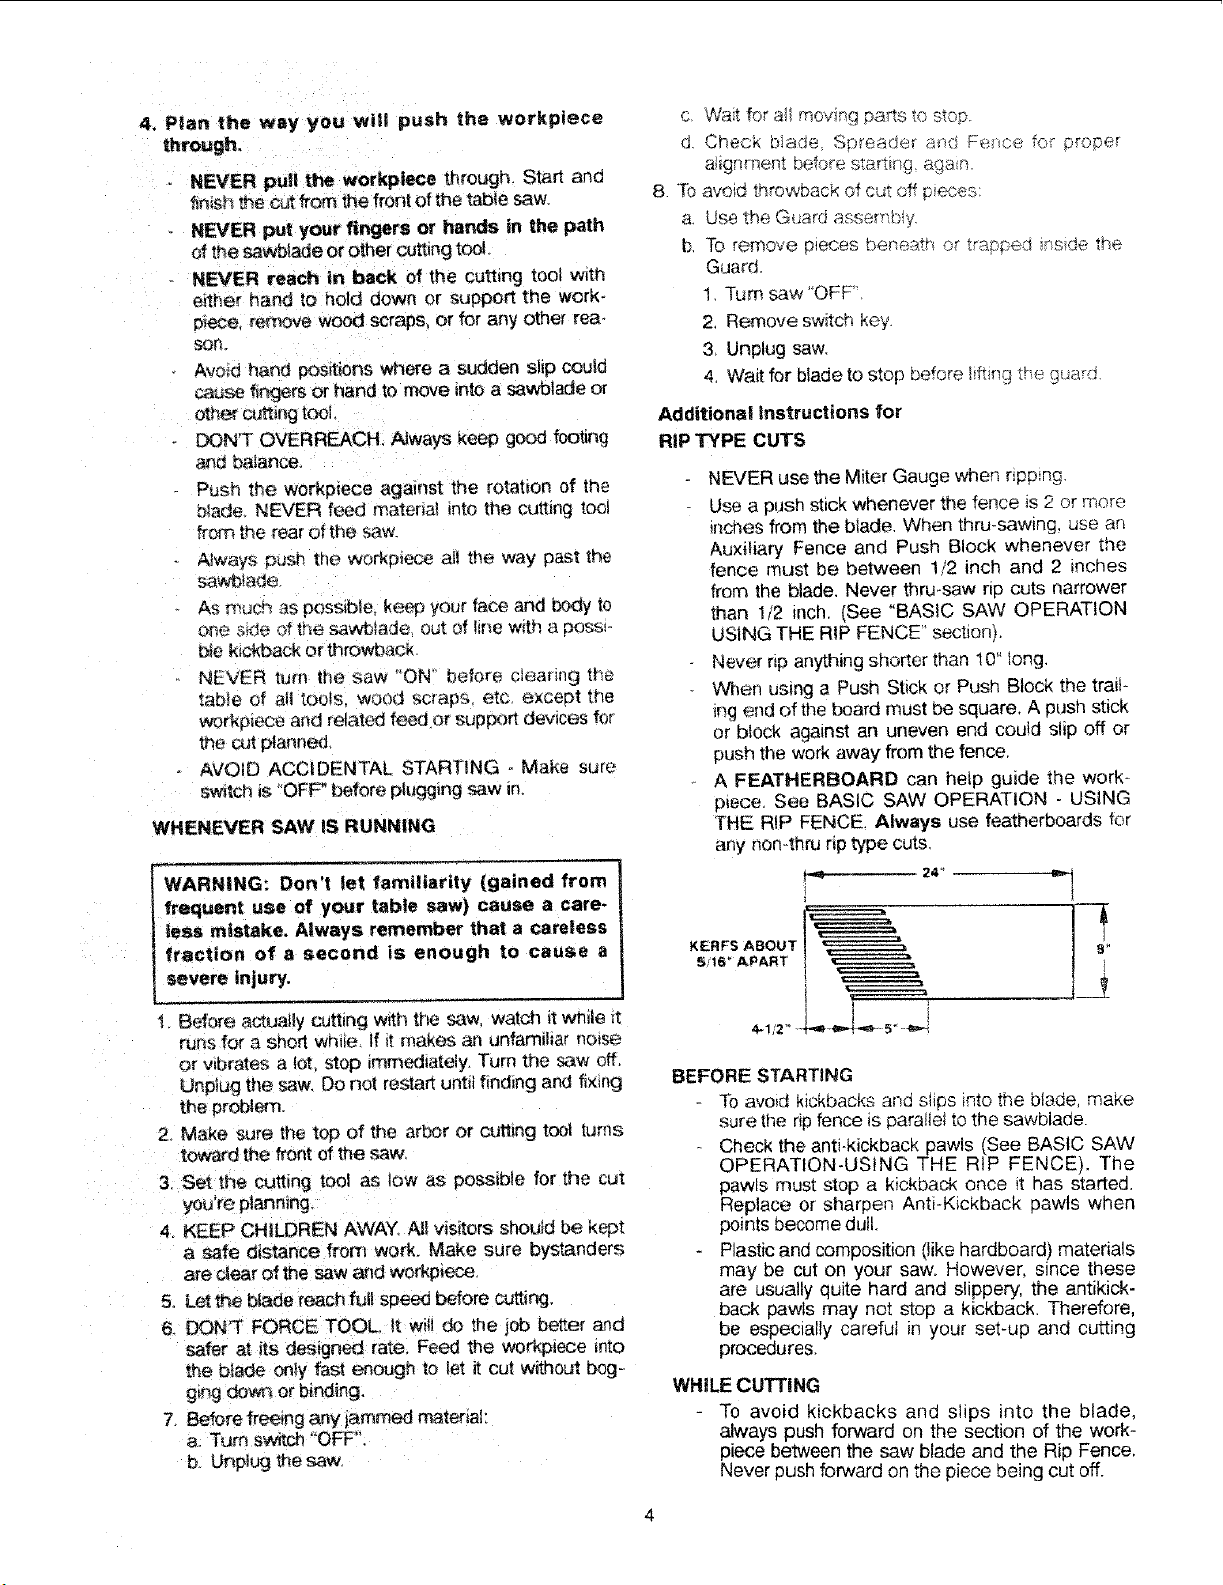
KERFS ABOUT
5/16" APART
9
NEVER use the Miter Gauge when npp_ng,
Use a push stick whenever the fence is 2 or more
inches from the blade When thru-sawing, use an
Auxiliary Fence and Push Block whenever the
fence must be between 1/2 inch and 2 inches
from the blade, Never thru-saw rip cuts narrower
_an 1/2 inch. (See "BASIC SAW OPERATION
USING THE RIP FENCE' section),
Never rip anything shorter than 10" tong,
When using a Push Stick or Push Block the trail-
_ng end of the board must be square, A push stick
or block against an uneven end could slip off or
push the work away from the fence,
A FEATHERBOARD can hetp guide the work-
p_ece See BASIC SAW OPERATION - USING
THE RiP FENCE. Always use featherboards for
any non4f_ru rip type cuts.
24 _
BEFORE STARTING
-[b avoid kickbacks and slips into the blade, make
sure the rip fence is parallel to the sawblade.
Check the anti-kickback pawls (See BASIC SAW
OPERATION-USING THE RiP FENCE). The
pawls must stop a kickback once it has started.
Replace or sharpen Anti*Kickback pawls when
points become dull.
Plastic and composition (like hardboard) materials
may be cut on your saw. However, since these
are usually quite hard and slippery, the antikick-
back pawls may not stop a kickback. Therefore,
be especially careful in your set-up and cutting
procedures.
WHILE CUTTING
To avoid kickbacks and slips into the blade,
always push forward on the section of the work-
piece between the saw blade and the Rip Fence.
Never push forward on the piece being cut off.
Loading ...
Loading ...
Loading ...