Loading ...
Loading ...
Loading ...
32
BeforeUse
BasicGuide
AdvancedGuide
CameraBasics
AutoMode
OtherShooting
Modes
PMode
PlaybackMode
SettingMenu
Accessories
Appendix
Index
Still Images Movies
CustomizingtheSelf-Timer
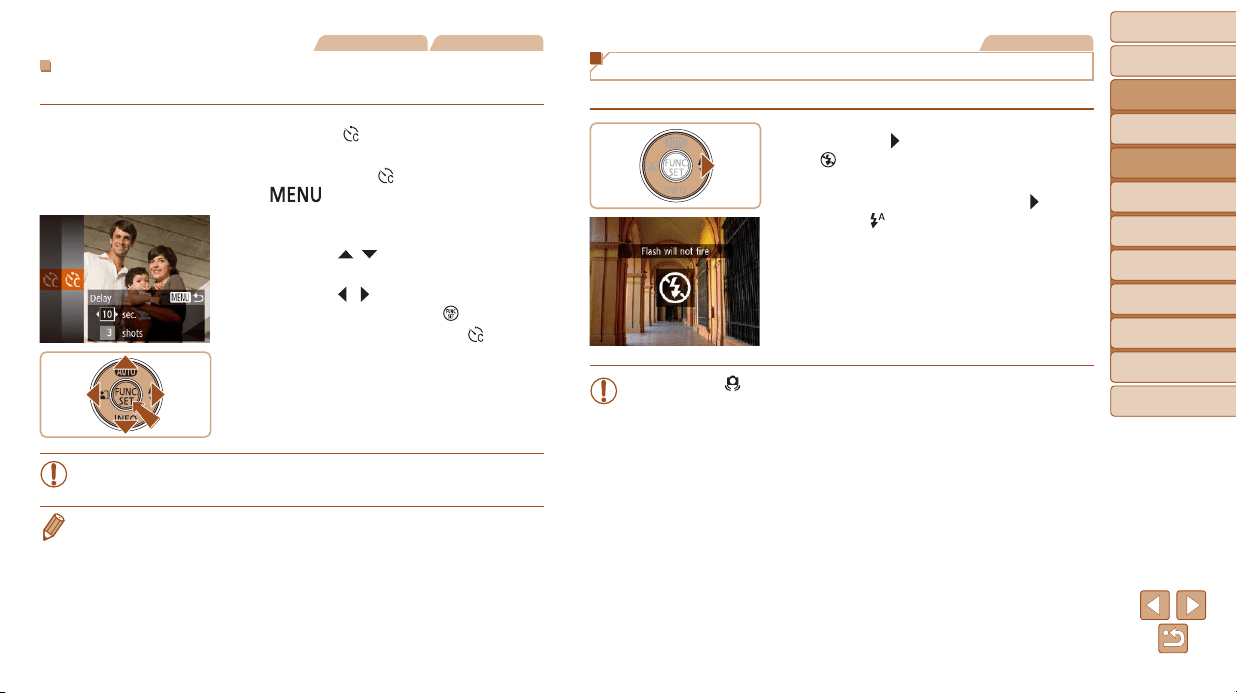
You can specify the delay (0 – 30 seconds) and number of shots (1 – 10).
1 Choose[ ].
Following step 1 in “Using the Self-Timer”
(=
31), choose [ ] and press the
[
] button.
2 Congurethesetting.
Press the [ ][ ] buttons to choose
[Delay] or [Shots].
Press the [ ][ ] buttons to choose a
value, and then press the [
] button.
Once the setting is complete, [ ] is
displayed.
Follow step 2 in “Using the Self-Timer”
(=
31) to shoot.
• For movies shot using the self-timer, [Delay] represents the delay
before recording begins, but the [Shots] setting has no effect.
• When you specify multiple shots, image brightness and white balance are
determinedbytherstshot.Moretimeisrequiredbetweenshotswhenthe
ashresorwhenyouhavespeciedtotakemanyshots.Shootingwillstop
automatically when the memory card becomes full.
• Whenadelaylongerthantwosecondsisspecied,twosecondsbeforethe
shot, the lamp blinking and self-timer sound will speed up. (The lamp will
remainlitincasetheashres.)
Still Images
Deactivating the Flash
Preparethecameraforshootingwithouttheashasfollows.
Press the [ ] button several times until
[
] is displayed.
Theashwillnolongerbeactivated.
Toactivatetheash,pressthe[ ] button
again. ([
]isdisplayed.)Theashwill
automaticallyreinlow-lightconditions.
• If a blinking [
] icon is displayed when you press the shutter button
halfway in camera-shake inducing, low-light conditions, mount the
camera on a tripod or take other measures to keep it still.
Loading ...
Loading ...
Loading ...