Loading ...
Loading ...
Loading ...
26
BeforeUse
BasicGuide
AdvancedGuide
CameraBasics
AutoMode
OtherShooting
Modes
PMode
PlaybackMode
SettingMenu
Accessories
Appendix
Index
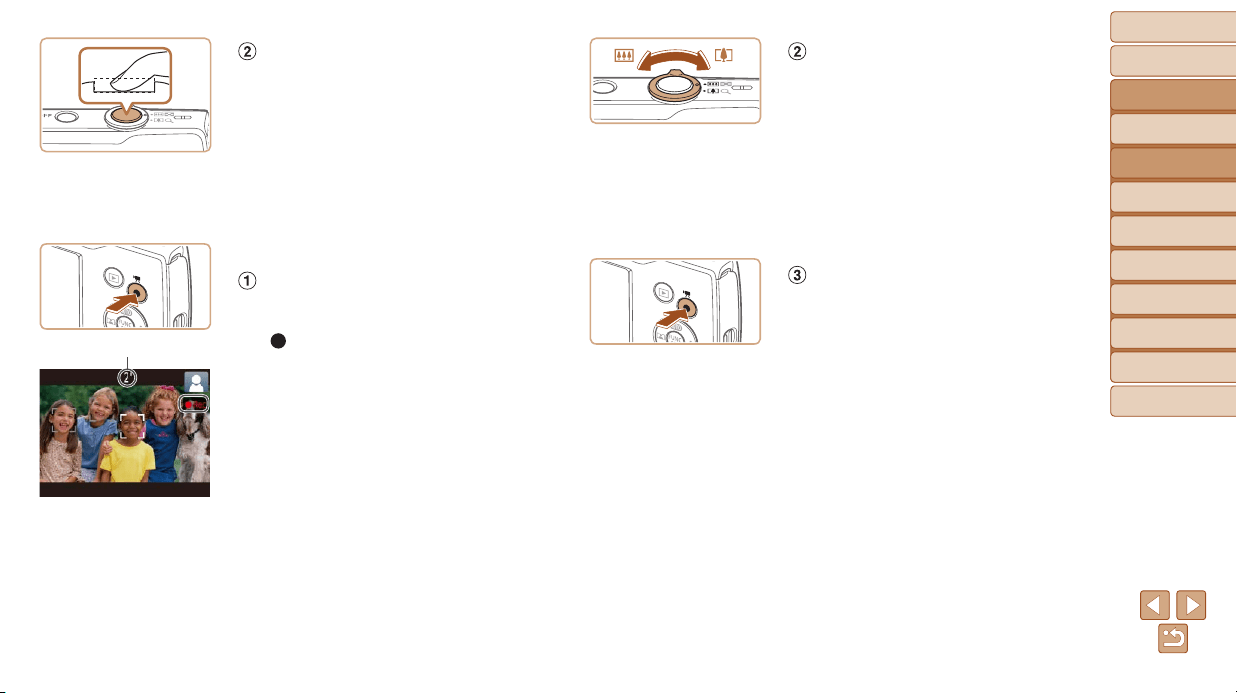
Shoot.
Press the shutter button all the way
down.
As the camera shoots, a shutter sound
is played, and in low-light conditions, the
ashresautomatically.
Keep the camera still until the shutter
sound ends.
After displaying your shot, the camera will
revert to the shooting screen.
RecordingMovies
Startrecording.
Press the movie button. The camera
beeps once as recording begins, and
[
Rec] is displayed with the elapsed
time.
Black bars displayed on the top and
bottom edges of the screen indicate
image areas not recorded.
Frames displayed around any detected
faces indicate that they are in focus.
Oncerecordingbegins,takeyournger
off the movie button.
Elapsed Time
Resizethesubjectand
recomposetheshotasneeded.
To resize the subject, repeat the
operations in step 3 (=
25). However,
note that the sound of camera operations
will be recorded. Note that movies shot
at zoom factors shown in blue will look
grainy.
When you recompose shots, the
focus, brightness, and colors will be
automatically adjusted.
Finishrecording.
Press the movie button again to stop
recording. The camera beeps twice as
recording stops.
Recording will stop automatically when
the memory card becomes full.
Loading ...
Loading ...
Loading ...