Loading ...
Loading ...
Loading ...
En
20
Advanced operation
From here, this guide explains the unique function when this unit and
Serato DJ Pro are connected. This is not explained in the Serato DJ Pro
software manual.
Using the performance pads
These functions are switched using the respective pad mode buttons
(the [HOT CUE] mode button, [ROLL] mode button, [SLICER] mode
button and [SAMPLER] mode button).
Using hot cues
Playback can be started from the position at which a hot cue is set.
! Up to 8 hot cue points can be set and saved per track.
1 Press the [HOT CUE] mode button.
The mode switches to the hot cue mode.
2 In the play or pause mode, press a pad to set the
hot cue point.
The hot cue points are assigned to the respective pads as shown below.
Hot cue 1
Hot cue 5
Hot cue 3
Hot cue 7
Hot cue 2
Hot cue 6
Hot cue 4
Hot cue 8
3 Press the pad at which the hot cue point was set.
Playback starts from the hot cue point.
! Hot cue points can be cleared by pressing a pad while pressing
the [SHIFT] button.
Using the Roll function
When a performance pad is pressed, a loop with the number of beats
assigned to that pad is set and loop playback continues as long as the
pad is being pressed.
During loop roll playback, normal playback with the original rhythm
continues in the background. When loop roll playback is canceled,
playback resumes from the position reached in the background at the
point loop roll playback was canceled.
1 Press the [ROLL] mode button.
The mode switches to roll mode.
2 Press the [PARAMETER] or [PARAMETER]
button.
The loop roll beats assigned to the performance pads switch each time
one of the buttons is pressed.
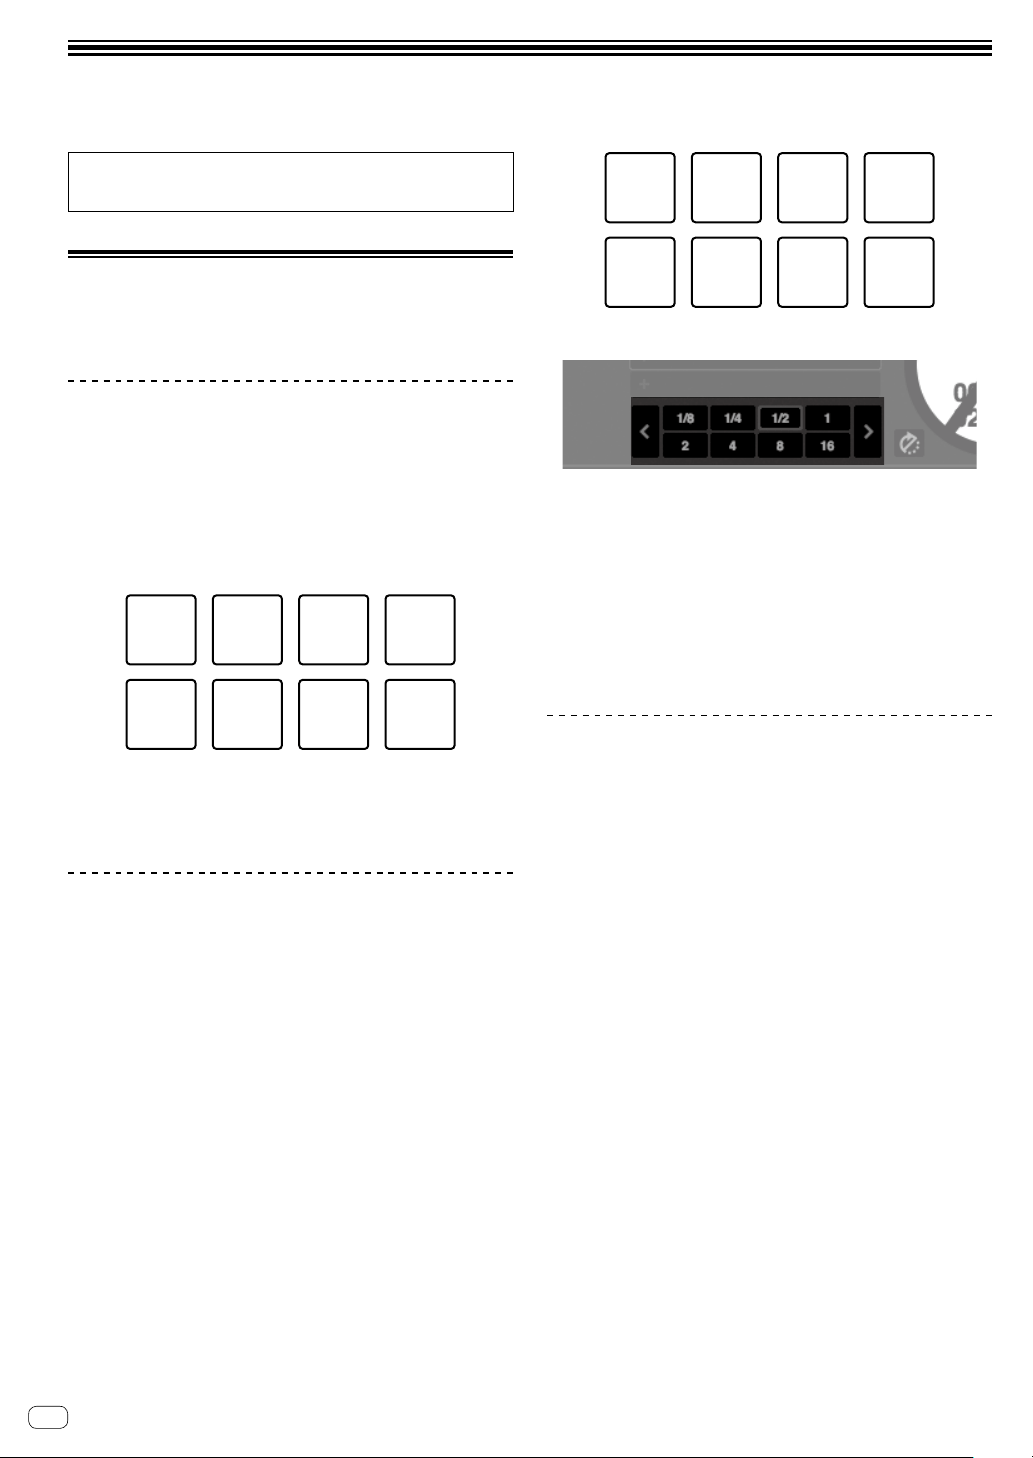
The following 4 settings can be made:
1: 4 beats from 1/32
2: 8 beats from 1/16
3: 16 beats from 1/8
4: 32 beats from 1/4
For example, when set to “8 beats from 1/16”, the pad’s setting is as
shown below.
1 beat
1/16 beat
2 beats
1/8 beat
4 beats
1/4 beat
8 beats
1/2 beat
The range of beats set for the loop roll is displayed on the PC/Mac
screen.
3 Press and hold one of the performance pads.
A loop roll with the number of beats assigned to the pad that was
pressed is played.
Playback continues in the background during loop roll playback.
! The number of beats of the currently playing loop roll can be
changed by pressing the [LOOP 1/2X] or [LOOP 2X] button
during loop roll playback.
4 Release the performance pad.
Loop roll playback is canceled, and playback resumes from the position
reached in the background.
Using the Slicer function
The specified range is divided into 8 equal sections, and these 8 sliced
sections are assigned to the respective performance pads. While one of
the performance pads is pressed, the sound for the section assigned to
that pad is played in a loop.
During loop playback of the pad’s sound, normal playback with the
original rhythm continues in the background. When the pad is released
and loop playback ends, playback resumes from the position reached at
that point.
! The slicer function cannot be used with tracks for which no beatgrid
is set. For details on setting beatgrids, see the Serato DJ Pro
software manual.
1 Press the [SLICER] mode button.
The mode switches to slicer mode.
! While pressing the [SHIFT] button, pressing the [SLICER] mode
button switches the mode to slicer loop mode.
= “About slicer mode and slicer loop mode” (p.21)
2 Press the [PARAMETER] or [PARAMETER]
button while pressing the [SHIFT] button.
Set the domain for the slicer function. The value set for the domain
switches each time one of the buttons is pressed while pressing the
[SHIFT] button.
The domain can be set to one of 6 settings: 2 beats, 4 beats, 8 beats, 16
beats, 32 beats or 64 beats.
The 8 equal sections into which the range specified with the domain
setting have been sliced are assigned to the respective performance
pads as shown below.
Loading ...
Loading ...
Loading ...