Loading ...
Loading ...
Loading ...
En
10
6 Headphones CUE/MIC REVERB button
Press:
The sound of channels for which the headphones [CUE] button is
pressed is output to the headphones.
! When the headphones [CUE] button is pressed again, monitoring
is canceled.
When the input select switch for channel 3 or 4 is set to [MIC1] or
[MIC2], the reverb function can be turned on/off. When the reverb
function is on, the effect can be adjusted on the setting utilities.
= “About the setting utility” (p.31)
[SHIFT] + press:
The track’s tempo can be set by tapping the button. (Tap function)
! When the tap function is used, the deck section’s display on the
PC/Mac screen switches to the [Beatgrid Editer] display. To
switch the deck section’s display back to how it was before, click
[Edit Grid] on the PC/Mac screen.
7 Headphones CUE buttons
Press:
The sound of channels for which the headphones [CUE] button is
pressed is output to the headphones.
! When the headphones [CUE] button is pressed again, monitoring
is canceled.
[SHIFT] + press:
The track’s tempo can be set by tapping the button. (Tap function)
! When the tap function is used, the deck section’s display on the
PC/Mac screen switches to the [Beatgrid Editer] display. To
switch the deck section’s display back to how it was before, click
[Edit Grid] on the PC/Mac screen.
8 Channel fader
Move:
Adjusts the level of audio signals output in each channel.
[SHIFT] + move:
Uses the fader start function.
= “Using the channel fader start function” (p.25)
9 CROSS FADER ASSIGN switch
Assigns the channel output to the crossfader.
[A]: Assigns to [A] (left) of the crossfader.
[B]: Assigns to [B] (right) of the crossfader.
[THRU]: Selects this when you do not want to use the crossfader.
(The signals do not pass through the crossfader.)
! If microphone sound is selected using the input select switch
of channel 3 or channel 4, even through the [CROSS FADER
ASSIGN] switch is switched, the sound of that channel cannot be
assigned to the crossfader.
a Crossfader
Outputs the sound assigned with the [CROSS FADER ASSIGN]
switch.
[SHIFT] + move:
Uses the crossfader start function.
= “Using the crossfader start function” (p.25)
b MASTER LEVEL control
Adjusts the master sound level output.
c Master level indicator
Displays the master output’s audio level.
d SOUND COLOR FX button
Turns on/off SOUND COLOR FX.
e MASTER CUE button
Turns on to output the master sound from the headphones.
f BOOTH MONITOR LEVEL control
Adjusts the level of audio signals output from the [BOOTH OUT]
terminal.
g SAMPLER VOLUME control
Adjusts the sampler’s overall sound level.
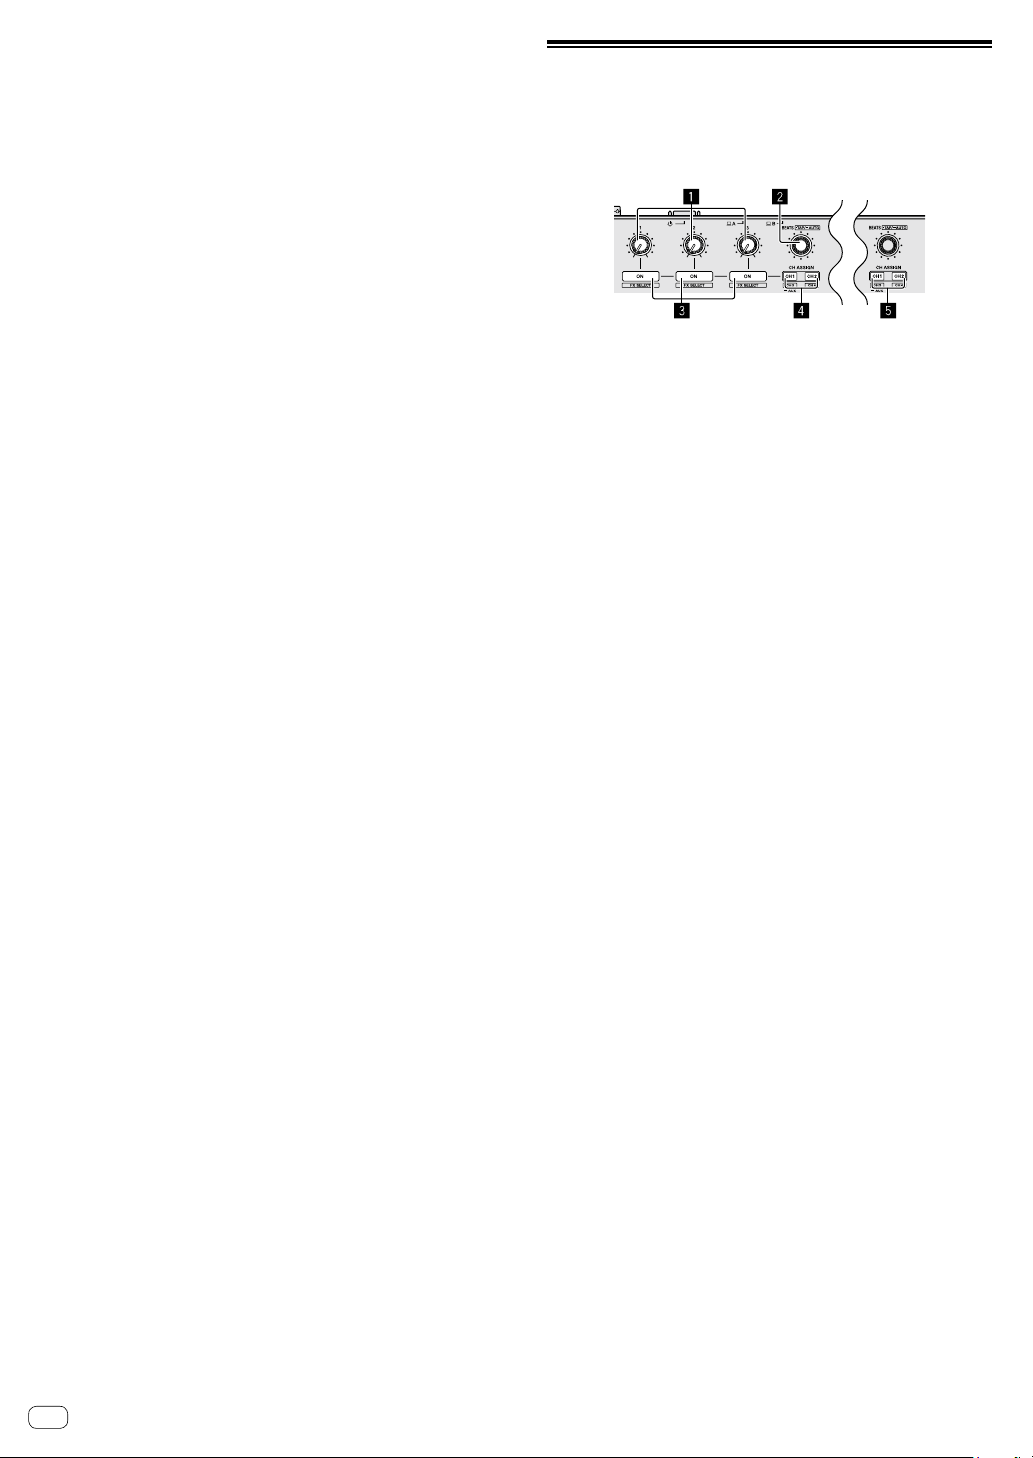
Effect section
This section is used to control the two effect units (FX1 and FX2).
Controls and buttons to operate the FX1 unit are located on the left side
of the controller, those to operate the FX2 unit are located on the right
side of the controller. The channels to which the effect is to be applied
are set using the [CH ASSIGN] buttons on the mixer.
1 Effect parameter controls
Adjust the effects’ parameters.
2 FX BEATS control
Turn:
Adjusts the effect time.
[SHIFT] + press:
= “Switching the effect’s tempo mode” (p.28)
3 Effect parameter buttons
Press:
Turn on/off the effect or switch the parameter.
[SHIFT] + press:
Switch the effect type.
4 FX1 CH ASSIGN buttons
Turn on/off the effect unit FX1 for each channel.
5 FX2 CH ASSIGN buttons
Turn on/off the effect unit FX2 for each channel.
Loading ...
Loading ...
Loading ...