Loading ...
Loading ...
Loading ...
84
Contents Before Using Getting Started Design Center Layout & Editing
Programmable
Stitch Creator
Quick Reference Alphabetic Index
Use this button when you want to create data from vector data from the beginning, or when you
want to create data from vector data taken from a previously saved PEM file.
For details, see File – “New Figure Data” (page 82).
◆ Most Recently Used Files
Displays a list of the most recently edited files.
From the list, click the name of the file that you wish to edit, and then click OPEN.
◆ Cancel
Closes this dialog.
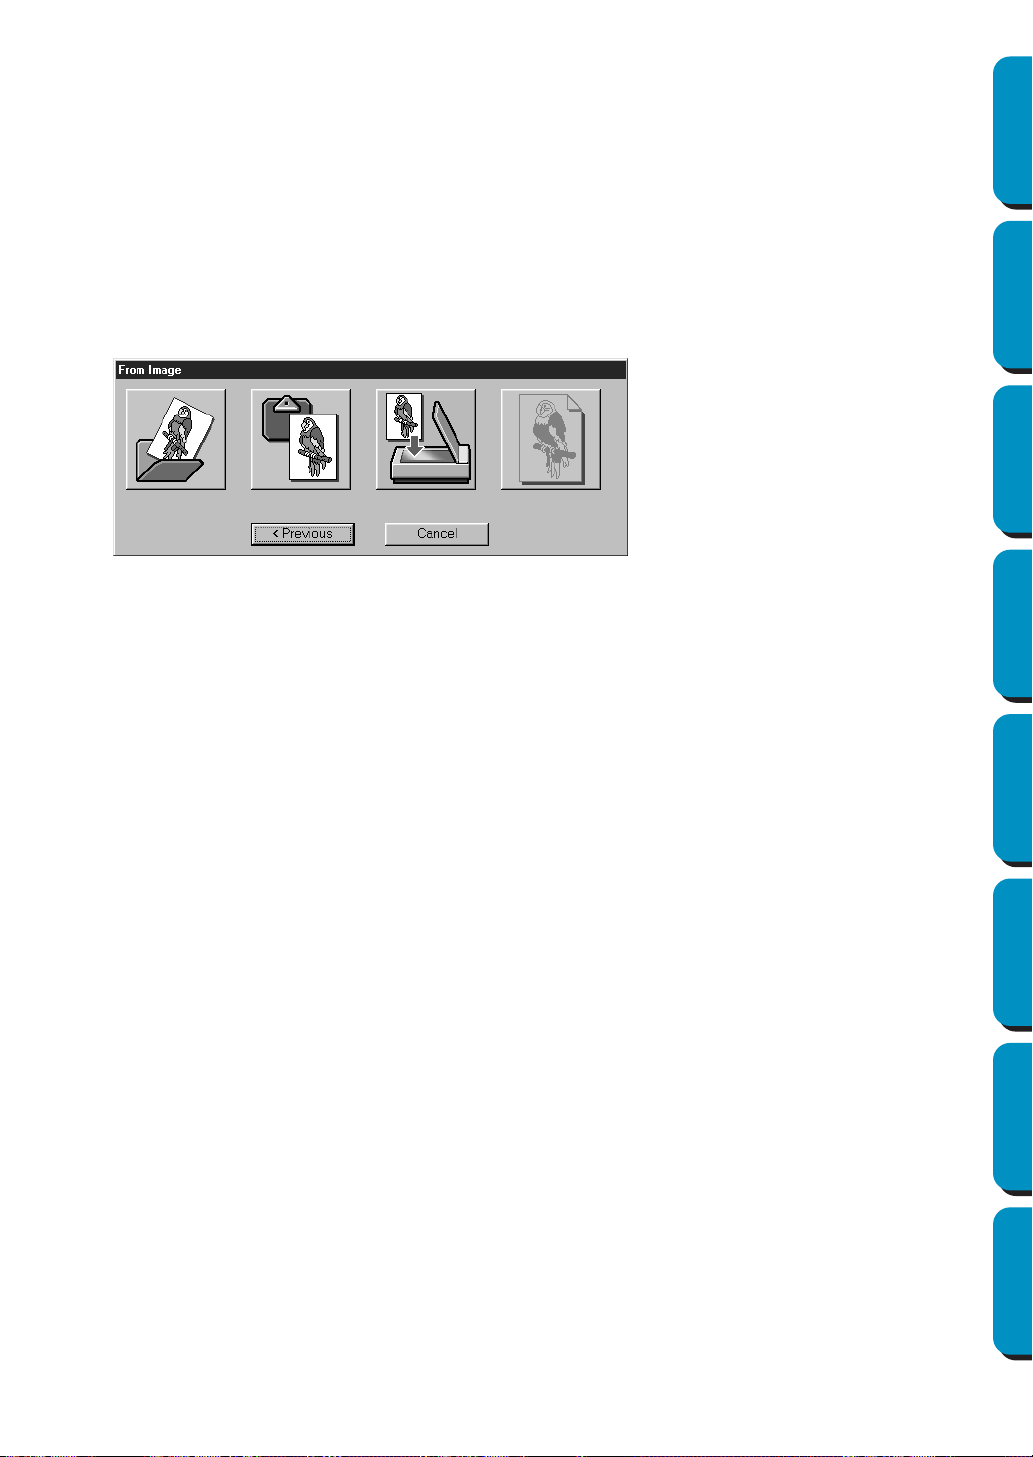
When From Image is selected
When you click the From Image button from the dialog on page 83, the following dialog opens.
Position the mouse pointer over any button and the name of the action will display.
The functions for each button are described below.
◆ Open Image File
Opens a previously saved image file and pastes it in the Design Page.
For details, see the section in File – “Open” about image files (page 85).
◆ From TWAIN device
Import an image from a TWAIN device and paste it in the Design Page.
For details, see File – “Input from TWAIN device” (page 86).
◆ From Clipboard
Pastes an image from the clipboard in the Design page. This function can only be used when
there is an image on the clipboard.
For details, see File – “Input from Clipboard” (page 87).
◆ Use Current image
Use an image opened in Stage 1. This function can only be used when an image is opened in
Stage 1.
◆ Previous
Closes the current dialog, and returns to the selection dialog from the previous step.
◆ Cancel
Closes this dialog.
If any button other than Previous/Cancel is clicked, the image importing operation will take place,
and the image will be pasted on the Stage 1 Design Page. After that, the Cut out to Line Image
dialog, which lets you choose colors for outlines, will open. You can then continue with creating
normal embroidery data.
For directions on that topic, see Stage – “To Line Image” (page 108).
After that, continue through the steps Stage – “To Figure Handle” (page 110) and Stage – “To Sew
Setting” (page 112) to create the data. For details, see those sections in the manual.
Loading ...
Loading ...
Loading ...