Loading ...
Loading ...
Loading ...
23
Contents Before Using Getting Started Design Center Layout & Editing
Programmable
Stitch Creator
Quick Reference Alphabetic Index
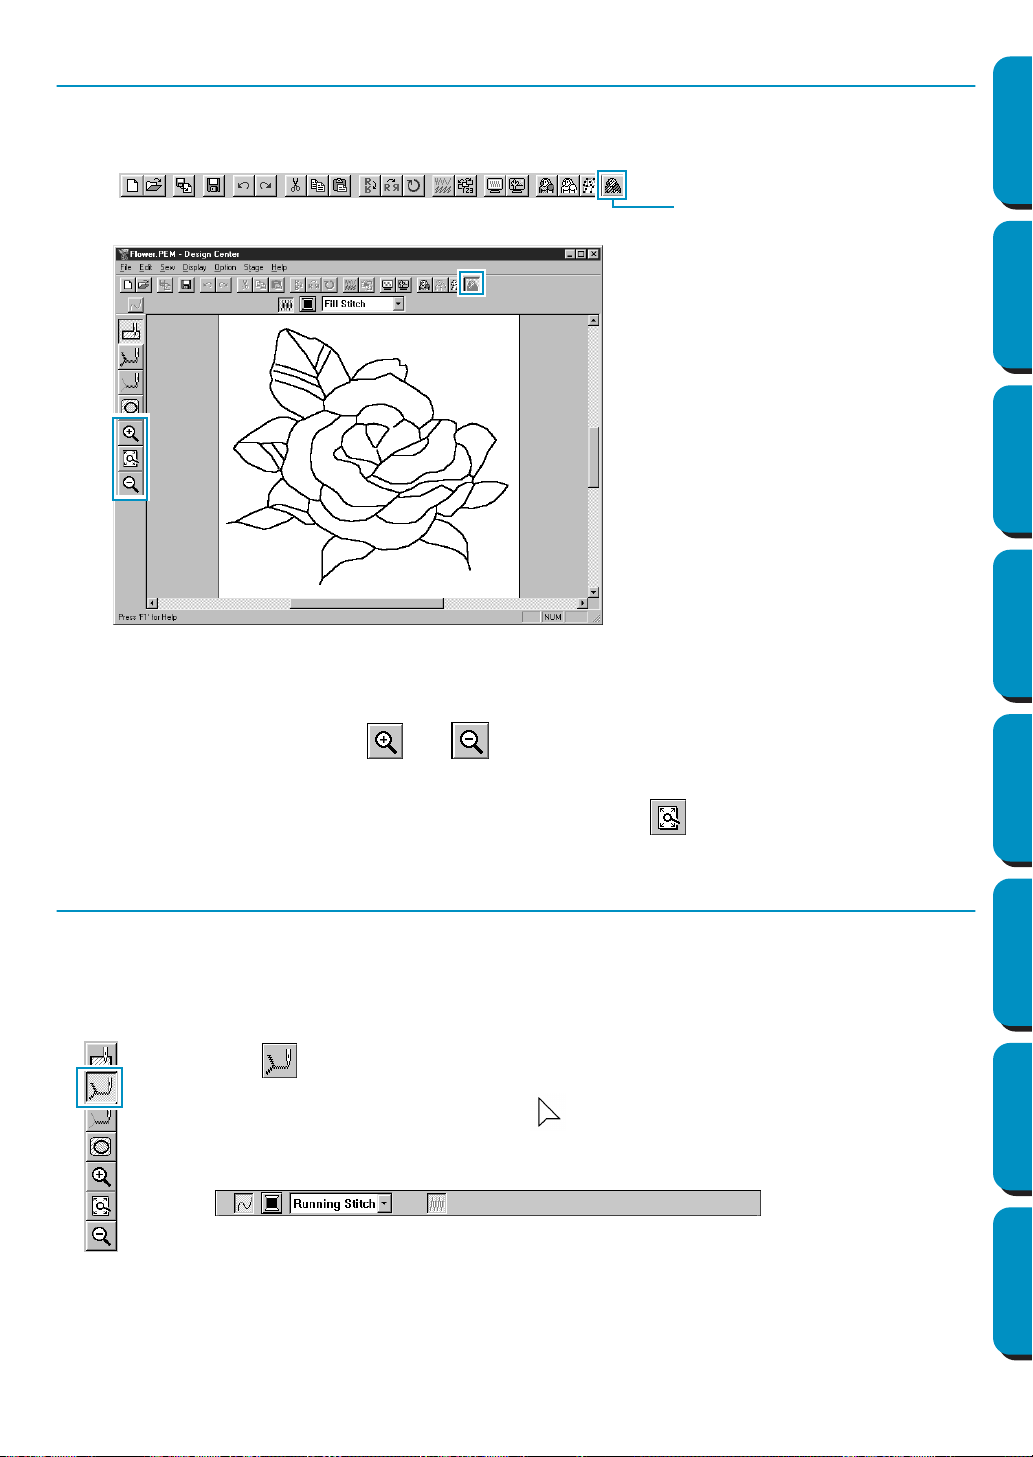
Step 6 Moving to Sew Setting
1 Click Stage on the menu bar, then click To Sew Setting on the submenu.
You can also click the button of the Toolbar shown below:
The Sew Setting window appears.
In this stage, you can set and check the sewing attributes of each part of the pattern. You can also
set a pair of patterns for hole sewing in order to avoid sewing twice at the same place.
The other tools available are for zooming.
2 To zoom in and out, use the and buttons on the Tool Box in the same way as you did at
the Figure Handle stage.
3 To maximize the Design Page so that it fits the window, click on the Tool Box.
Step 7 Setting Sewing Attributes
We are now going to apply sewing attributes to the different parts on the picture.
■ Setting the outlines
1
Click on the Tool Box.
The shape of the cursor changes to and is displayed together with a small figure
of the Tool Box button.
The Sewing Attributes bar now looks like this:
To Sew Settin
g
Loading ...
Loading ...
Loading ...