Loading ...
Loading ...
Loading ...
125
Contents Before Using Getting Started Design Center Layout & Editing
Programmable
Stitch Creator
Quick Reference Alphabetic Index
3 Click the shape object that you want to edit.
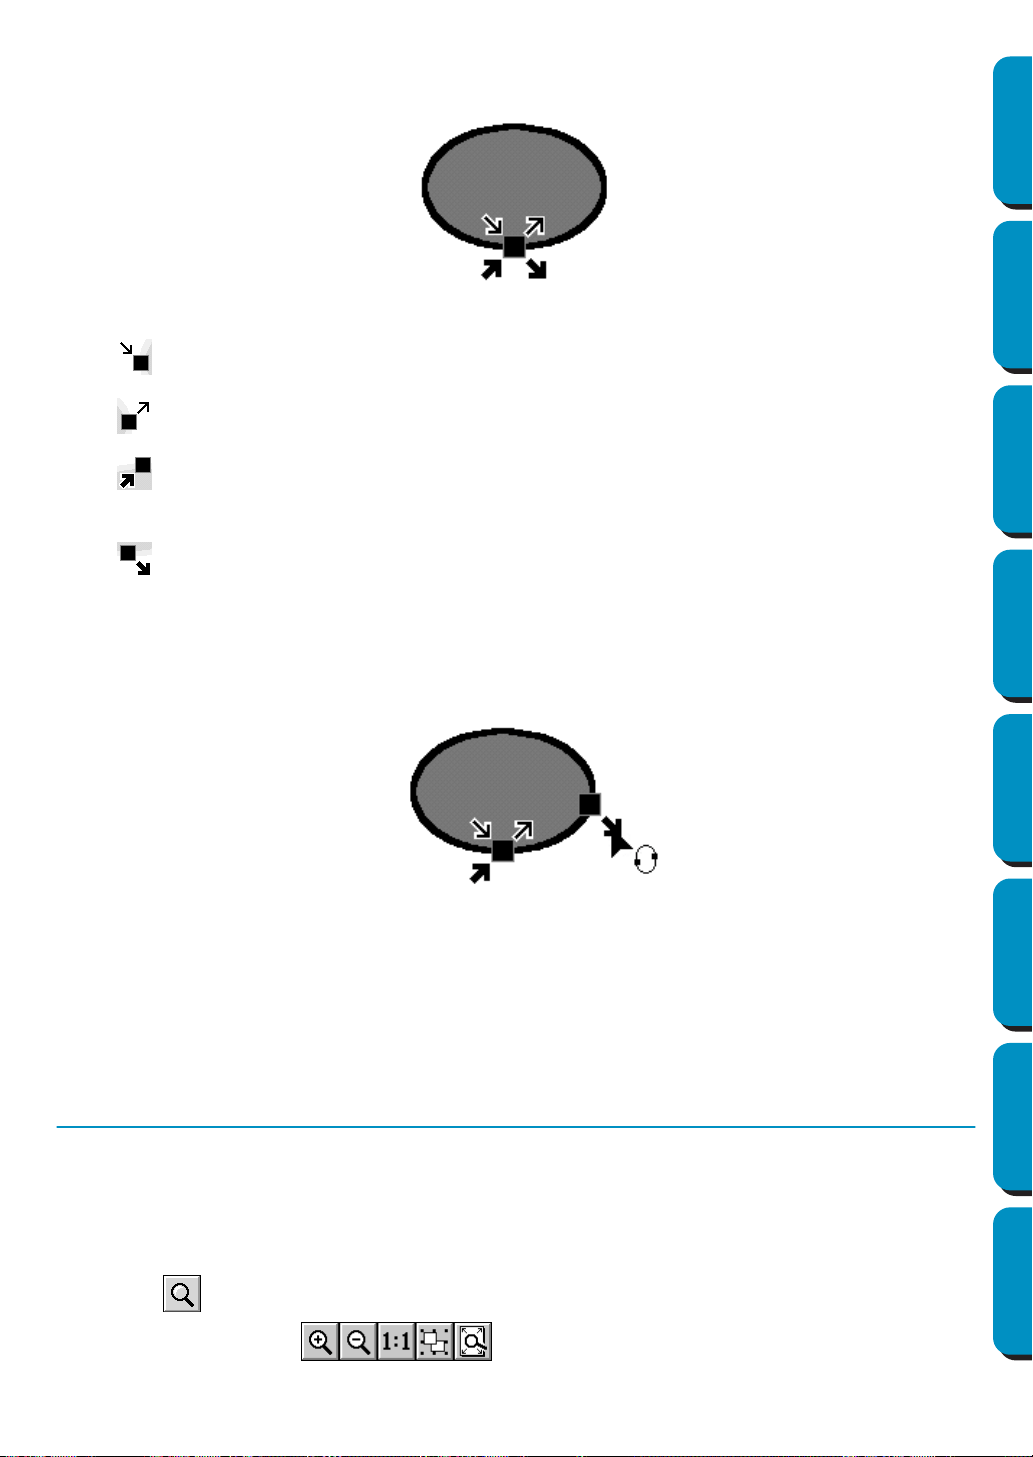
The entry points and the exit points of the shape object appear as shown below.
The symbols representing the four overlapping points shown above are described below:
: This is the entry point for sewing the outlines. The previous pattern is connected to this point.
:
This is the exit point for sewing the outlines. From this point, sewing continues to the next pattern.
: This is the entry point for sewing the inside regions. The previous pattern is connected to this
point.
: This is the exit point for sewing the inside regions. From this point, sewing continues to the
next pattern.
If the outlines or the inside regions are not set to be sewn, the corresponding point does not appear.
4 Drag the arrow mark for the point that you want to edit along the outline to the desired position.
Continue this step until all points are moved to the desired positions.
NOTE:
• Shape objects that can be edited in this way are data created with the Circle, Rectangle and Out-
line tools. Objects created with the Text or Manual punch tools cannot be edited.
• If the Optimize Entry/Exit points setting on the Sew menu is turned on, all manual adjustments of
the entry points and exit points will be lost, and the points will be automatically optimized.
Zoom Mode
The zoom mode is used to control the scale of the display. You can zoom in to work on details of a pattern
with higher precision and you can zoom out again to see and work on parts of your Design Page that is
hidden.
■ Zooming in
1
Click .
Five buttons appear: .
Loading ...
Loading ...
Loading ...