Loading ...
Loading ...
Loading ...
219
Contents Before Using Getting Started Design Center Layout & Editing
Programmable
Stitch Creator
Quick Reference Alphabetic Index
Display Menu
The Display menu lets you modify the appearance of the screen.
■ Grid Setup
Purpose: Controls the display and characteristics of the grid.
Shortcut key: No shortcut key for this function
Toolbar: No button for this function
Operation:
1 Click Display, then Grid Setup.
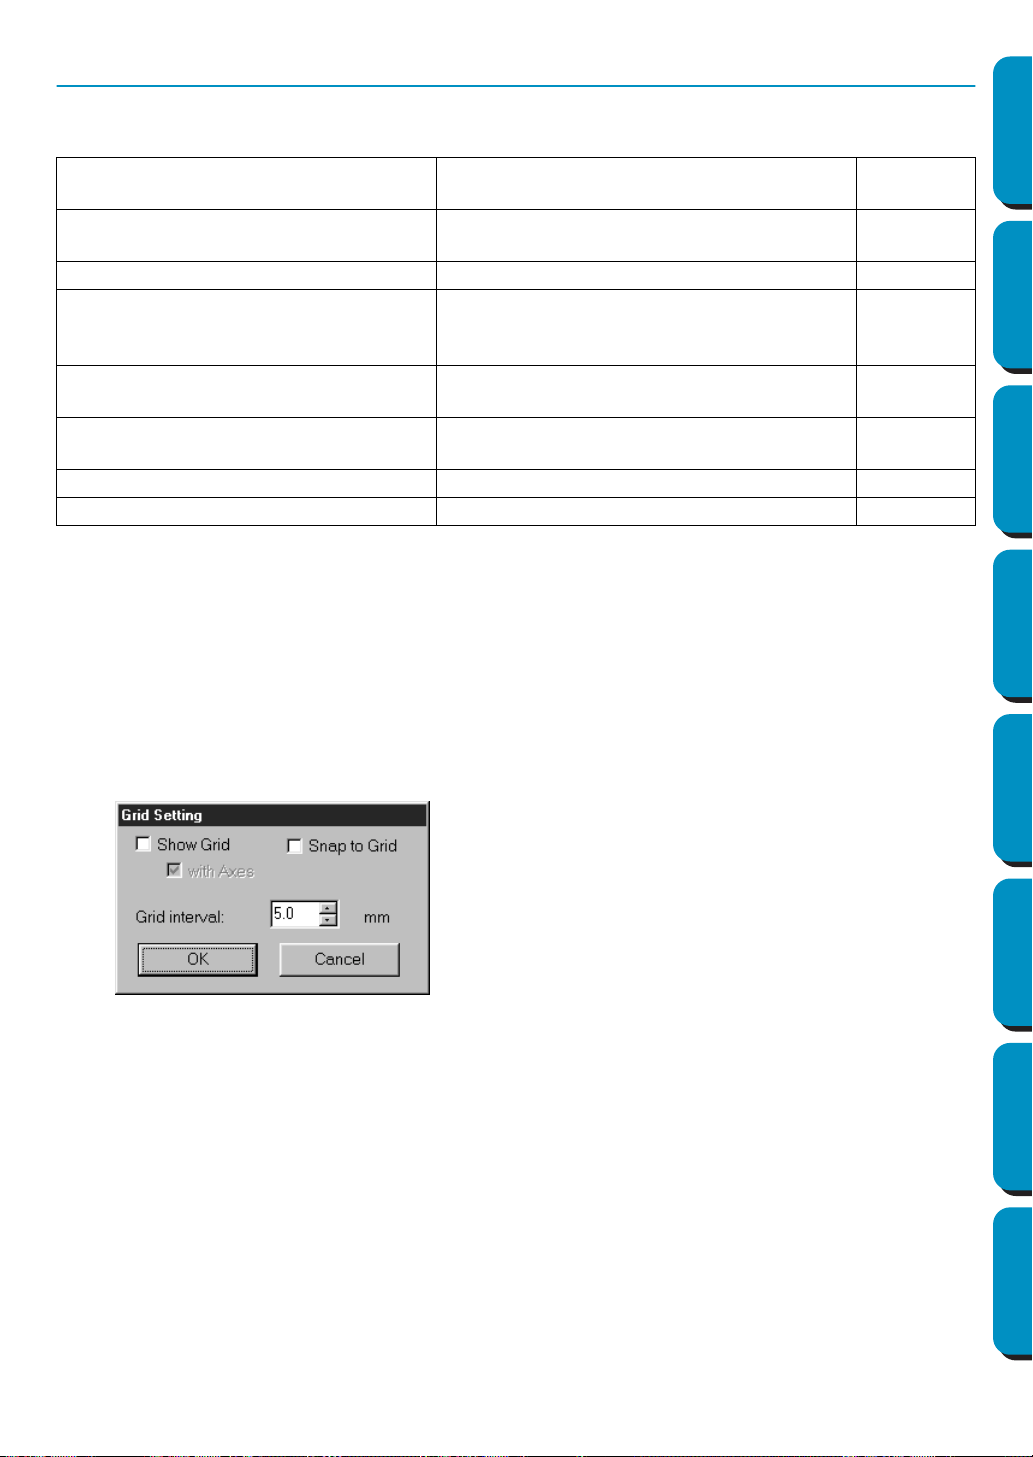
The Grid Setting dialog appears.
See also: “Select System Unit” on page 229
Grid Setup
Controls the display and characteristics of
the grid.
page 219
Preview
Specifies whether the patterns appear as
stitches or in the normal view.
page 220
Refresh Window Updates the screen. page 220
Realistic Preview
Displays a realistic image of how either
selected patterns or all patterns will look
after being embroidered.
page 220
Realistic Preview Attribute Setting
Sets the preview attributes for Realistic Pre-
view.
page 221
Stitch Simulator
Displays a simulation of the machine stitch-
ing.
page 221
Toolbar Turns the Toolbar on/off. page 222
Status Bar Turns the Status bar on/off. page 222
◆ Check
Snap to Grid when you want to use the
grid for aligning patterns or creating patterns
of the same size. The cursor will move by the
amount set in Grid Interval.
• The snap feature works whether or not the grid
is displayed.
◆ Check Show Grid to see the grid on your
Design Page.
◆ Type in the
Grid Interval to set both horizontal
and vertical steps of the grid.
Grid interval range: 1 - 10 mm (0.04 - 0.39 inch)
◆ Check with Axes to turn the horizontal and ver-
tical lines of the grid on.
• When the Show grid check box is checked and
the
with Axes check box is not checked, only the
intersection points of the grid will be displayed.
◆ Click OK to confirm.
◆ Click
Cancel to exit.
Loading ...
Loading ...
Loading ...